My Full-time Vandwelling friend had a battery combiner added to her van about a year ago.
What is a Combiner?
A combiner is a DC electric device that allows bidirectional charging of two batteries. In my friend’s case this means her house battery is tied to her engine battery and if she is parked and charging her house battery with solar, it will eventually share charging with the engine battery. At night or cloudy days when running the engine the engine battery will share charging with the house battery.
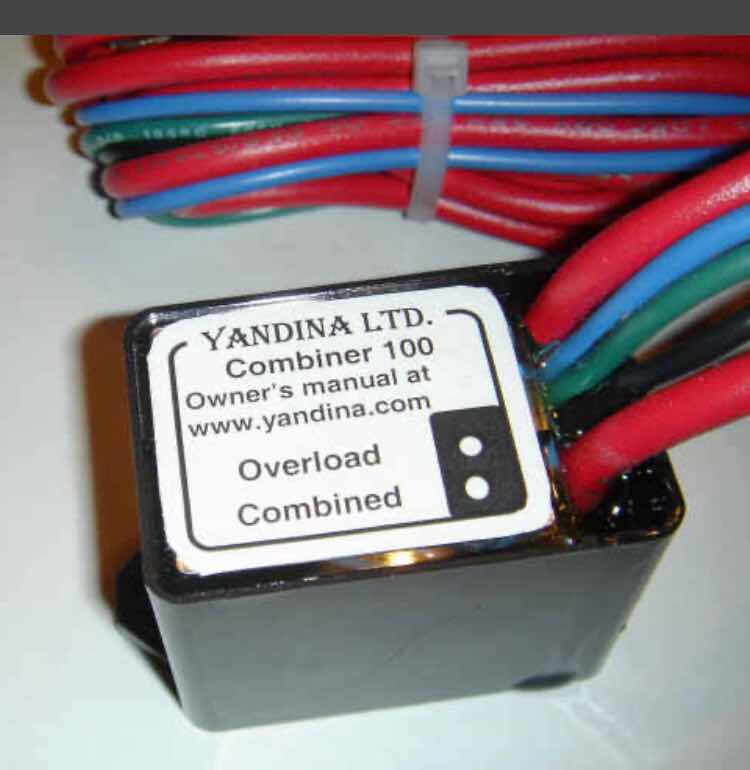
Above is the combiner my friend has. Picture from yandina website

Above is a typical wiring diagram of the combiner.
Picture from yandina website
Both pictures can be found here:
————————————-
Now for the problem. My friend told me the combiner wasn’t charging her house battery.
My first step was to evaluate the circuit in her vehicle and measure voltages and current.
My second step was to write the manufacturer to lay out the problem.
Here is a copy of my email:
Hello
My friend asked me to check her charging circuit in her van. She has a combiner 100 that is tied to the car’s battery and the other side of the combiner to her auxiliary battery charged from solar.
My friend’s system is not charging her auxiliary battery or her engine battery.
Both batteries are charging independently from their respective charging sources.
First checking the charge of the vehicle battery sitting at 12.05v when the auxiliary battery is fully charged from solar and only .3 amps was flowing to the vehicle battery.
Second checking the auxiliary battery with no solar charging and engine battery was being charged to 13.7 volts from the alternator and only .3 amps were flowing to the auxiliary battery.
The literature/ manual for the combiner 100 does not seem to reference wire size and charge currents.
I metered our all wire runs and fuses to validate connections
Please advise as to possible problems or defective combiner
Thank you
Brent
————————————
Within minutes I received a response on in how to evaluate the Combiner 100 circuit, as follows;
The Combiner is just an automatic on/off switch which has nearly zero resistance so you have a voltage drop problem in the positive and negative current loop through the two batteries and the Combiner.
The best method of diagnosing is to make a temporary NEGATIVE test lead for your multimeter that will reach all the destinations then start from the battery on charge measuring + to - to confirm 13.7 for exaple.
Next move the negative from the battery terminal to the chassis and check the positive battery terminal again.
Next put the positive on the red Combiner lead IN, then the OUT to check that there is no drop across the Combiner.
Progress along the loop until you find the section that has a bad connection or insufficient wire gauge.
Don't forget to include measurement to the destination NEGATIVE terminal to see what the voltage drop is over the negative circuit for charging current returning to the starting battery.
If you find a significant change at one point you have found a bad connection or faulty cable.
If the voltages only vary a little over the whole test then the wire gauge is too small and you can decide which section would most benefit from adding a helper.
Regards,
Ann-Marie Foster,
tech@yandina.com
———————————-
After reviewing the technical response, I knew the first thing I needed to do is run a dedicated negative wire from the battery ground to the chassis ground that the Combiner 100 was connected to.
By chance I ran into my friend at the Skoolie Palooza and offered to install the dedicated ground wire provided she leaped with the install as my arm I dislocated was still sore. She gladly agreed.
I happened to be carrying a spool of #10 black wire and crimps. I passed the wire through the firewall next to the red wire to the combiner. While my friend ran the wire through her van I put the terminal lug on the wire and ground it on the chassis battery ground, and tie wrapped the wire.
When I was done at the engine end I made my way to the back of the van where the combiner 100 was grounded to the chassis. The ground wire my friend routed arrive about the same time and I installed another terminal lug on the black #10 wire and hooked it to the ground lug the original installer created.
In doing this, I eliminated the vehicle chassis ground. Thus I eliminated any ground problem/s that may exist between the combiner and the engine battery.
The key for me was the troubleshooting description of checking connections. By running a single wire all the way I eliminated any chassis connection problems.
My friend started her van with the solar panel covered and immediately the voltage of the house battery went up and she was now charging her house battery when she drives or runs the engine in the future.
No more depleted house battery.
Problem solved.
Brent
macaloney@hotmail.com
I'm the person Brent helped above. It is so wonderful to park for the night and see that I have a full charge on my house battery. Thanks for helping me out with this. Thank goodness for people who love to play with electronics and understand all that electrical jargon and wot-not. Brent is such a helpful guy, if you haven't signed up for notifications from his blog, I recommend you do so.
ReplyDelete