Actually the first thing I did on Sunday was pail out buckets of hot water to remove snow and ice in the truck bed in preparation for a beautiful sunny warm winters day Monday, to install my Four Wheel Camper on my Tacoma.
So how much work is it? Well, here is what is involved.
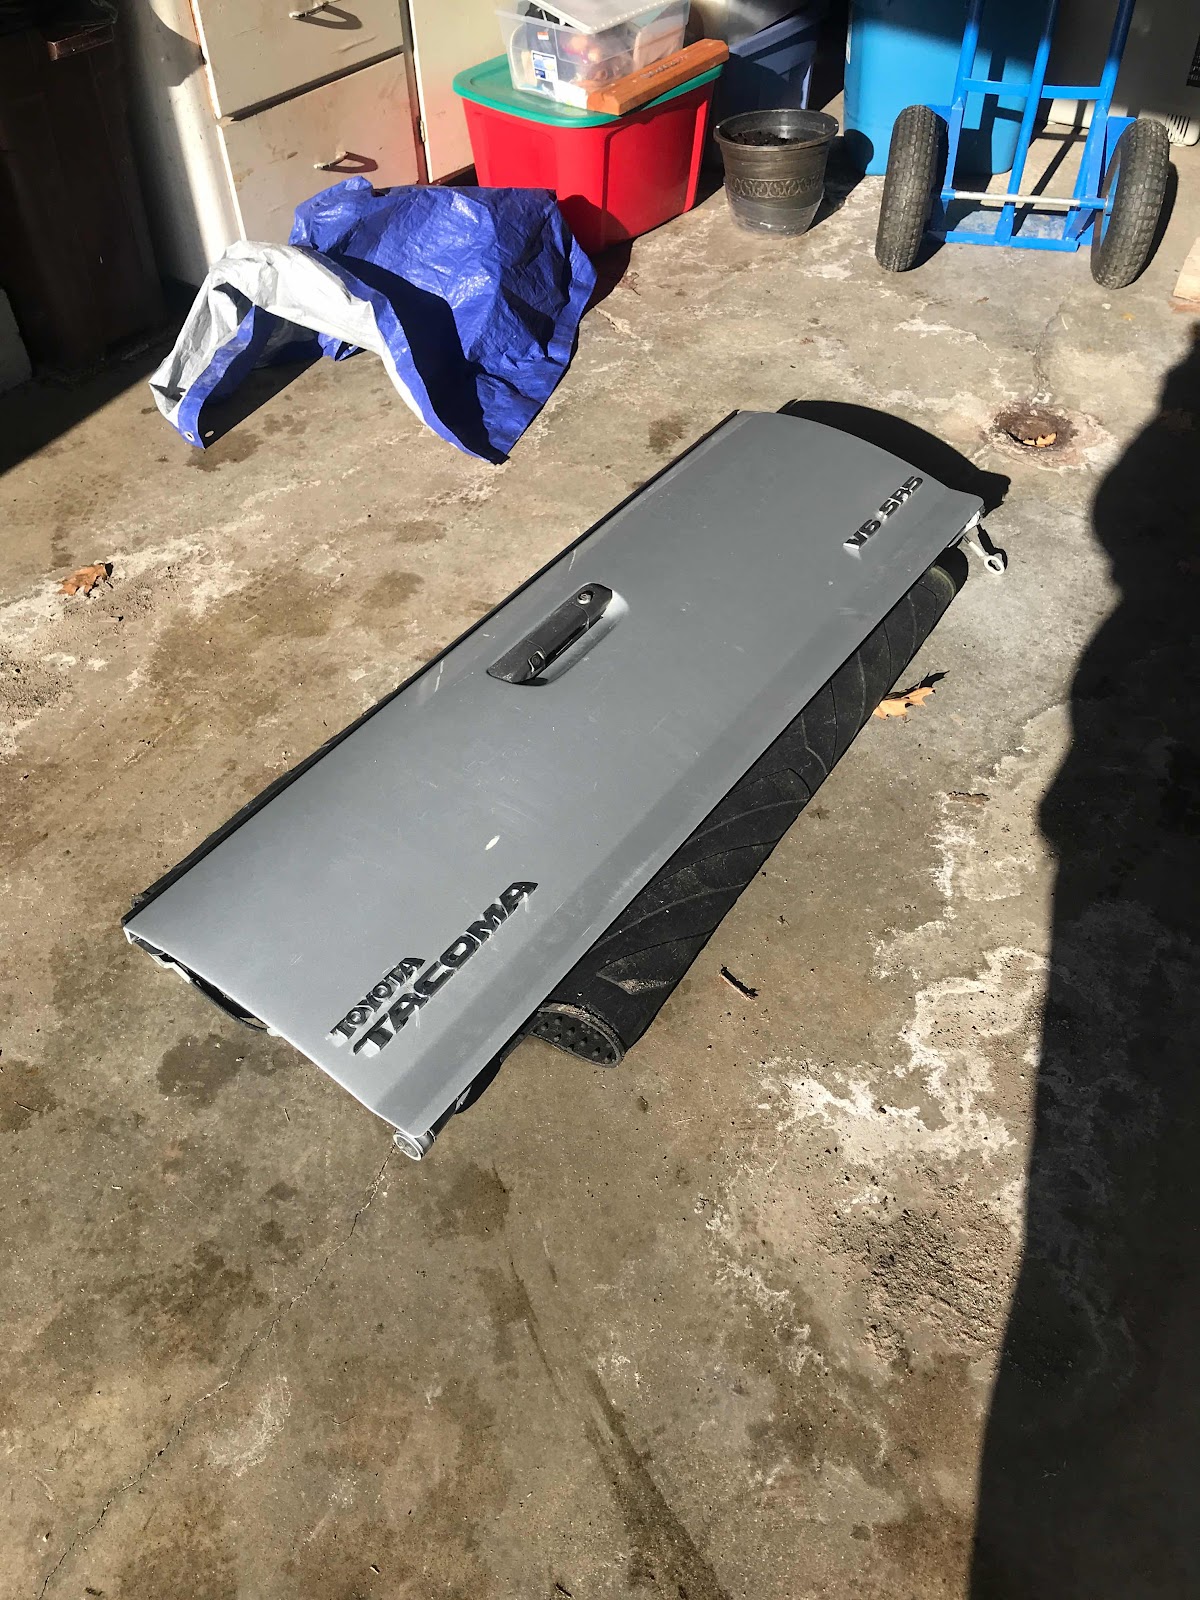
First crawl under the rear bumper and unplug the rear camera cable in the tailgate. Then place on the protective connector cover to prevent damage to open connection. Removing the tailgate is very simple to do once the camera wire is removed.

Next I check the FWC bed mounting bars and put anti slip pads between the bars. The anti slip pads help the camper from sliding on the Tacoma’s composite camper bed that is plastic.

It’s now time to prepare the camper by listing it so I can drive under it.
Above you can see the stand I have the camper resting on in my garage. This low supports allows me to pop up the camper top in the garage to work on it. My garage door is 8’ high and ceiling is about a foot above that.

When I bought my camper used a couple years ago I ordered the crank adapter to fit a drill so I don’t have to use hand cranks to lift and lower the camper.
Since you need to go to each of the 4 corners to lift the camper a few inches at a time, the drill makes this so much easier. This step actual takes the longest to do.

I have the lifting planned out from prior years. Notice the 55 on the jack extension bracket. This reminds me that the front of the camper must be 55” from the floor to the bottom of this bracket to load on the truck.
The extension brackets that the prior owner had made assists with loading and unloading as it gives more clearance to move the truck as you back up.
The rear jack brackets are marked 57” as the rest needs to be higher since the driveway slopes in front of the garage door and as I back in the tail of the truck slopes up, so I need to taper the camper height.
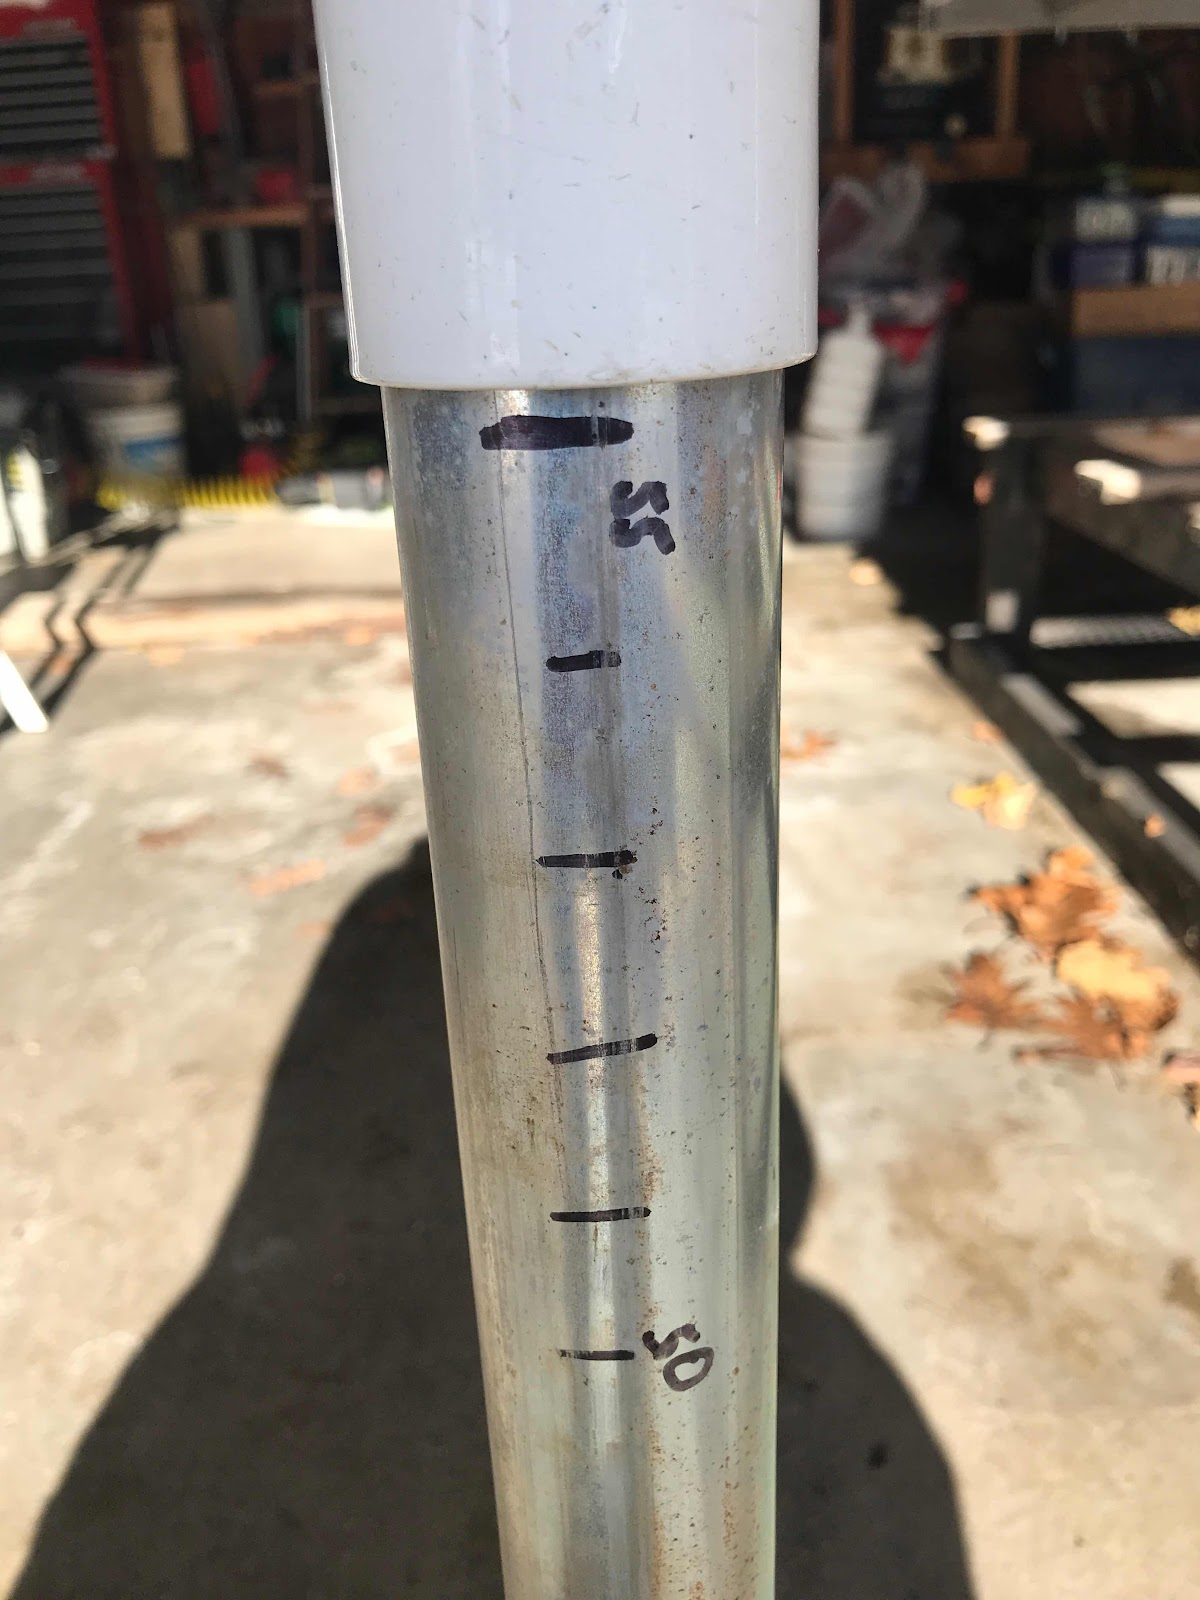
To not have to use a measuring tape I marked the jack posts with gradients to sow approaching and arriving at 55”
To not have to use a measuring tape I marked the jack posts with gradients to sow approaching and arriving at 55”

With the camper elevated I remove the camper stand.

Backing up under the camper is not the hardest thing.
I open my slider bed window to hear what I’m doing. I can align and get under the camper with no problem at all. It is fine tuning the placement that takes a bit of skill.
You want the camper’s front rubber bumpers to be all the way against the truck bed. I can’t stress this enough. This helps straighten the camper in the bed too, but more importantly the camper can slide around if secured against the front of the truck bed. So i Ned to get in and out of camper a bit to check things. Last adjustment you can see in the Tacoma’s front wheels being cut a bit to get the passenger side to rest solid.
On the way in and not shown are two things that I need to do. First I need to plug in my truck charging cord and put my sink drain hose through the rear drivers side bed box hole

I’m not quite done until I use turnbuckles to connect 4 points to the FWC mounting bars attached to the truck bed. This deserves its own post as I have changed to review this year.
In brief I start with the front turnbuckles to hold the camper tight to the front of the truck bed. Any gap leaves a chance for movement that is not good. This is very important! I then mount the rear turnbuckles.
Installing the turnbuckles takes the second longest time, as the front turnbuckle installation is mostly a blind operation with arm stuck in access hole.
So there we have it, my FWC on my Tacoma for the third travel year in it.
2020 will be my 7th travel year since retiring. My first year in a Class B, my next 3 years in my fun to drive Prius Campervan, and now two years in the truck camper.
Now to pack and prepare to depart in early January.
Brent
macaloney@hotmail.com
No comments:
Post a Comment