Tuesday, March 10, 2020

Devils Garden - A Revisit

I took a friend to see Devels Garden, Escalante, UT this year.

It’s one of the easier things to do on Hole-In-The-Rock-Road where so many great hikes to try.

Hole-In-The-Rock-Road is unique enough to post about it again this year.  


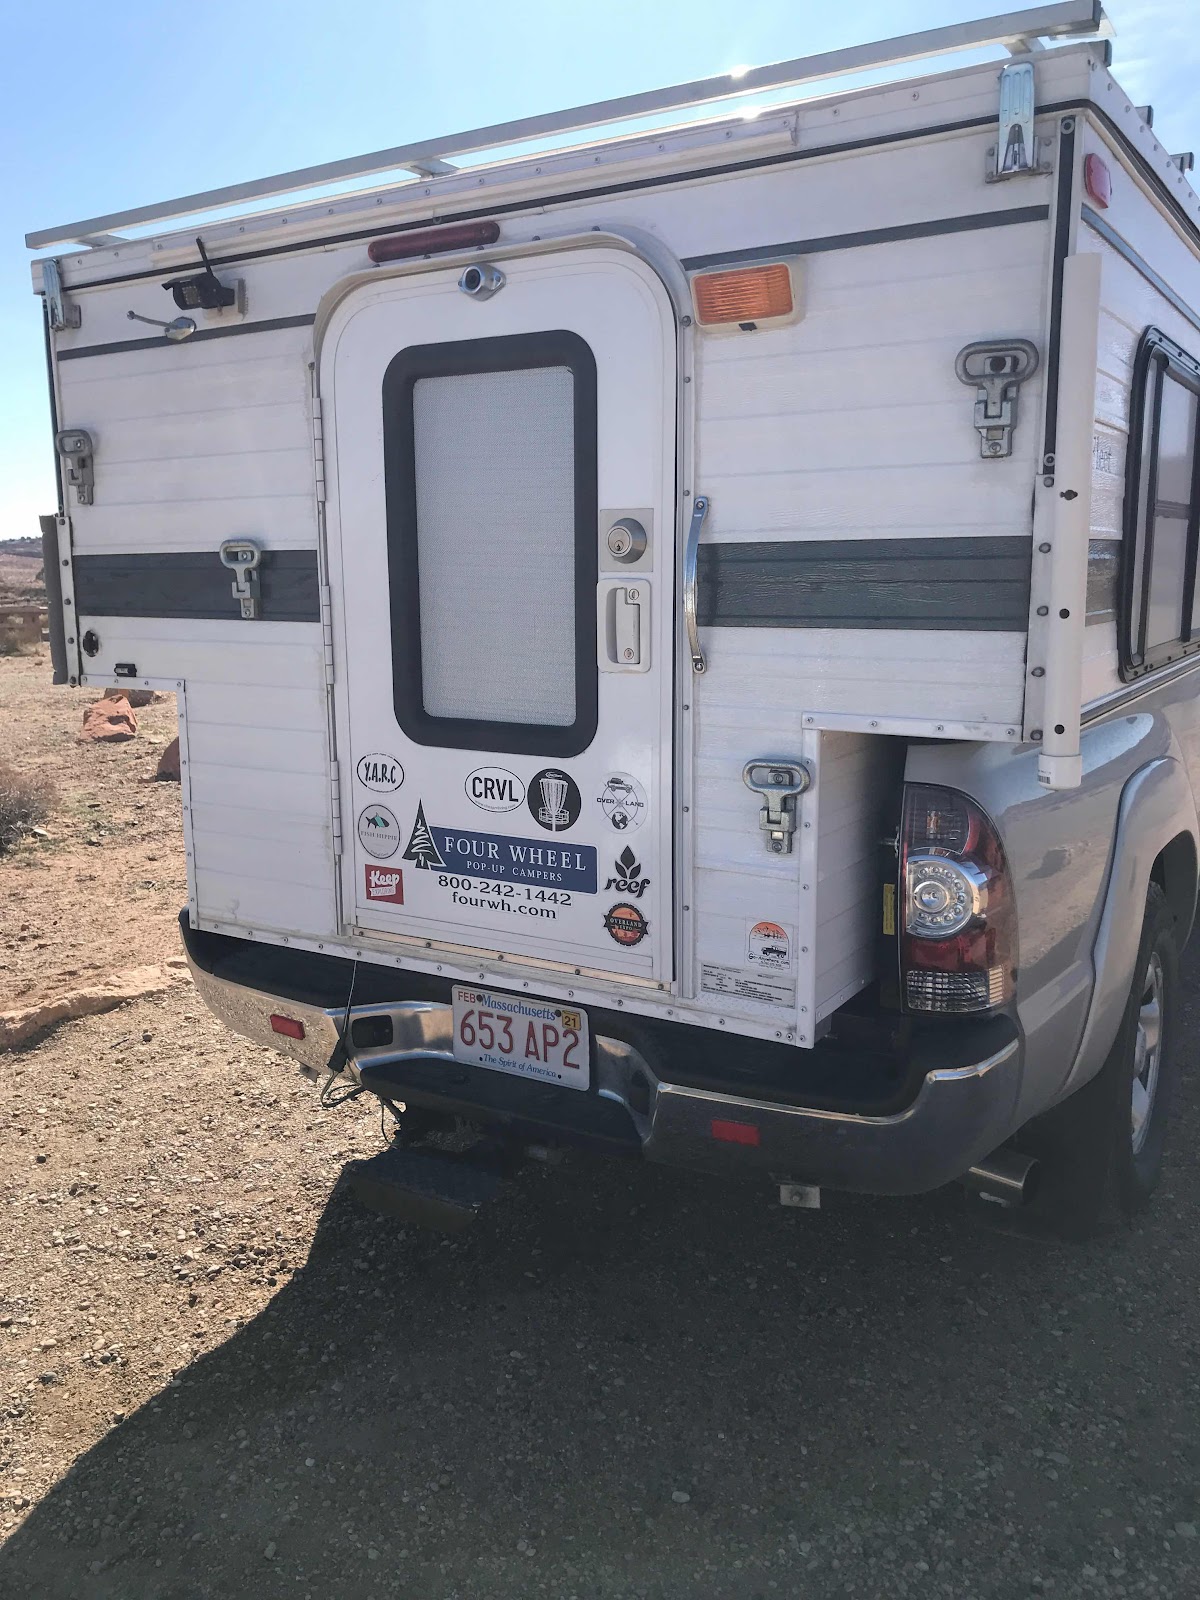
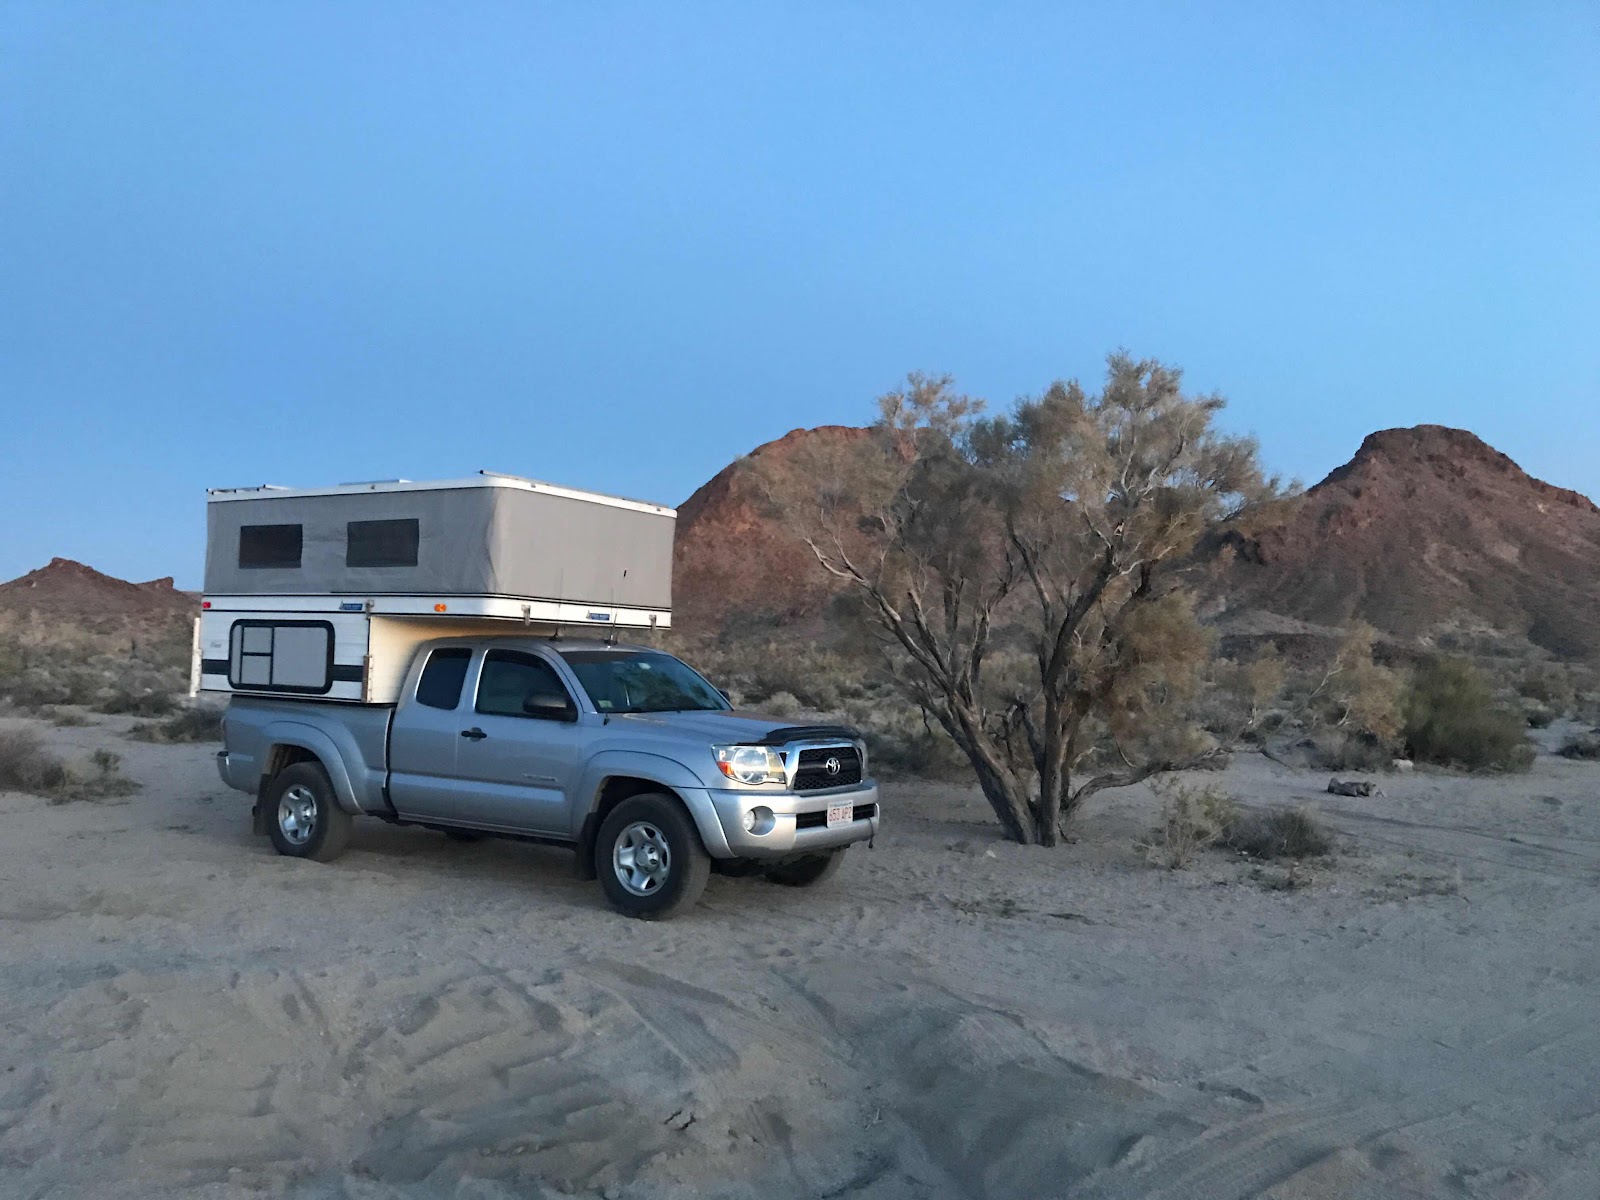
Tacoma/FWC Camper doing its job on my winter travels.
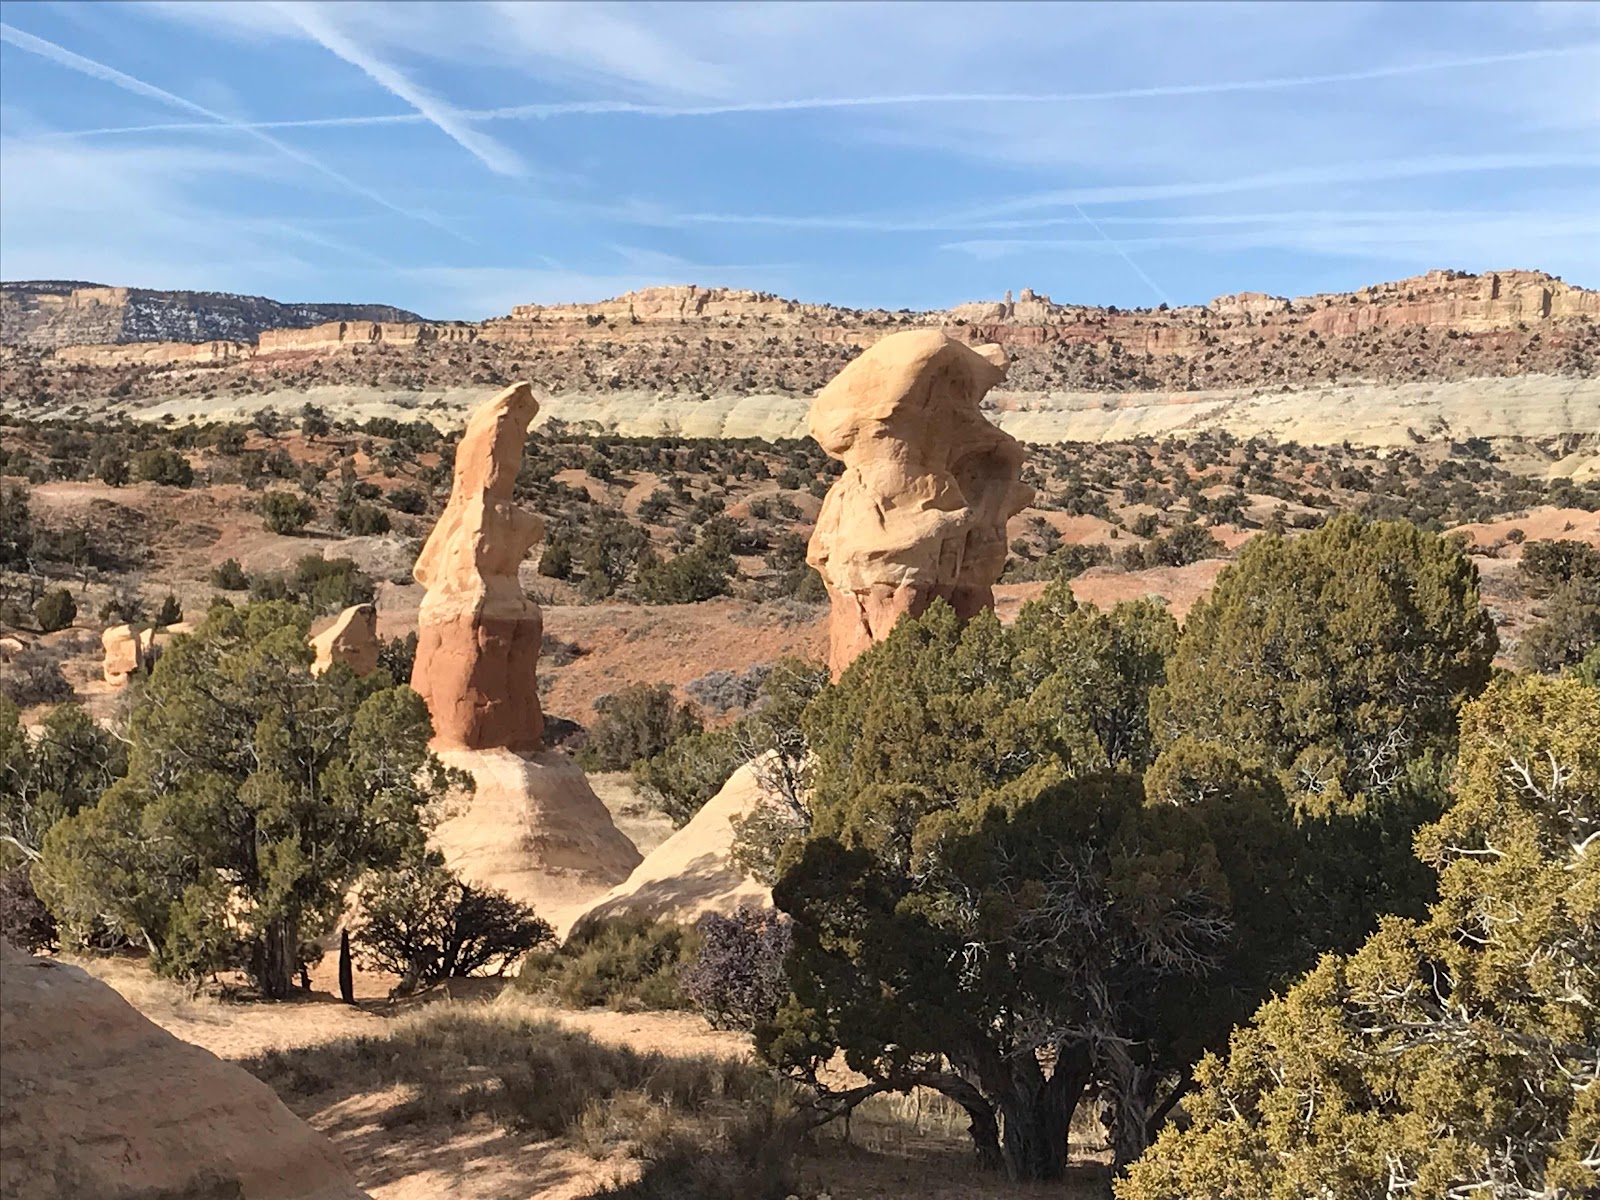


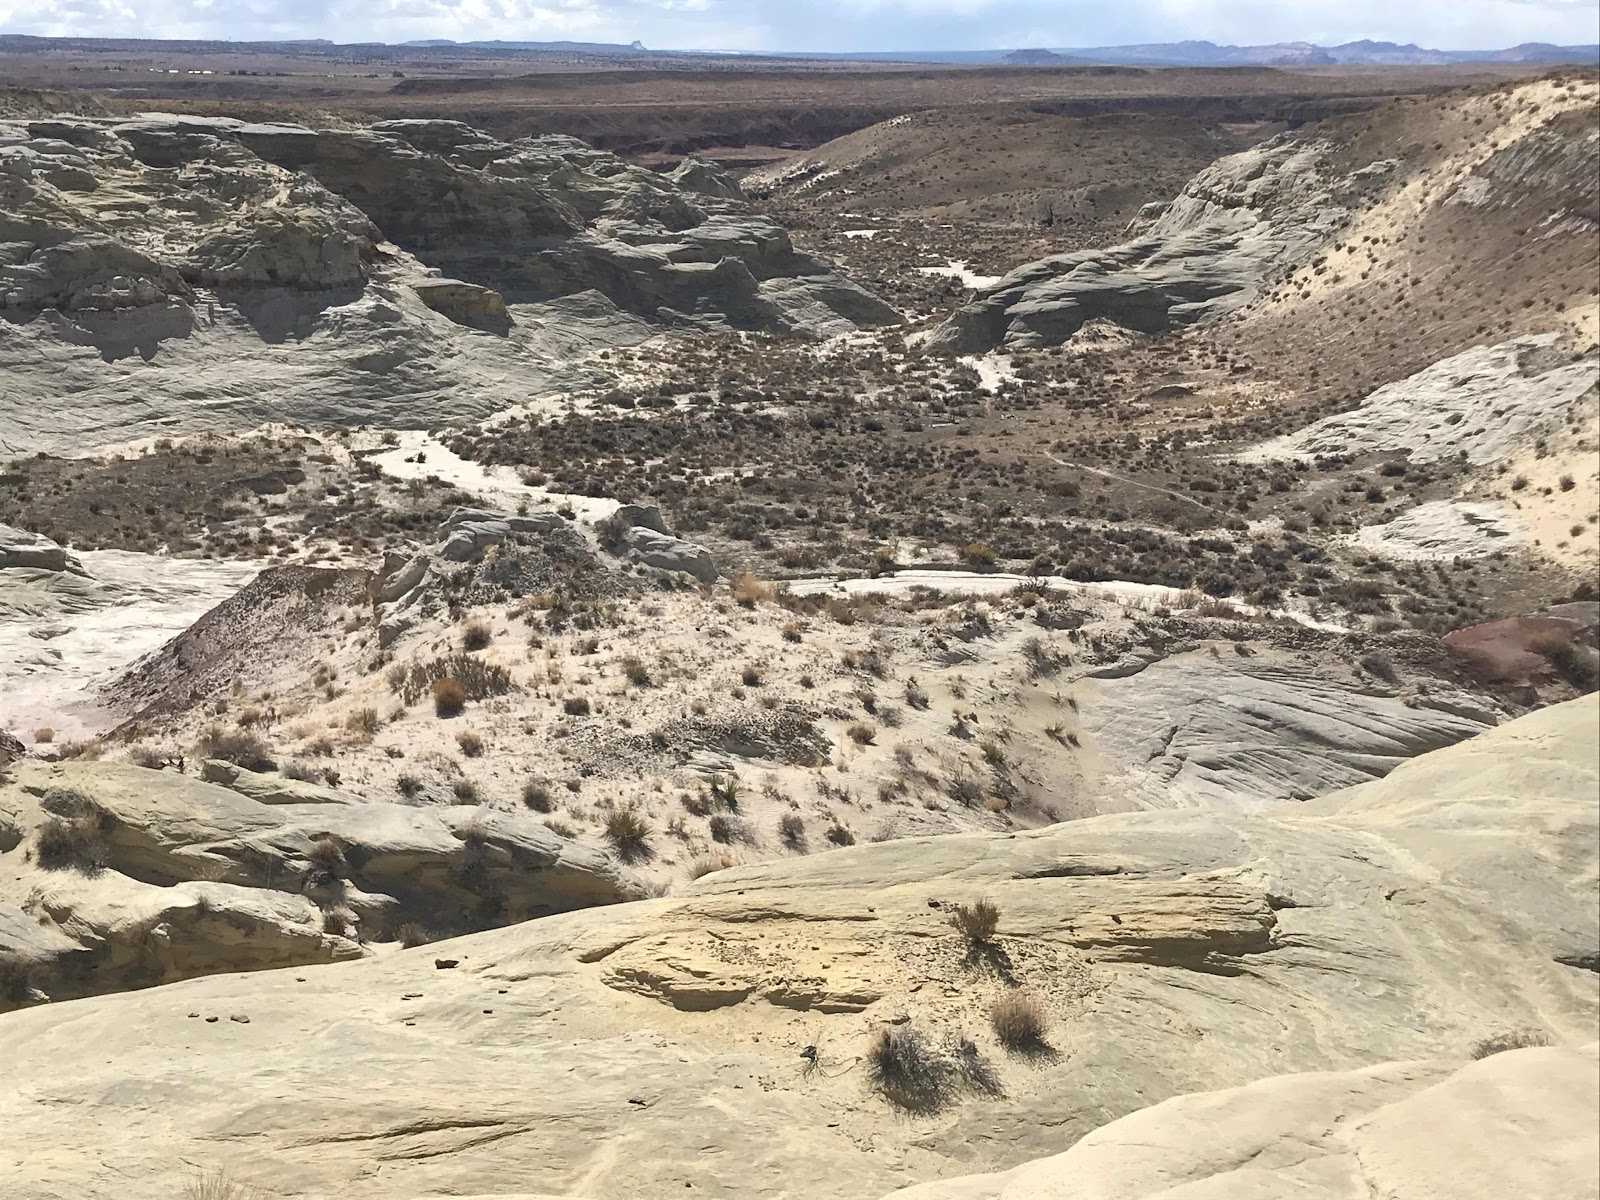
The vastness of views off of Hole-In-The-Rock-Road is amazing.  No houses, just vistas.


It’s fun to walk through the rock formations.
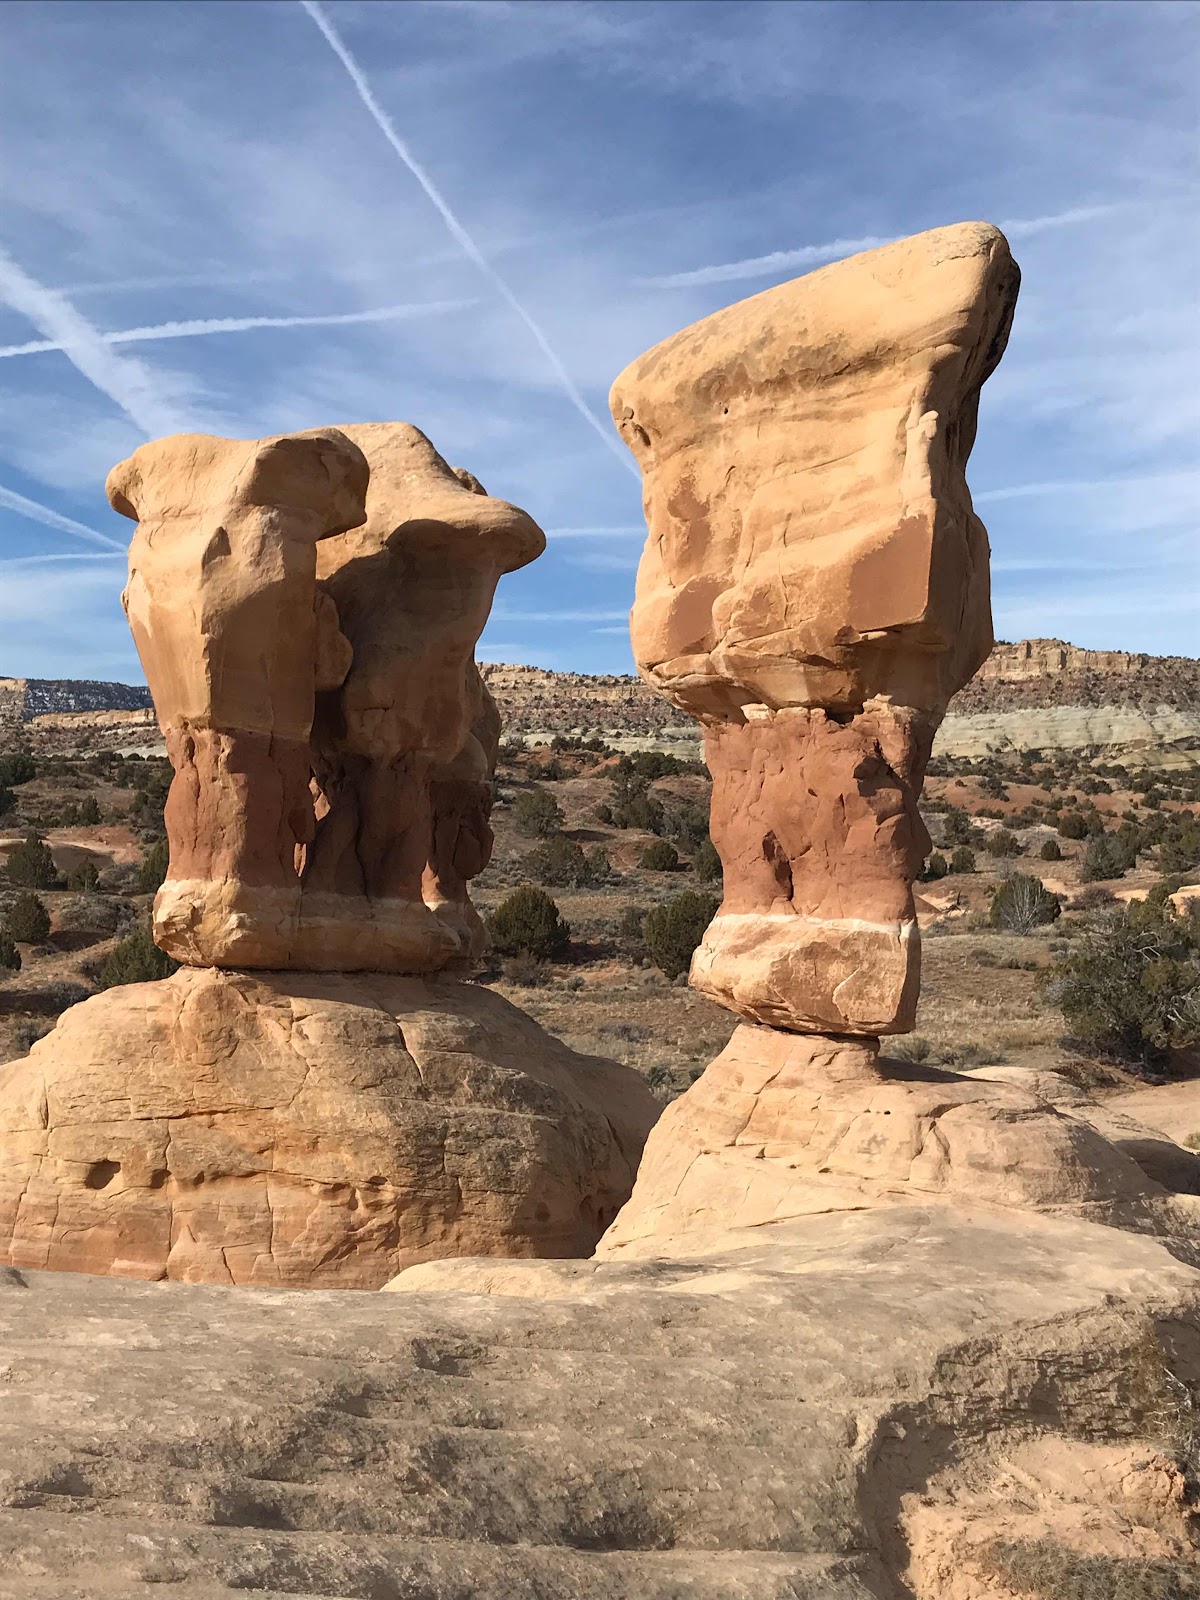


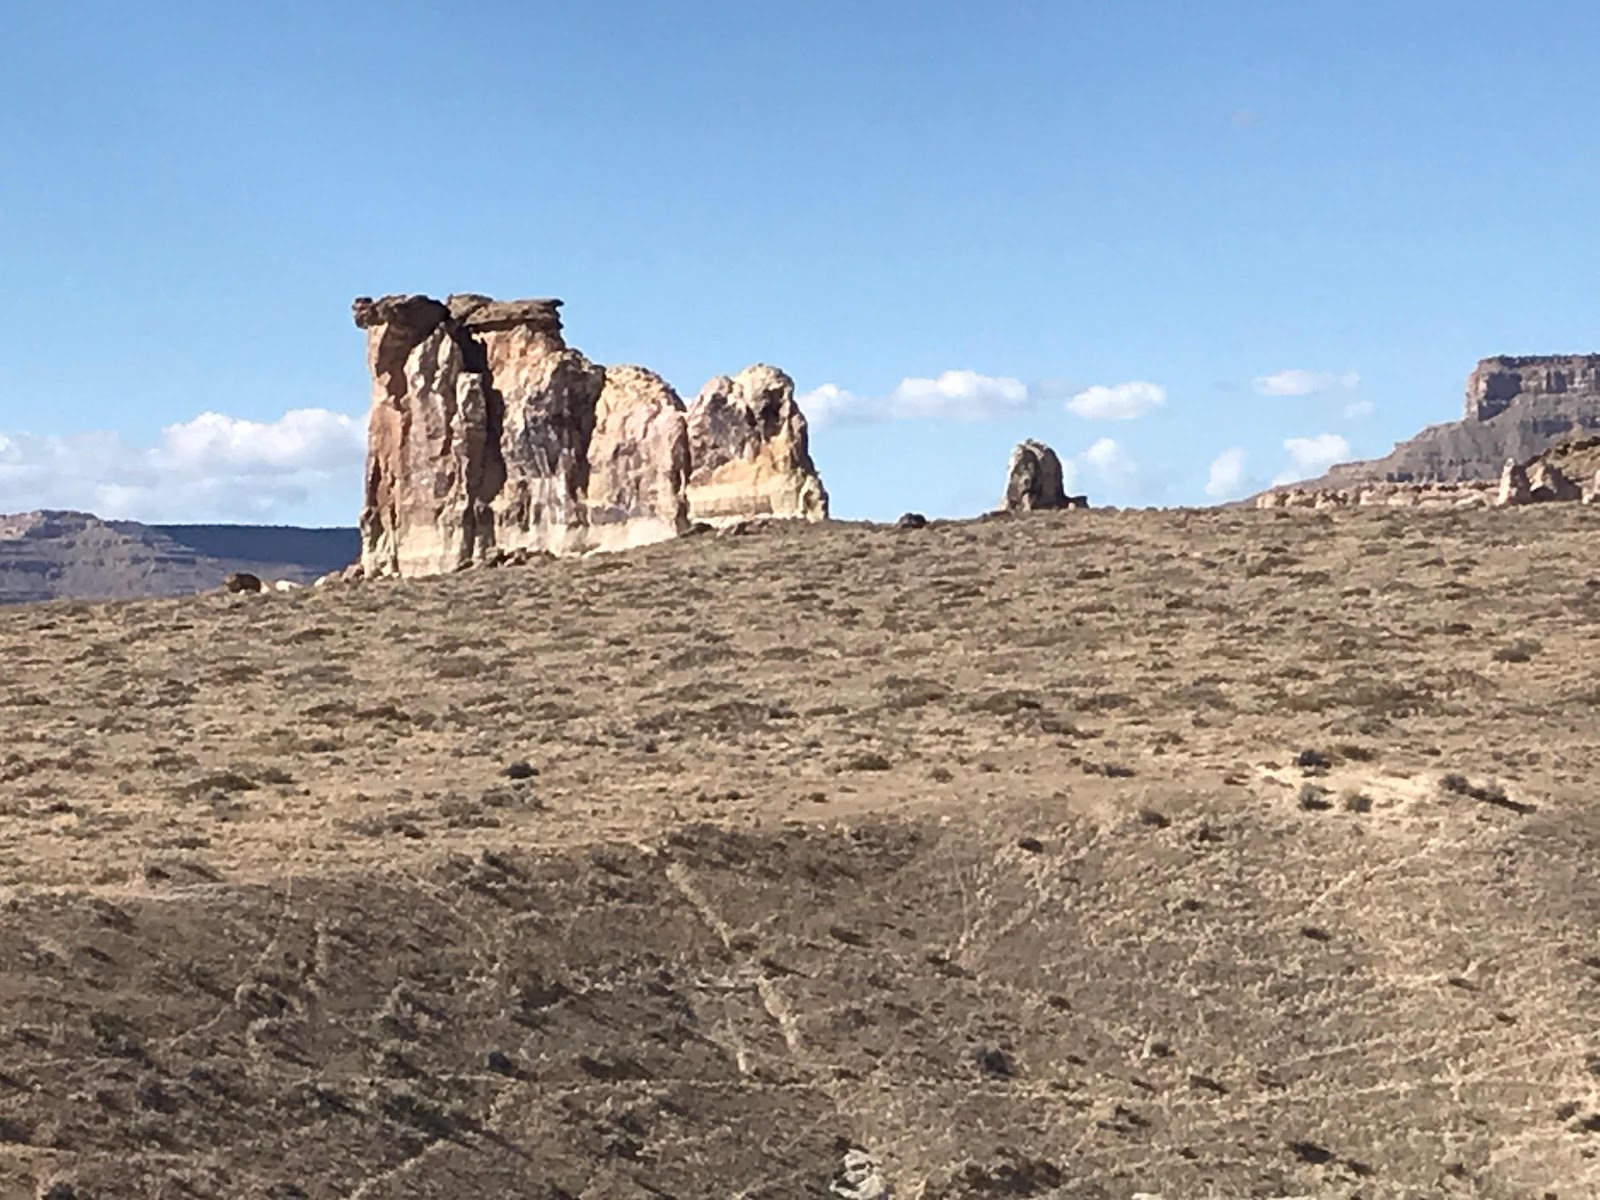
As a kid I used to take building blocks and stack them and see how high I could build a column without it tipping over.  Above is amazing that nature has done it with such style.
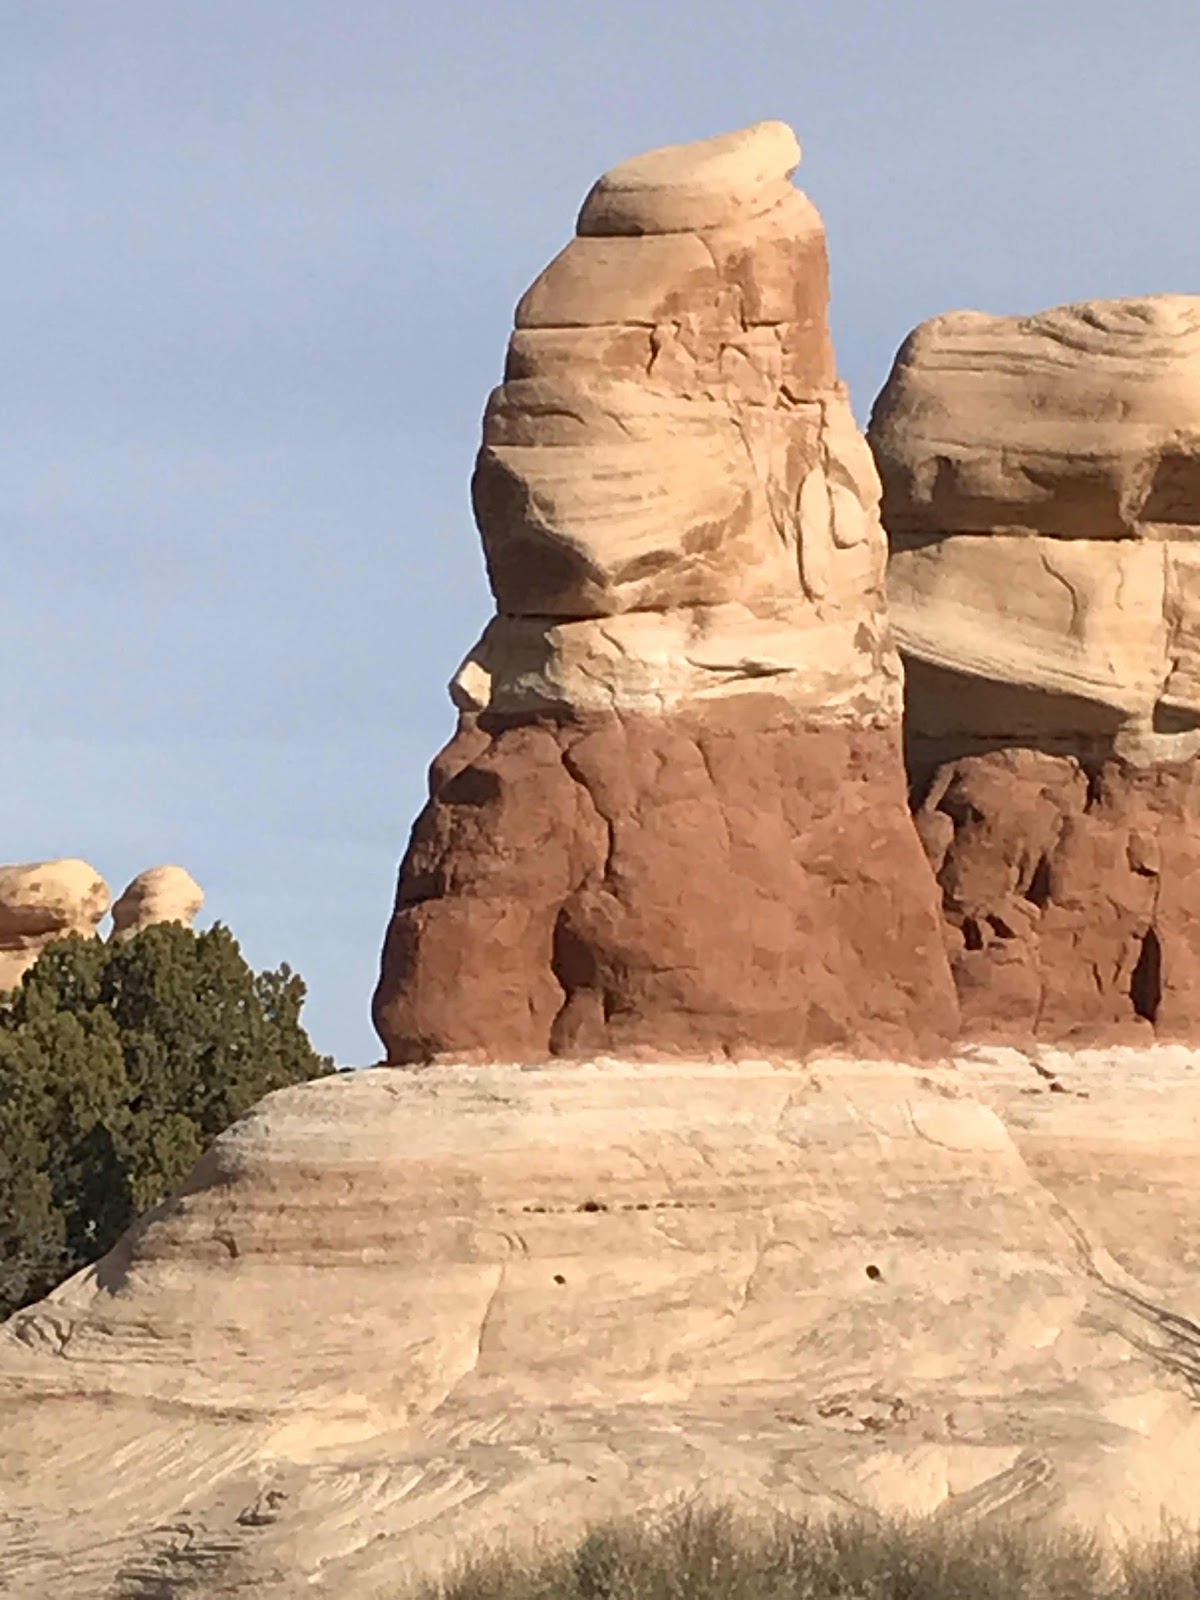


Look above to see if you see a face in the formation.
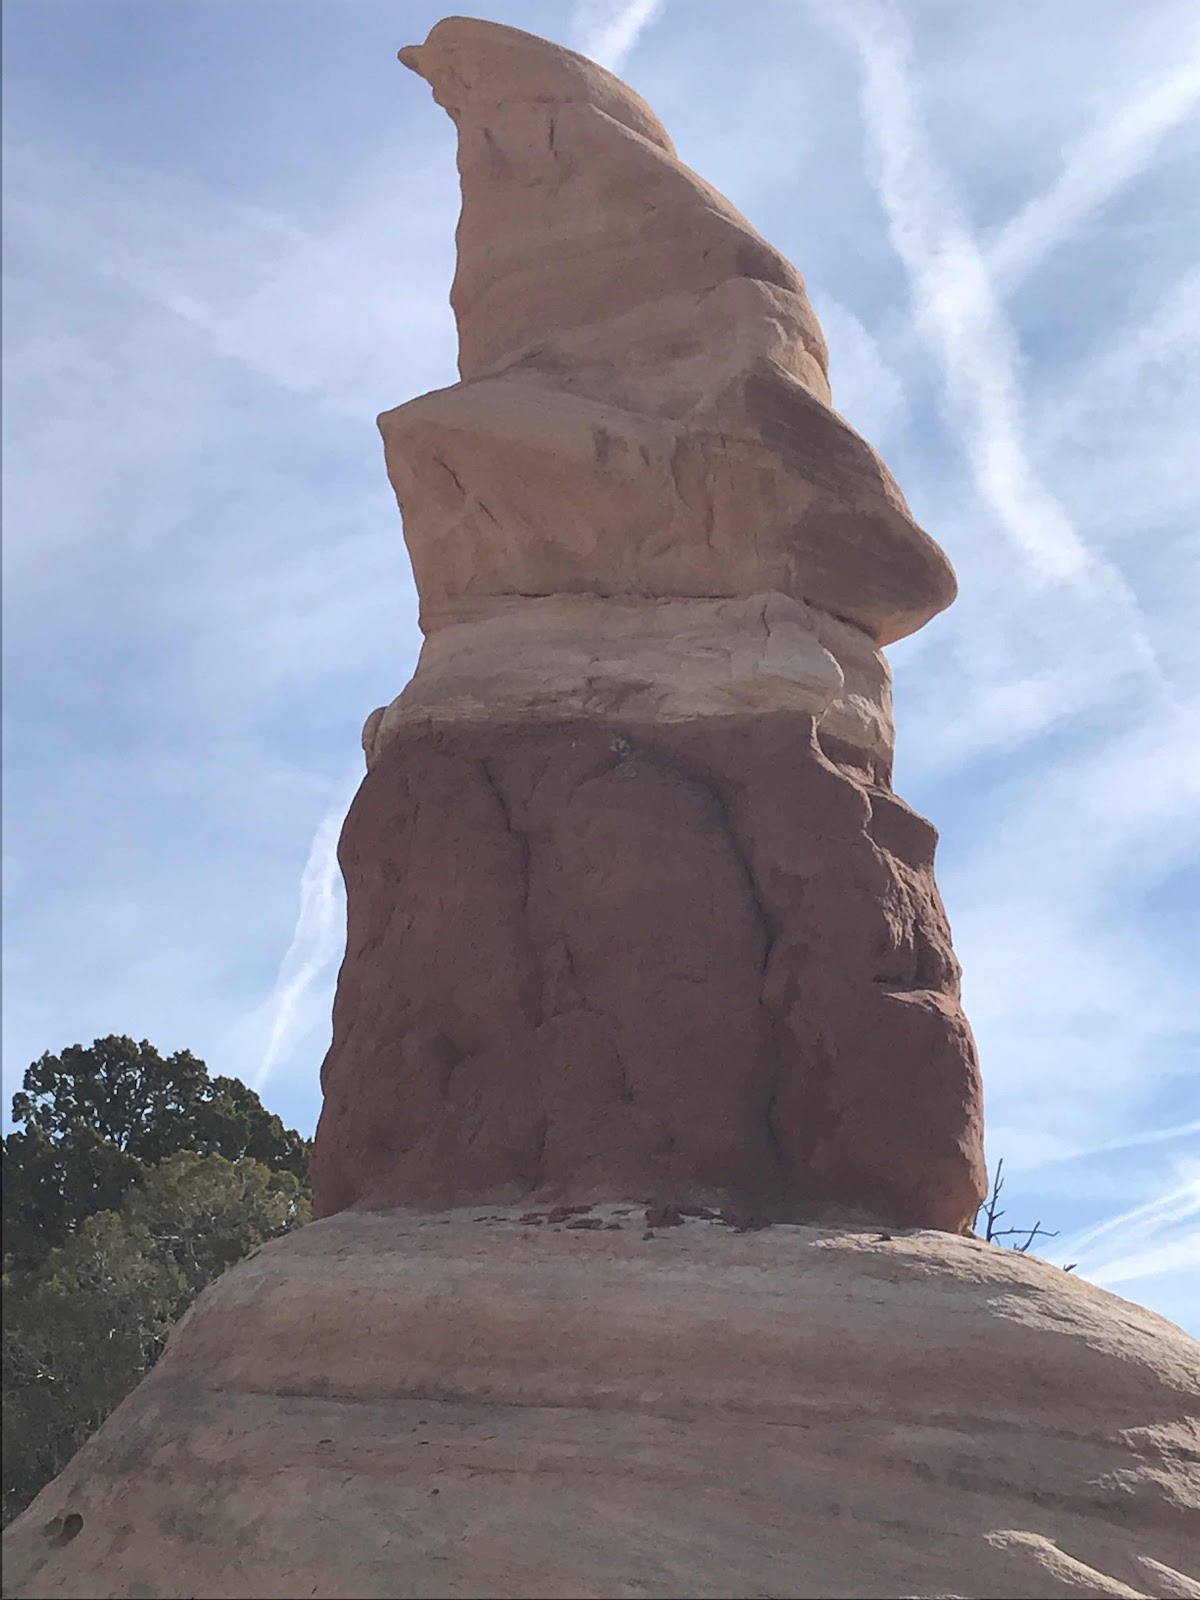


Now look at this view above and see if you can find 2 faces in this one formation.  Above someone with big nose.  Bottom half kind of a gorilla head.
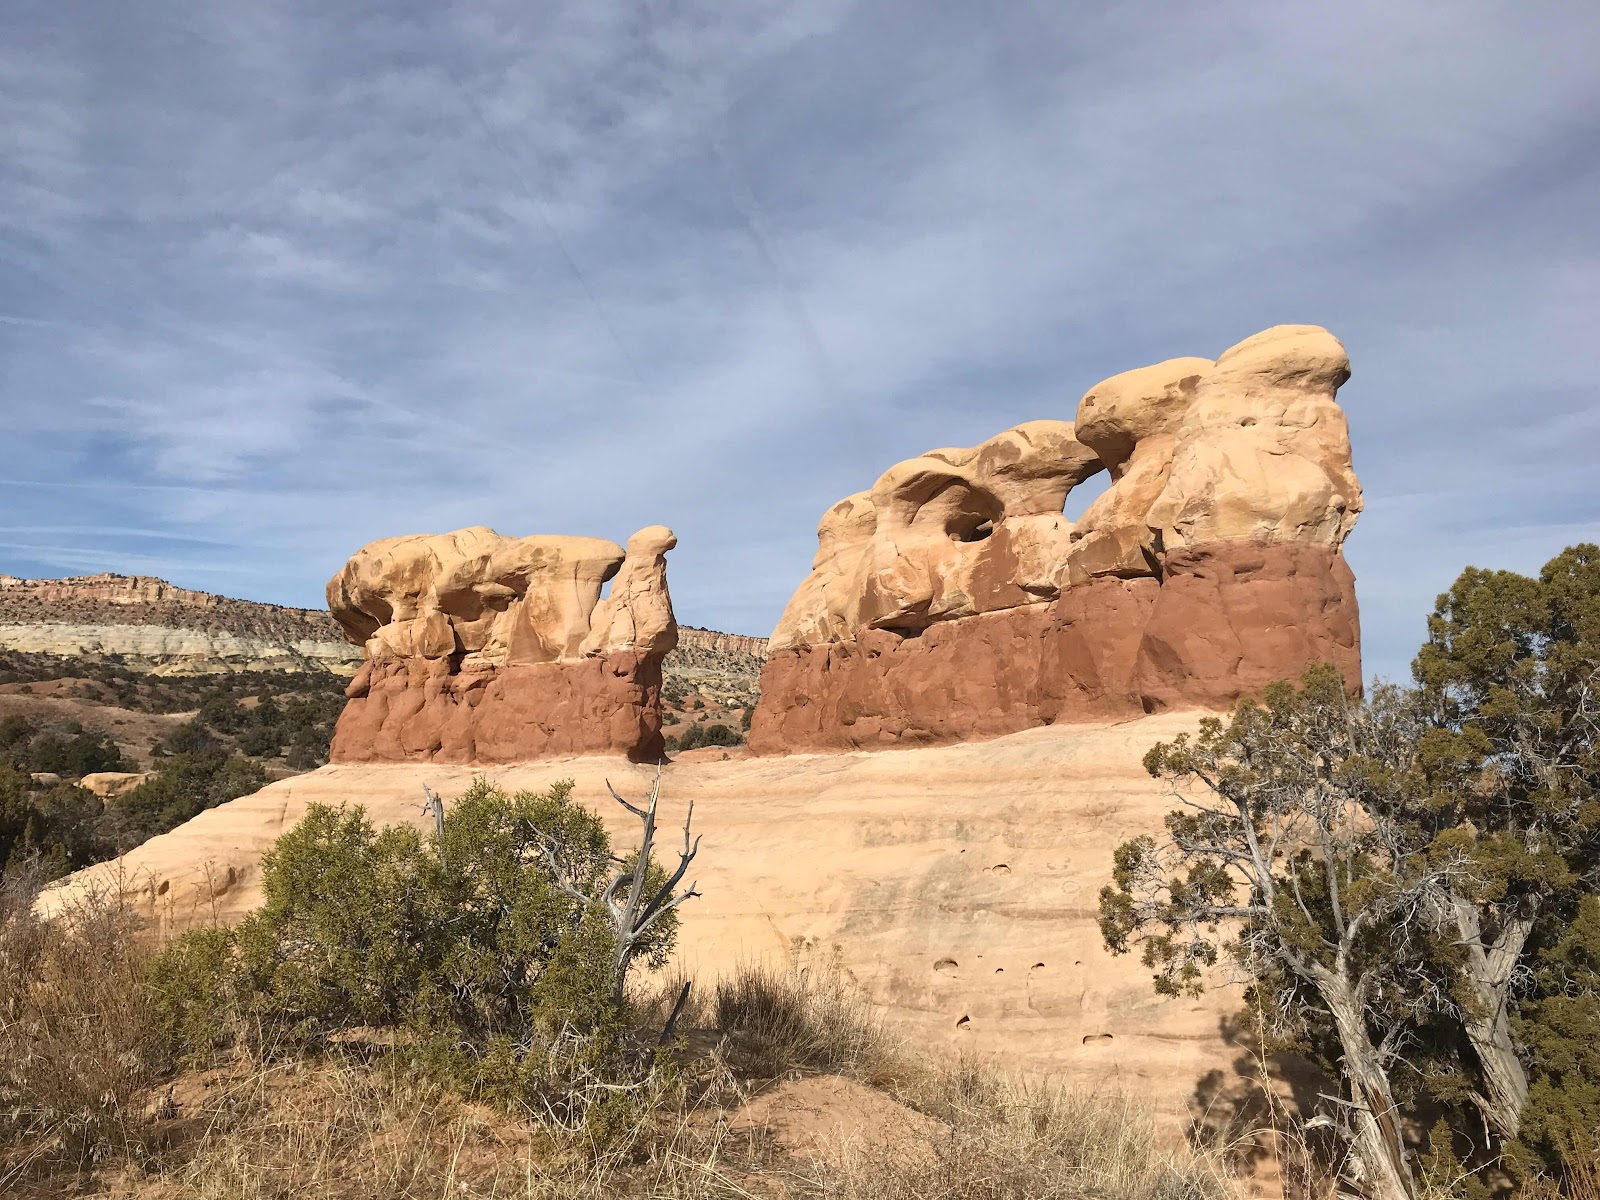


In this photo if you look to the rock formation to the right you will see a hole / arch along the top.

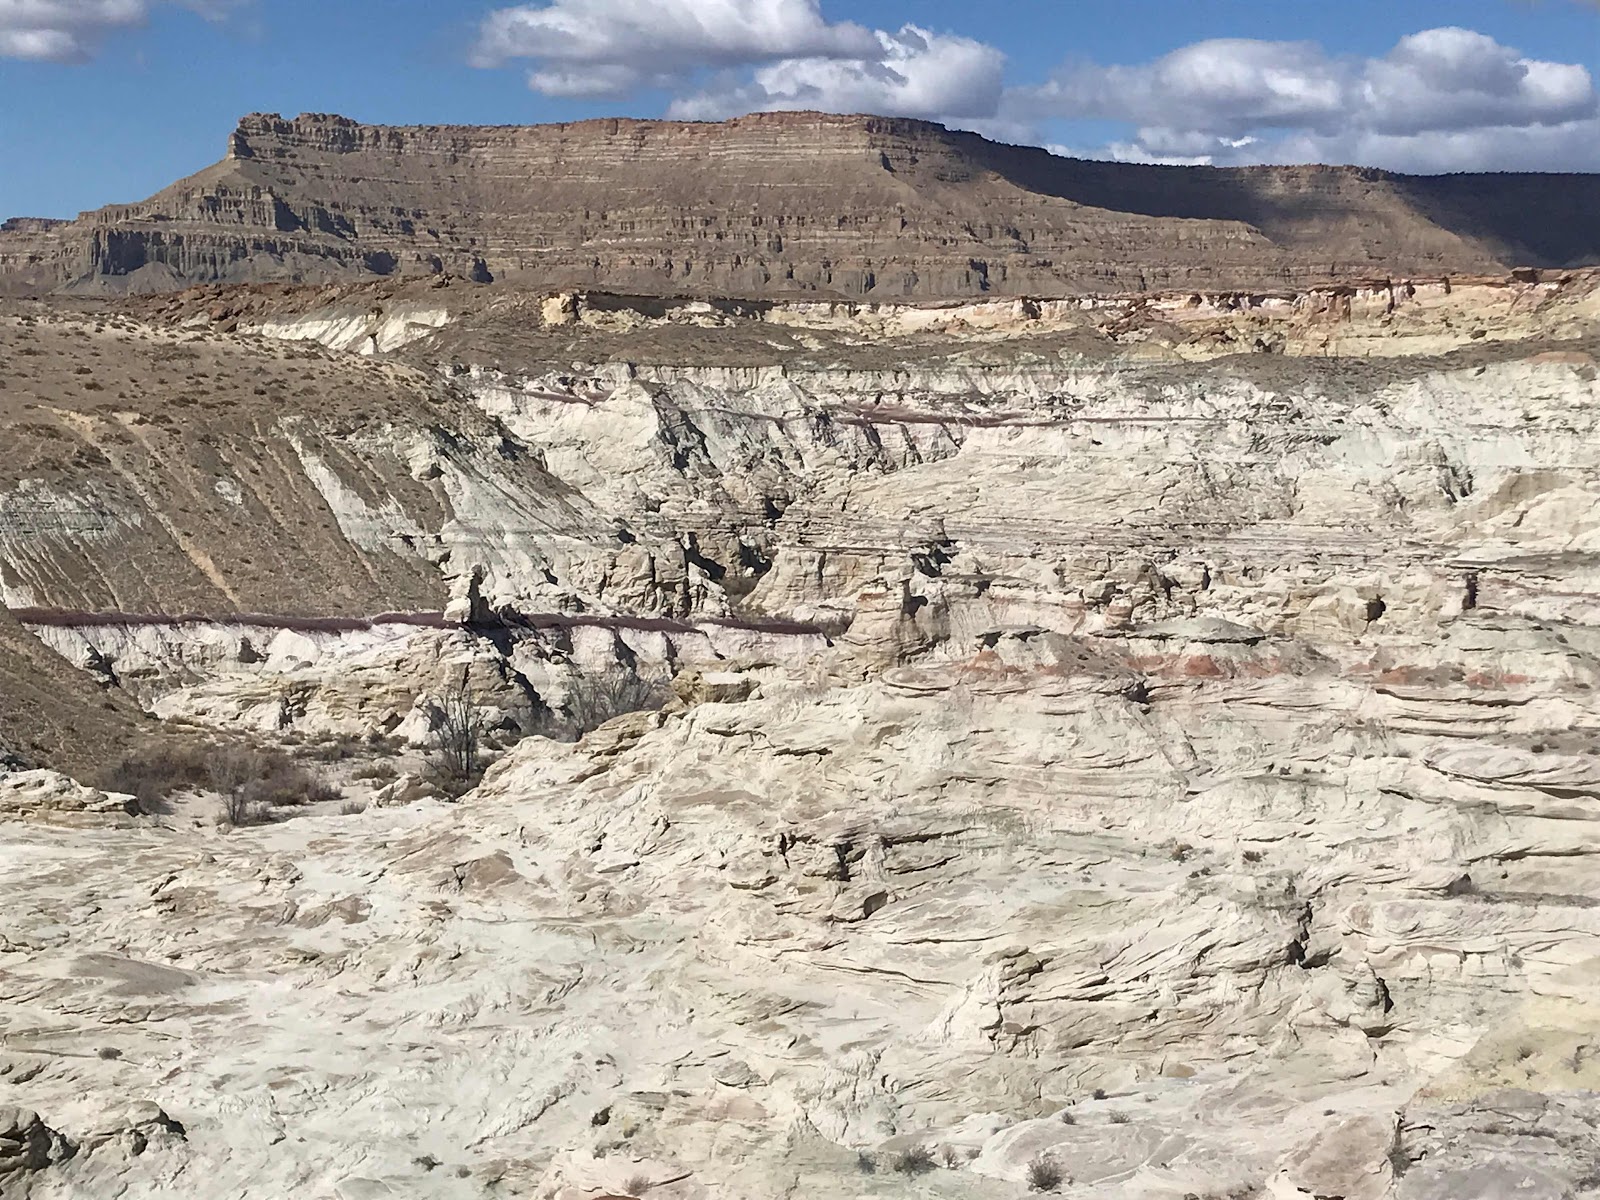
Escalante seems out of the way from driving between the 5 National Parks in southern Utah, but if you go along UT12 east from Bryce to Capitol Reef you will find this out of the way place with some different things to see.

Brent

macaloney@hotmail.com

Sunday, March 8, 2020

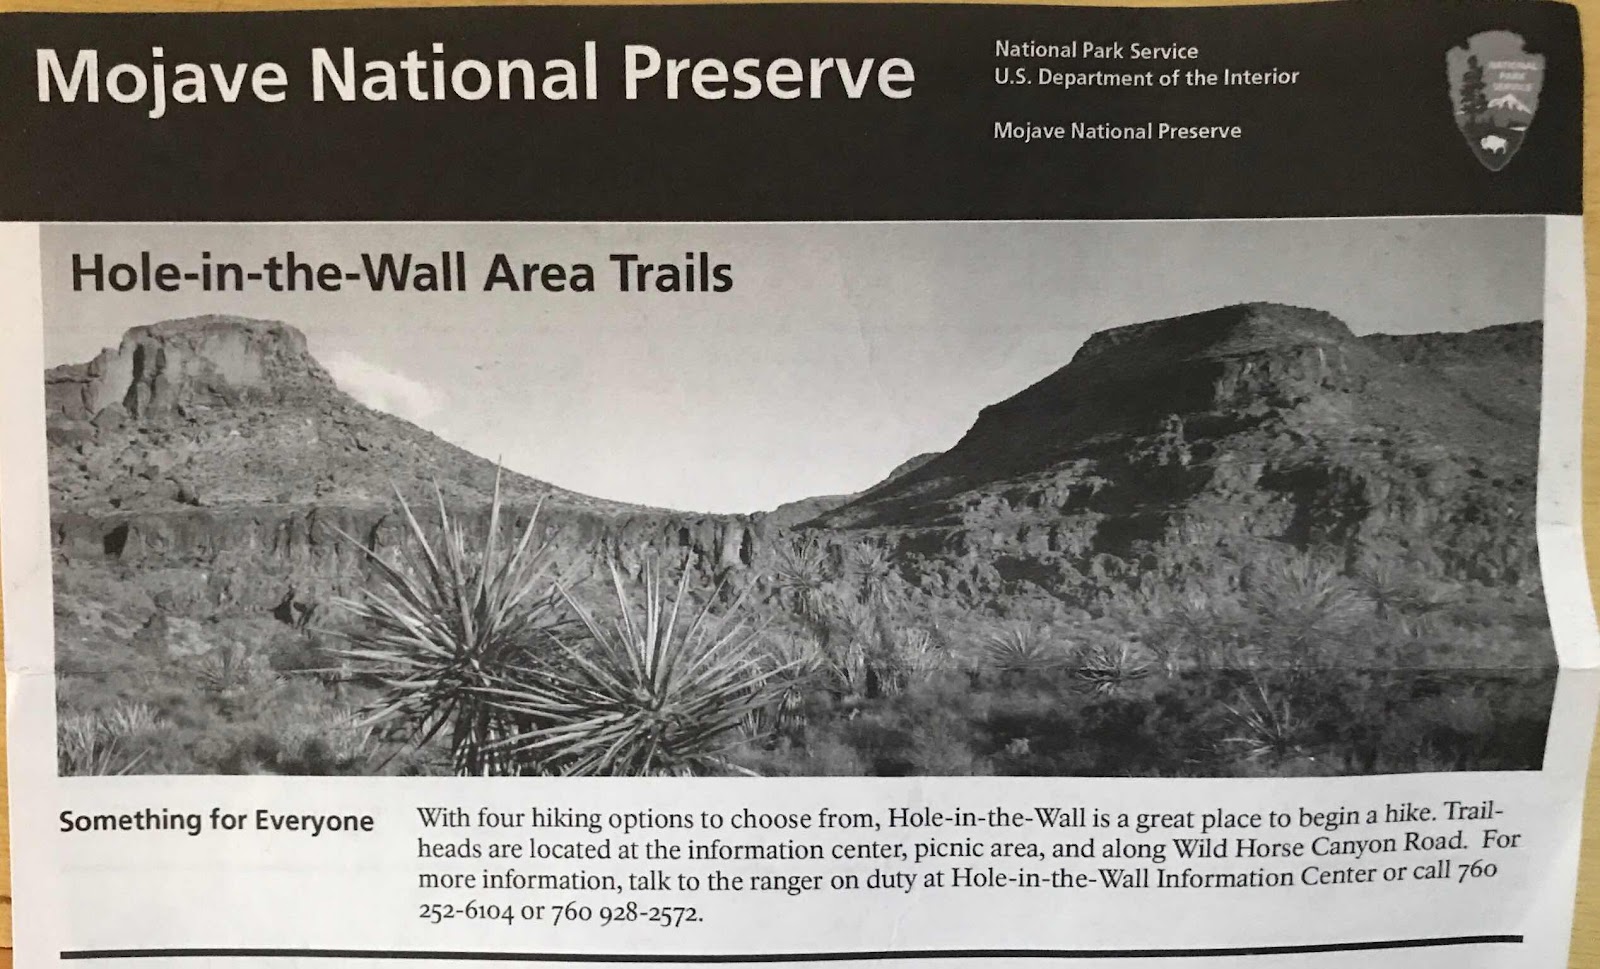
Hole- In-The-Wall / Mojave National Preserve


While I was in the Mojave Desert I stopped by to see Hole-In-The-Wall north of I40 in California.

My friend Roxy had recently been and I wanted to check it out sun I was in the area.


Here is my route to get there and back to Needles, CA for gas as there are long distances out there between gas stations.


There is a picture of the drive north.  I made the big loop up and back down so not to backtrack and see new things.  Basically, it is sparsely populated with long vistas.  There is some scenery as you head south towards Hole-In-The-Wall. 


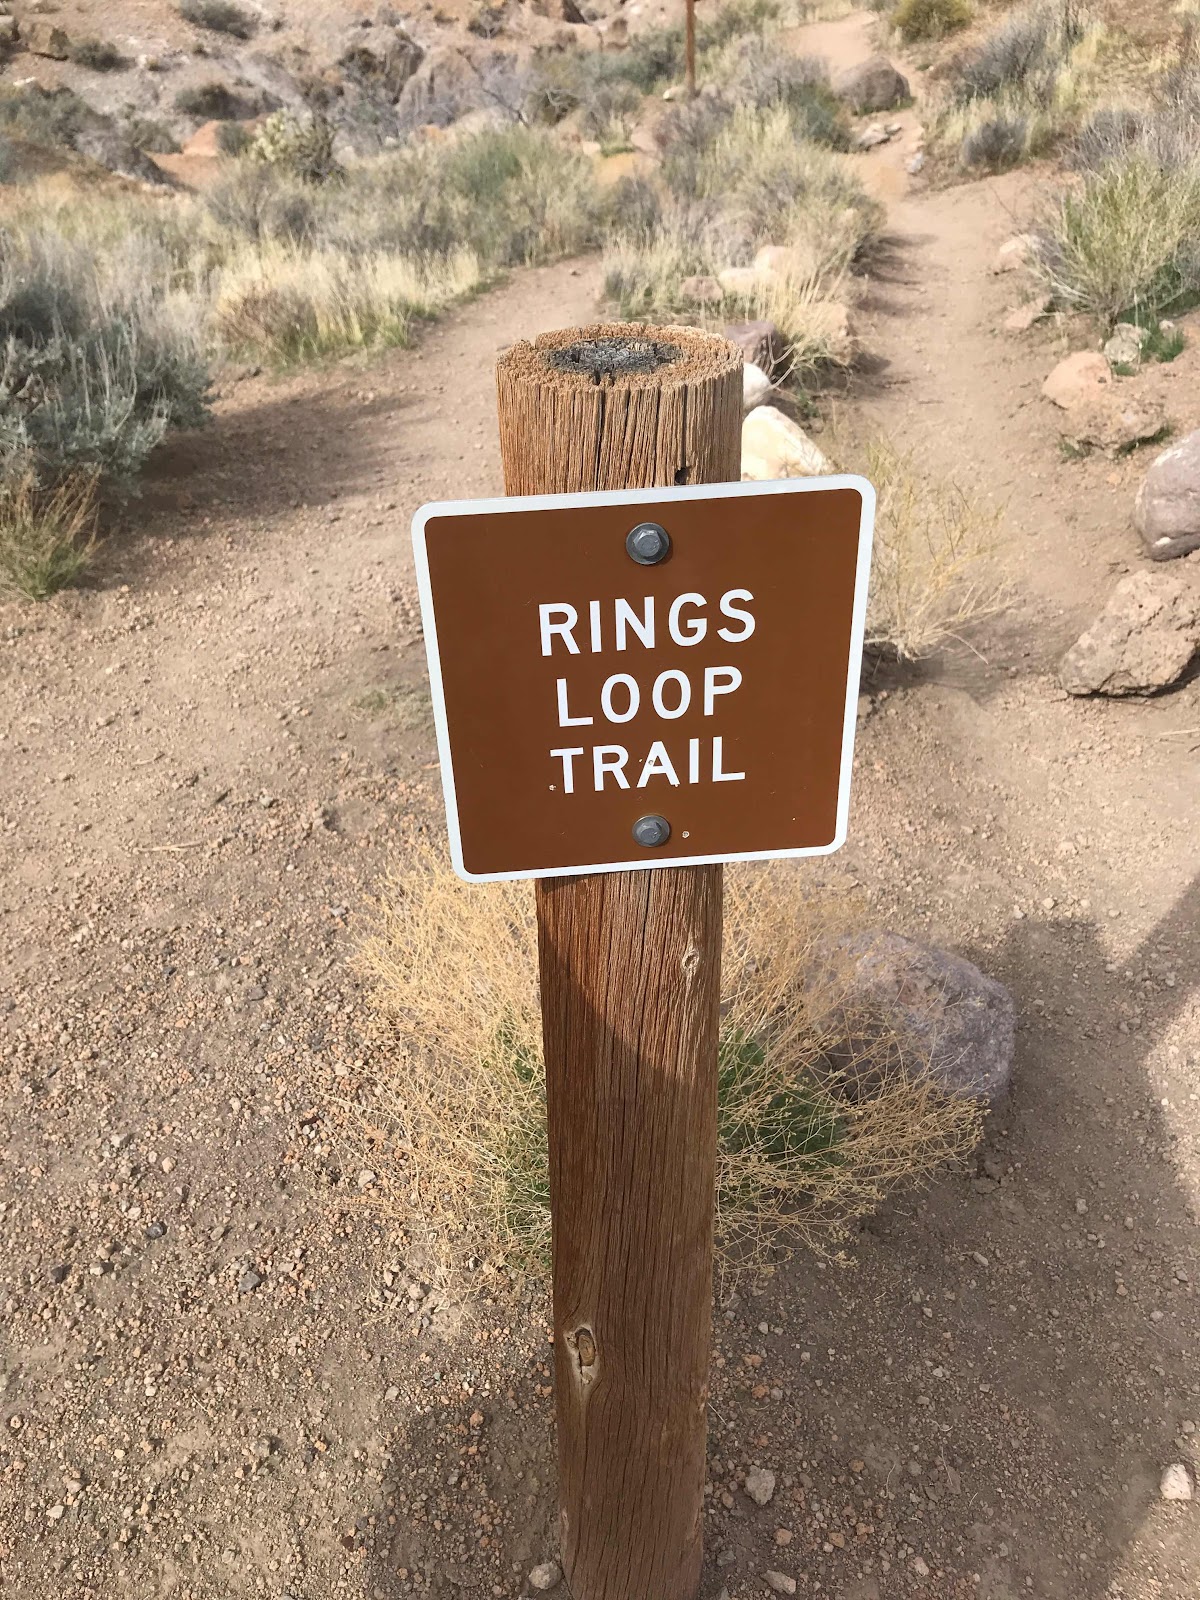
The visitors center was closed the day I went.  The most popular trail is the rings/loop trail.


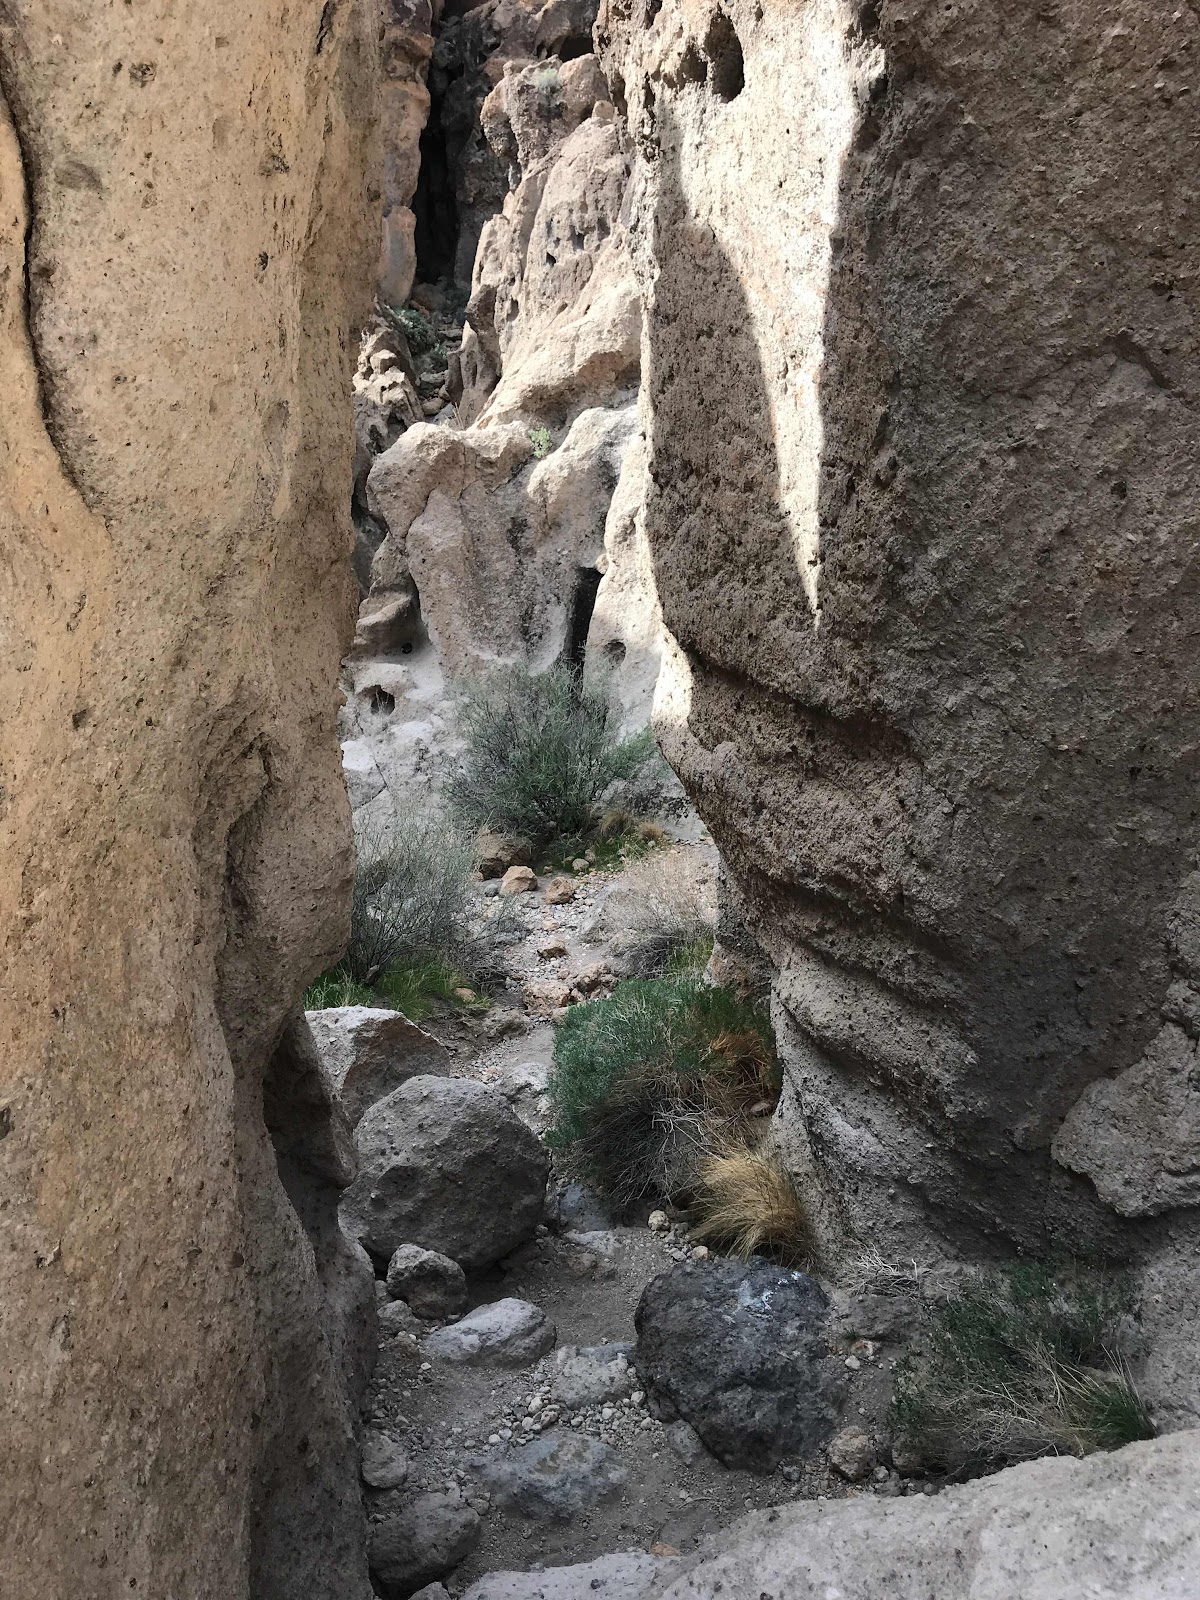
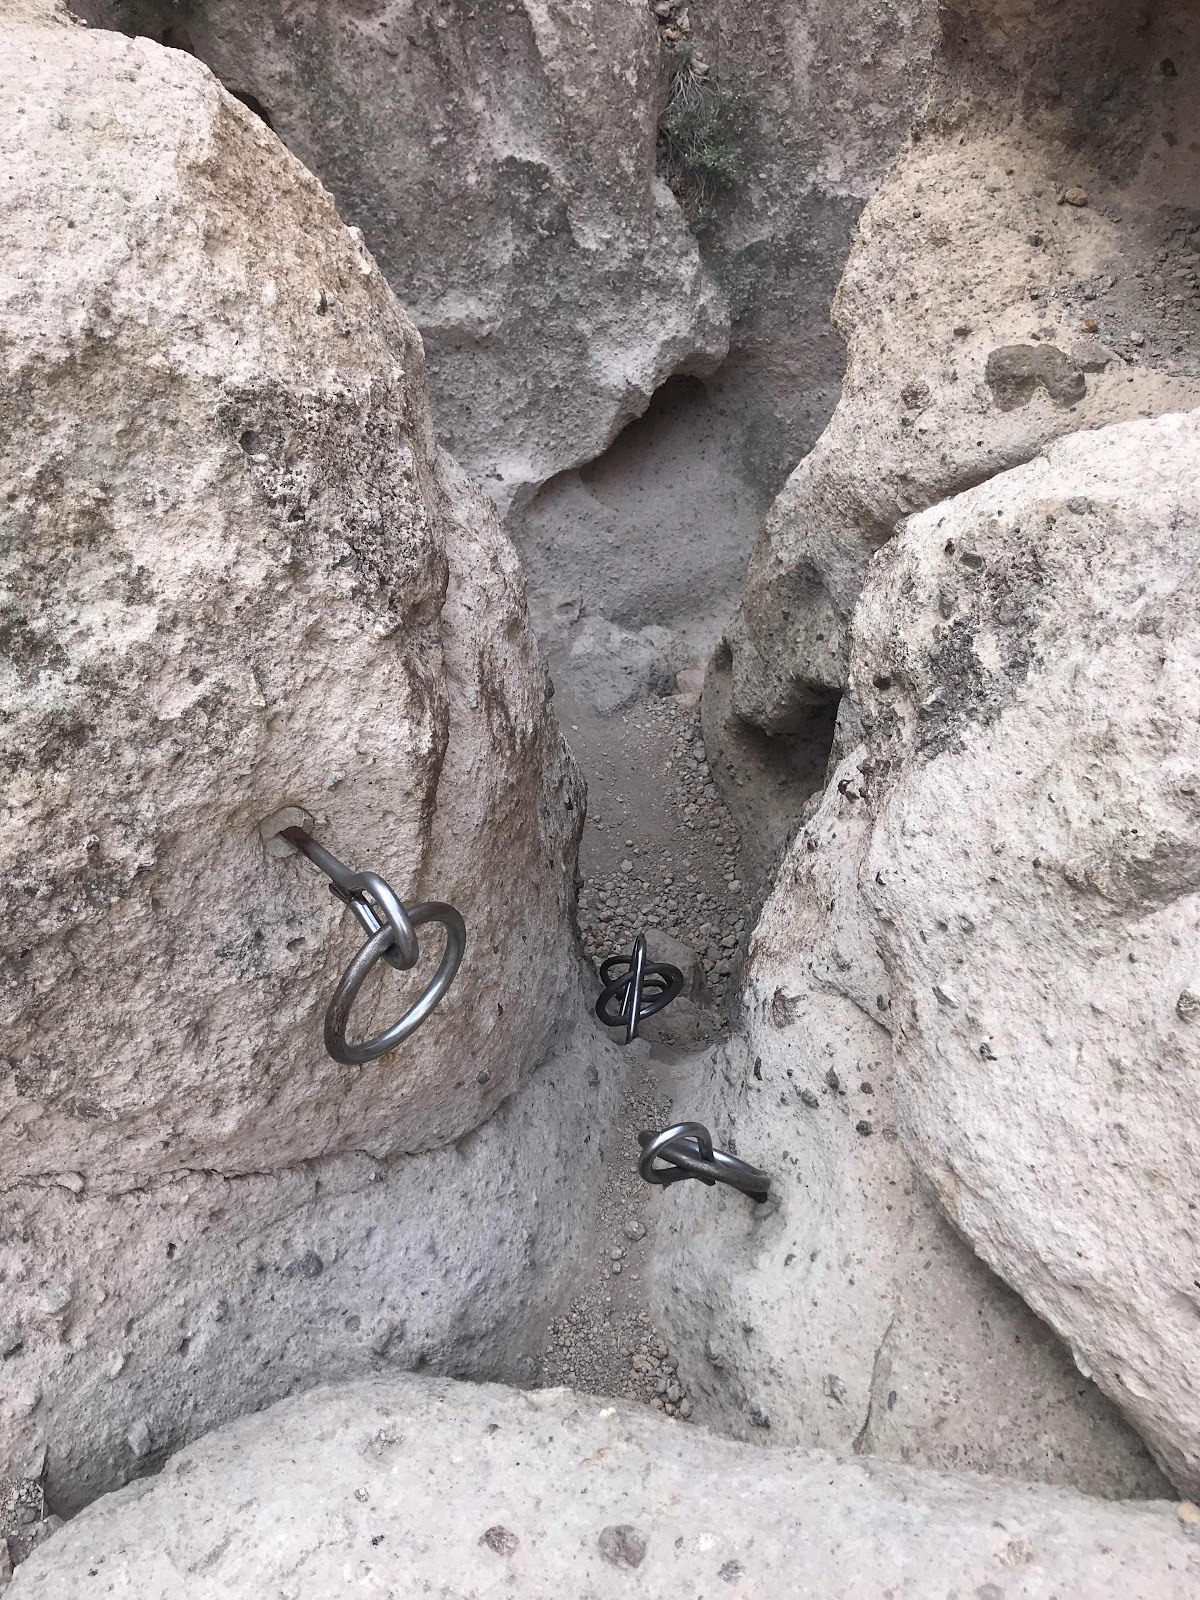
The trail goes down into this spot canyon.


I went down a a bit into the slot.  I found this rock plugging the slot a interesting formation.


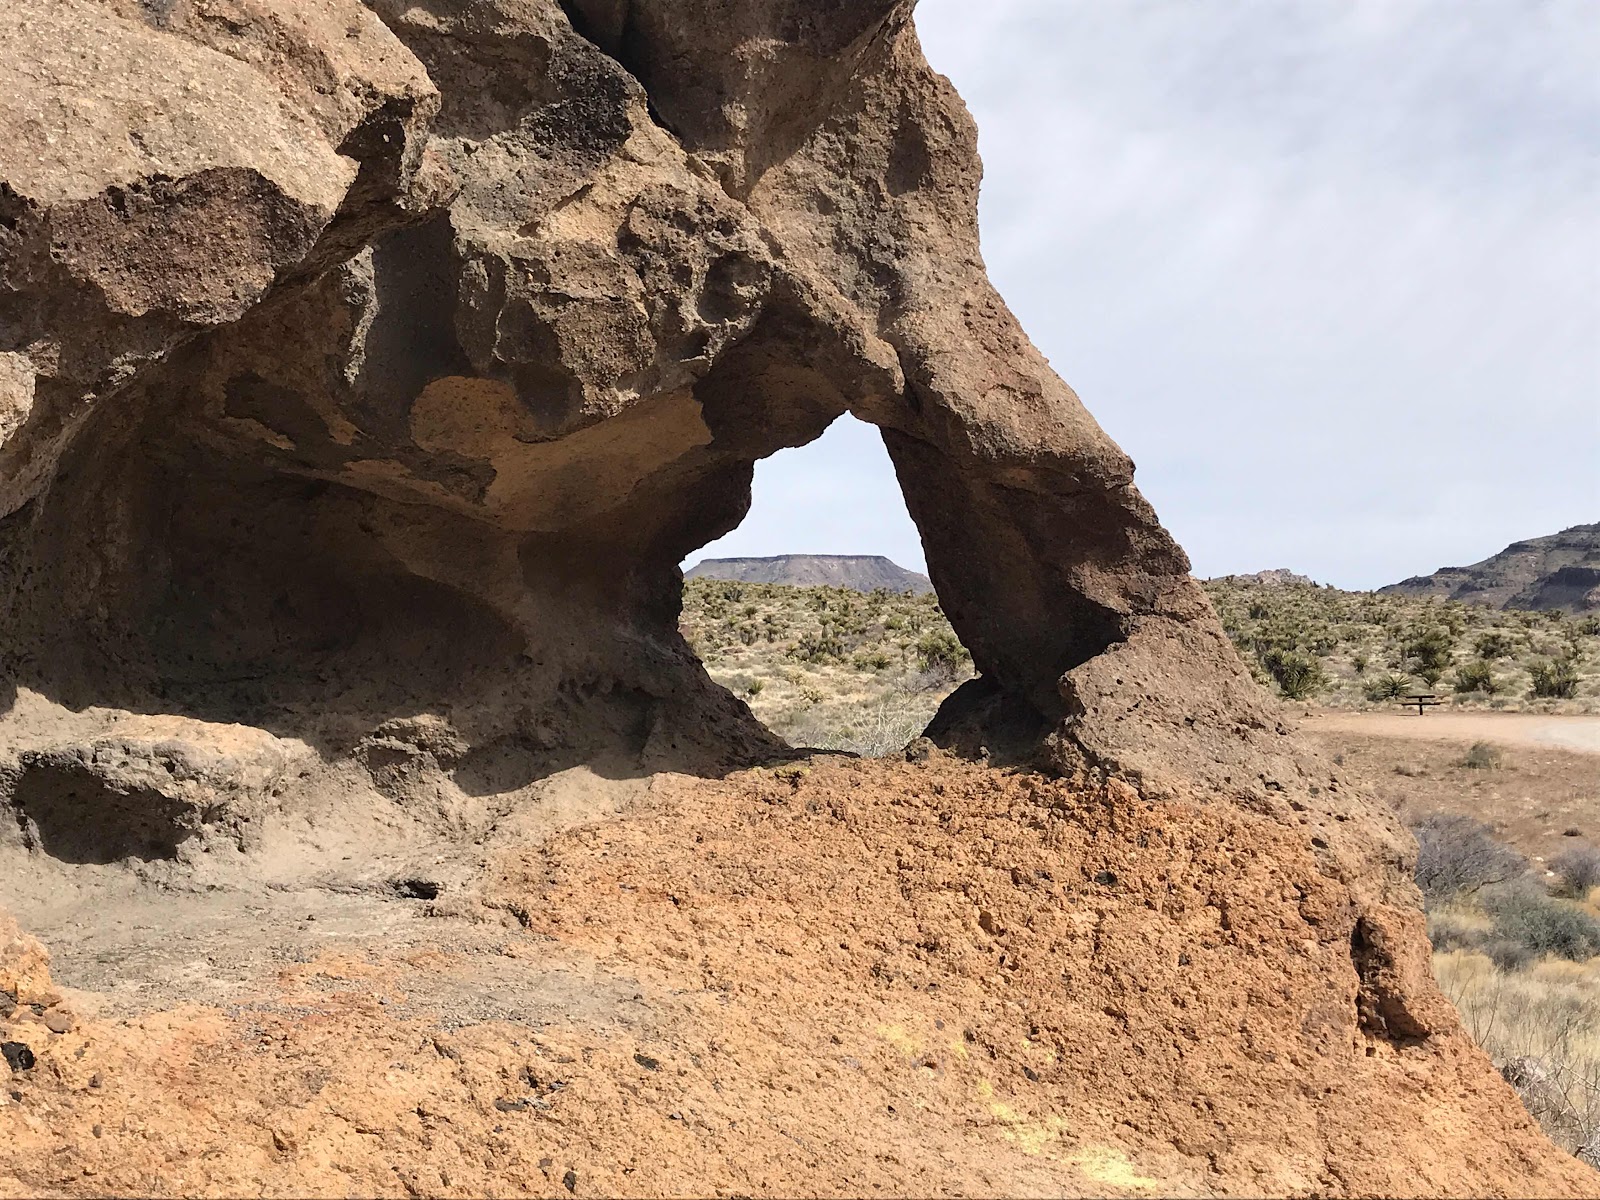
I’m guessing this is Hole-In-The-Wall.  I aligned my photo to have the Mesa off in the distance fit in the hole.


Another picture down in the slot.


I made it only as far as the rings/loops.  If I was climbing up I believe I could have done it but with my shoulder still hurting from my dislocation, I opted to end my hike here as I don’t want to damage it more.


There are lots of holes at Hole-In-The-Wall.

Come explore and take the full ring/loop trail.  Try taking it clockwise to minimize fall risk going down the rings.  This is what I should have done.  Well, I may have to go next year after my shoulder has fully healed.

Brent 

macaloney@hotmail.com
Saturday, March 7, 2020

White Rocks Wilderness Study Area - Revisited

Last year Joanne, Susan and I hiked the White Rocks Wilderness Study Area, but never completed the loop trail.  Link to last year’s post below.


This year we look to complete the hike in the opposite direction.


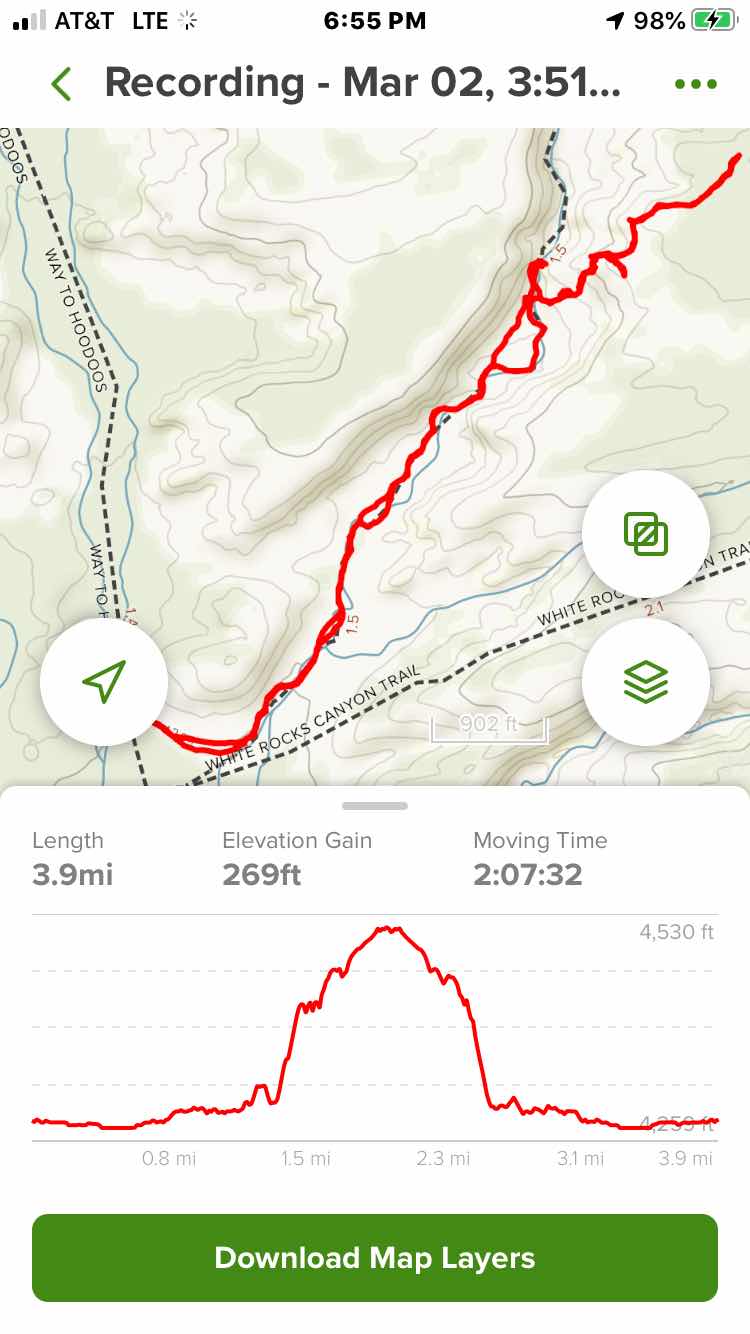
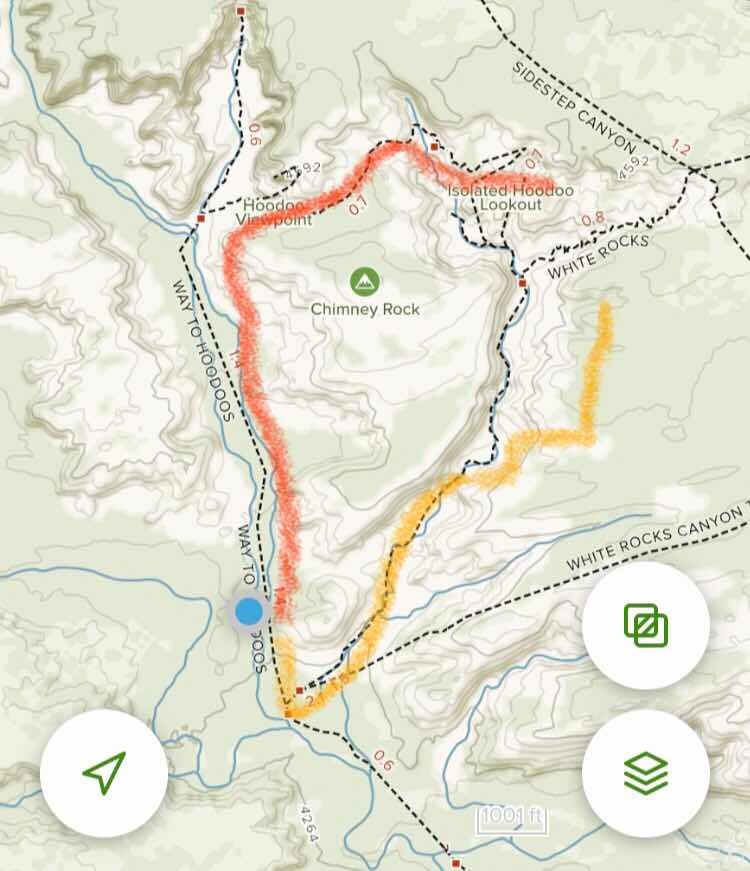
Above is a screen capture of AllTrails app map of the area.  The red is the hike last year and the orange is the hike from this year.

We didn’t have great success this year as you can see the yellow line diverts to the right off the dotted line marking the trail, and doesn’t connect with the red line.

So what happened?  We ran into a wall.  That’s right we went though a narrow section of the wash and found an 8 foot concrete wall.  (Sorry no picture of the wall - I forgot to take a picture) 

I hadn’t brought my climbing rope so I decided to look for a way around, and in doing so, climbed a sandstone formation finding my way to the top of the canyon wall.  I like the role of pathfinder in the group.


Hiking in this direction is similar to the hike last year initially hiking through a wash.  This is the turn up ahead where we ran into the concrete wall.


Here I am on top of the canyon side.  It is grassland and open range.


Above is a view back down to the wash.  This is the sandstone I found a way up for us.


Across the canyon Are these hoodoo towers seen in my hike last year.


There is the wash above the concrete wall leading up to all the hoodoos we saw last year.


Here is a zoomed in picture of the hoodoo area.


The hike was good as was the views, although a bit disappointed I didn’t connect the loop from last years hike.  Not to be totally disappointed as there are always interesting formations like the one above carved by centuries of running water.


Our AllTtails hike App information is above.  Wilderness exploring off the beaten path can be lots of fun.


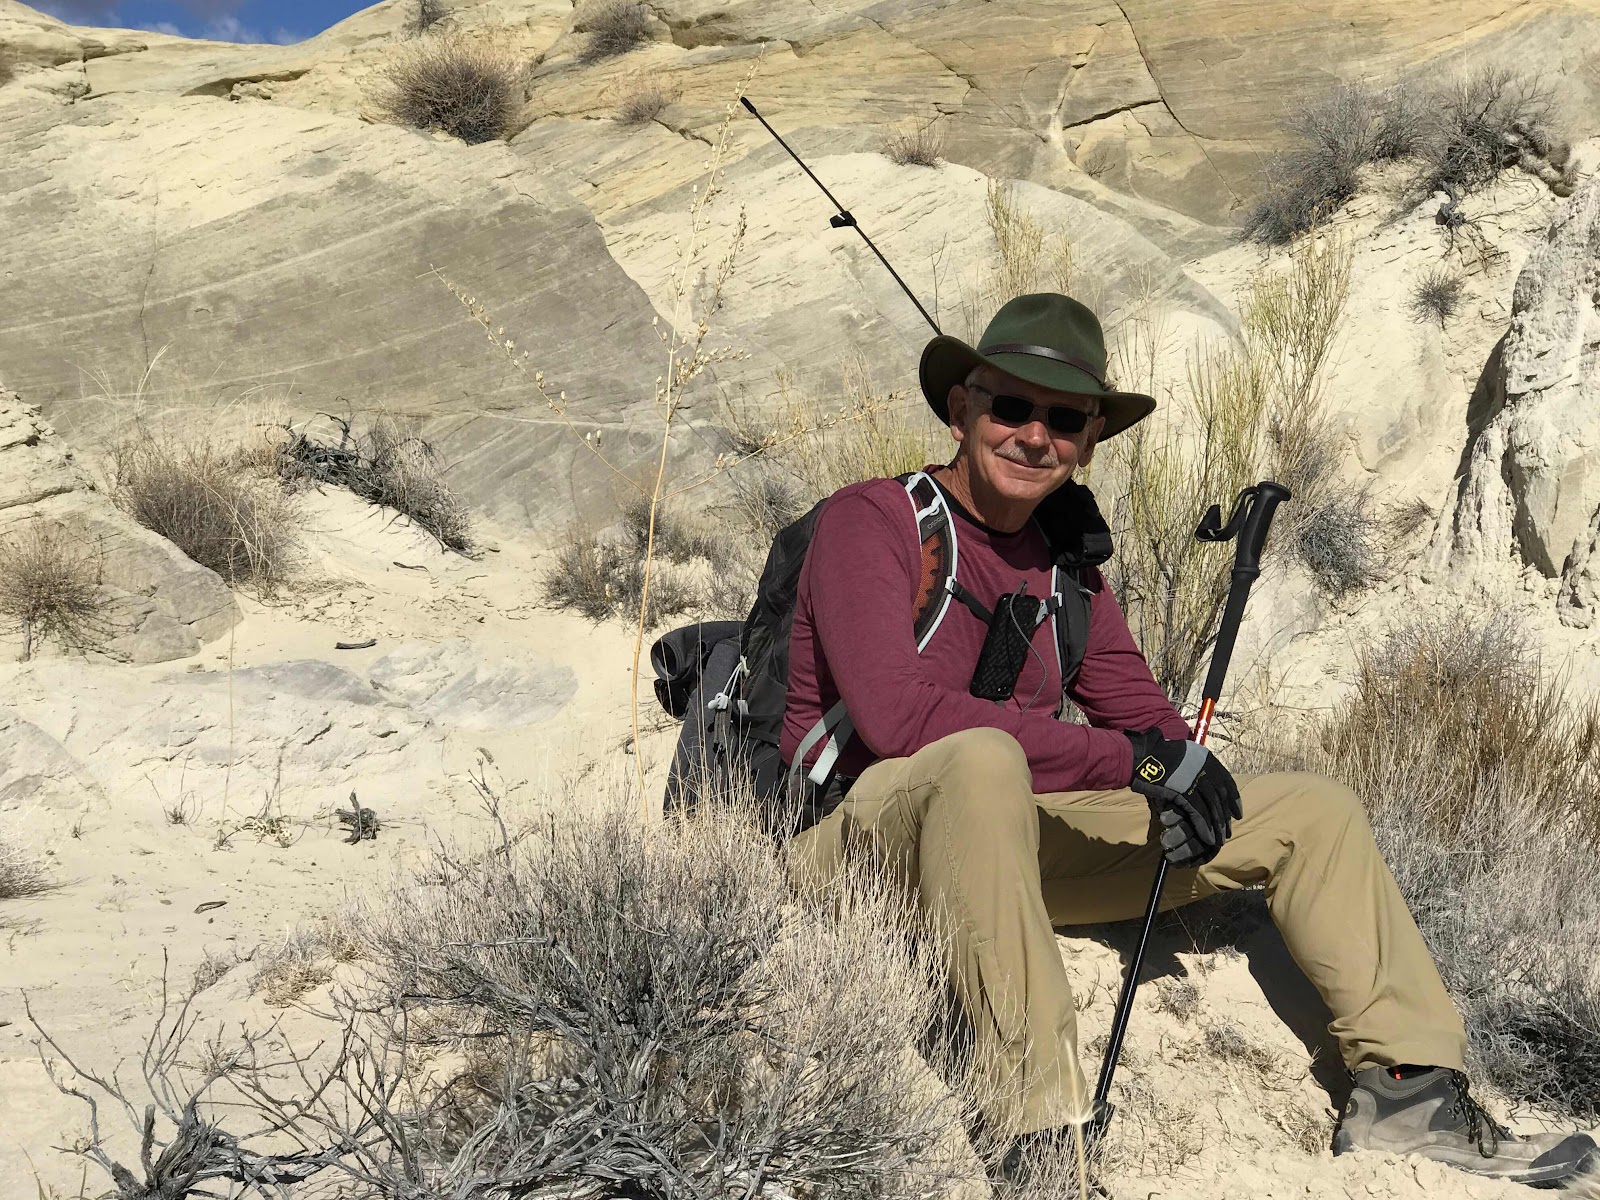
One of the blog followers commented that I do t have pictures of people.  Well, Susan took this picture of me taking a break on the trail. 

Brent

macaloney@hotmail.com


Friday, March 6, 2020

Grapevine Petroglyphs


Not far from Laughlin, NV there is a small canyon in the mountains where you will find a great selection of Petroglyphs.  

It’s Grapevine Canyon, NV.

I give credit for the heads up on this location to my Vandwelling friend Jeff Bowers, who just happens to come from the area in Massachusetts where I live.  He showcased his photos this winter on Facebook.

What’s humerus in a way is I’ve driven by the road to Grapevine Canyon for all of 7 years of my travels and didn’t know it was there.

I had some time before heading to Utah for the month of March, so I decided to head over before driving to Kingman, AZ, where I would Boondock for the night.

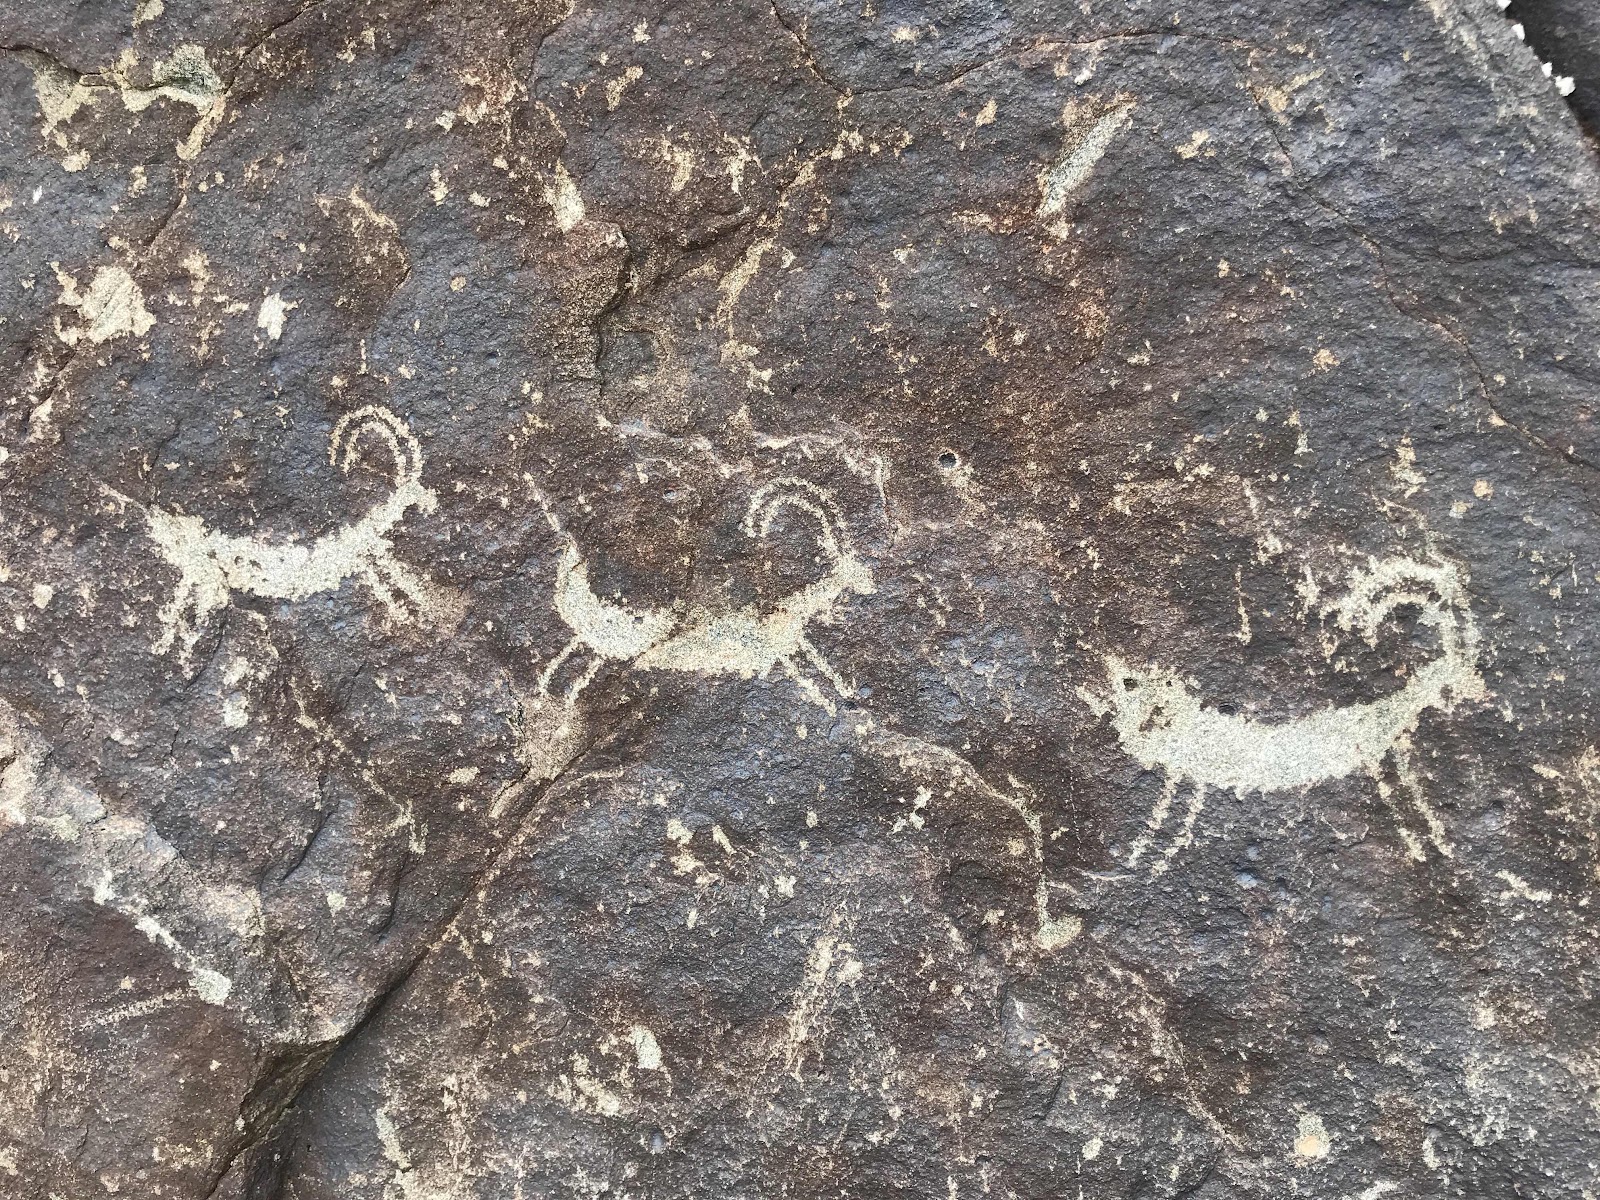
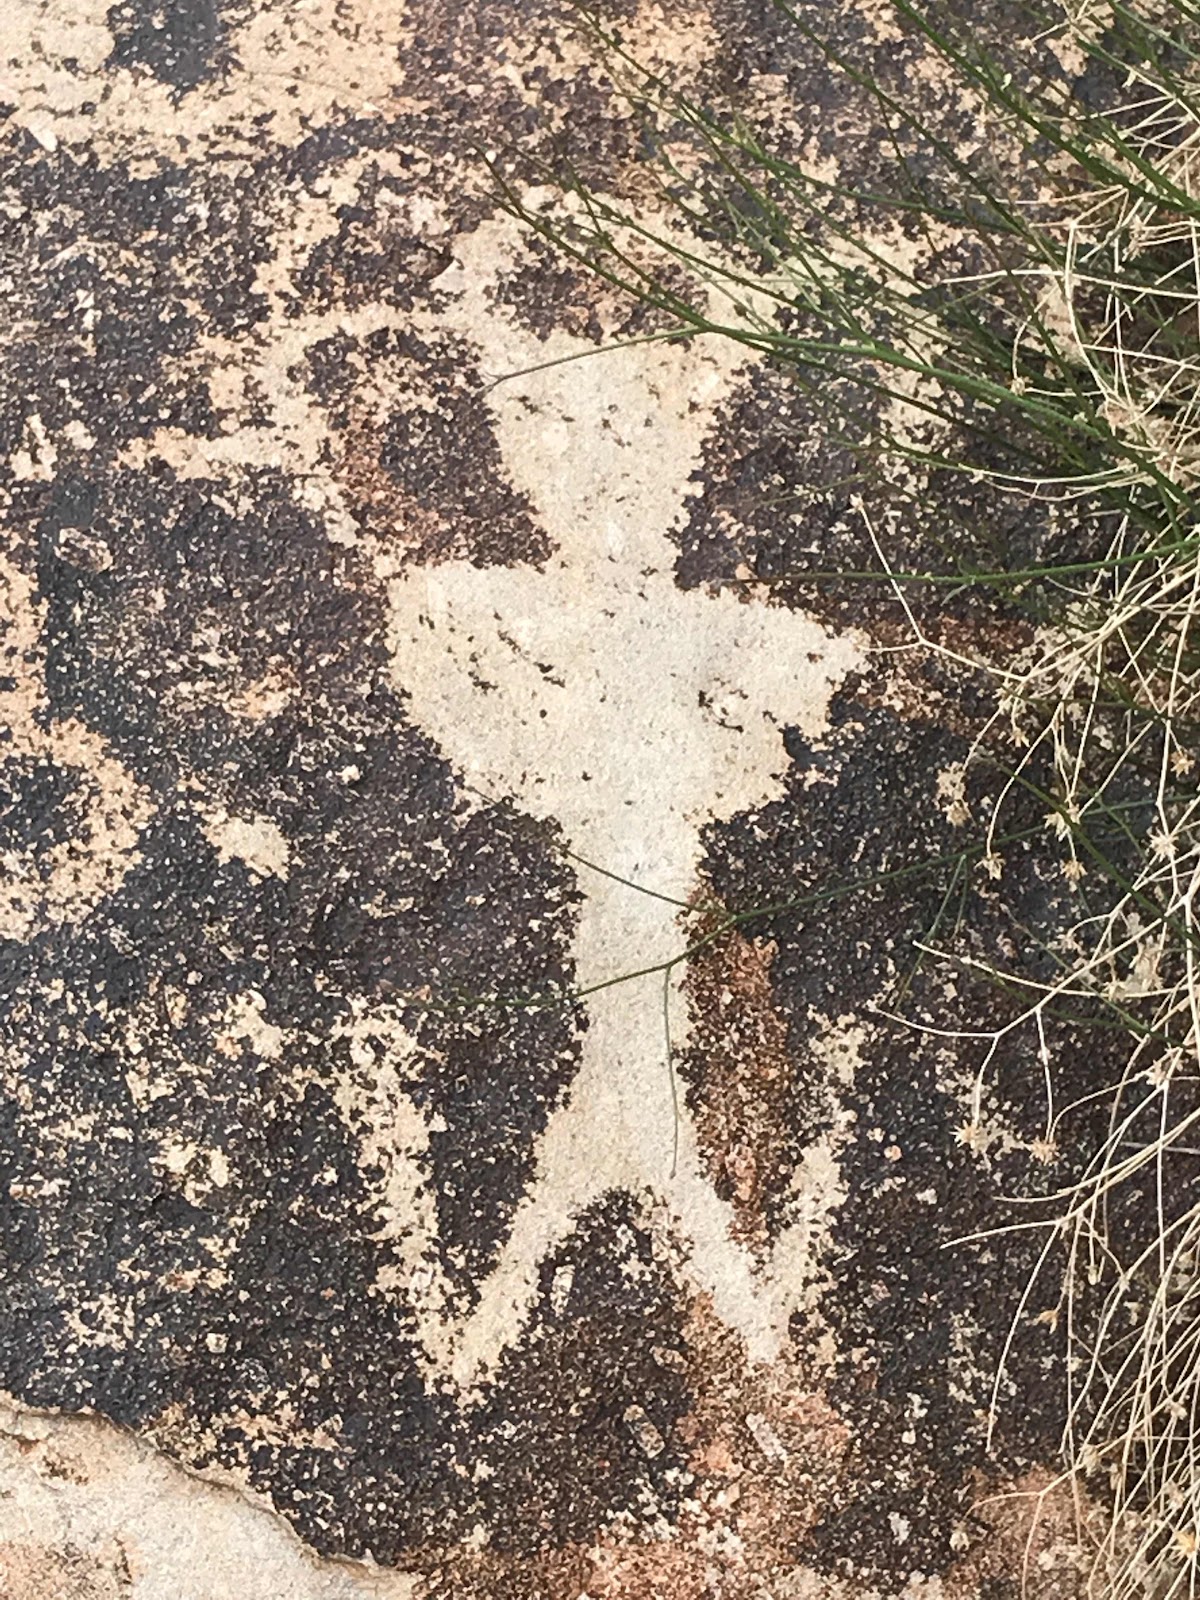
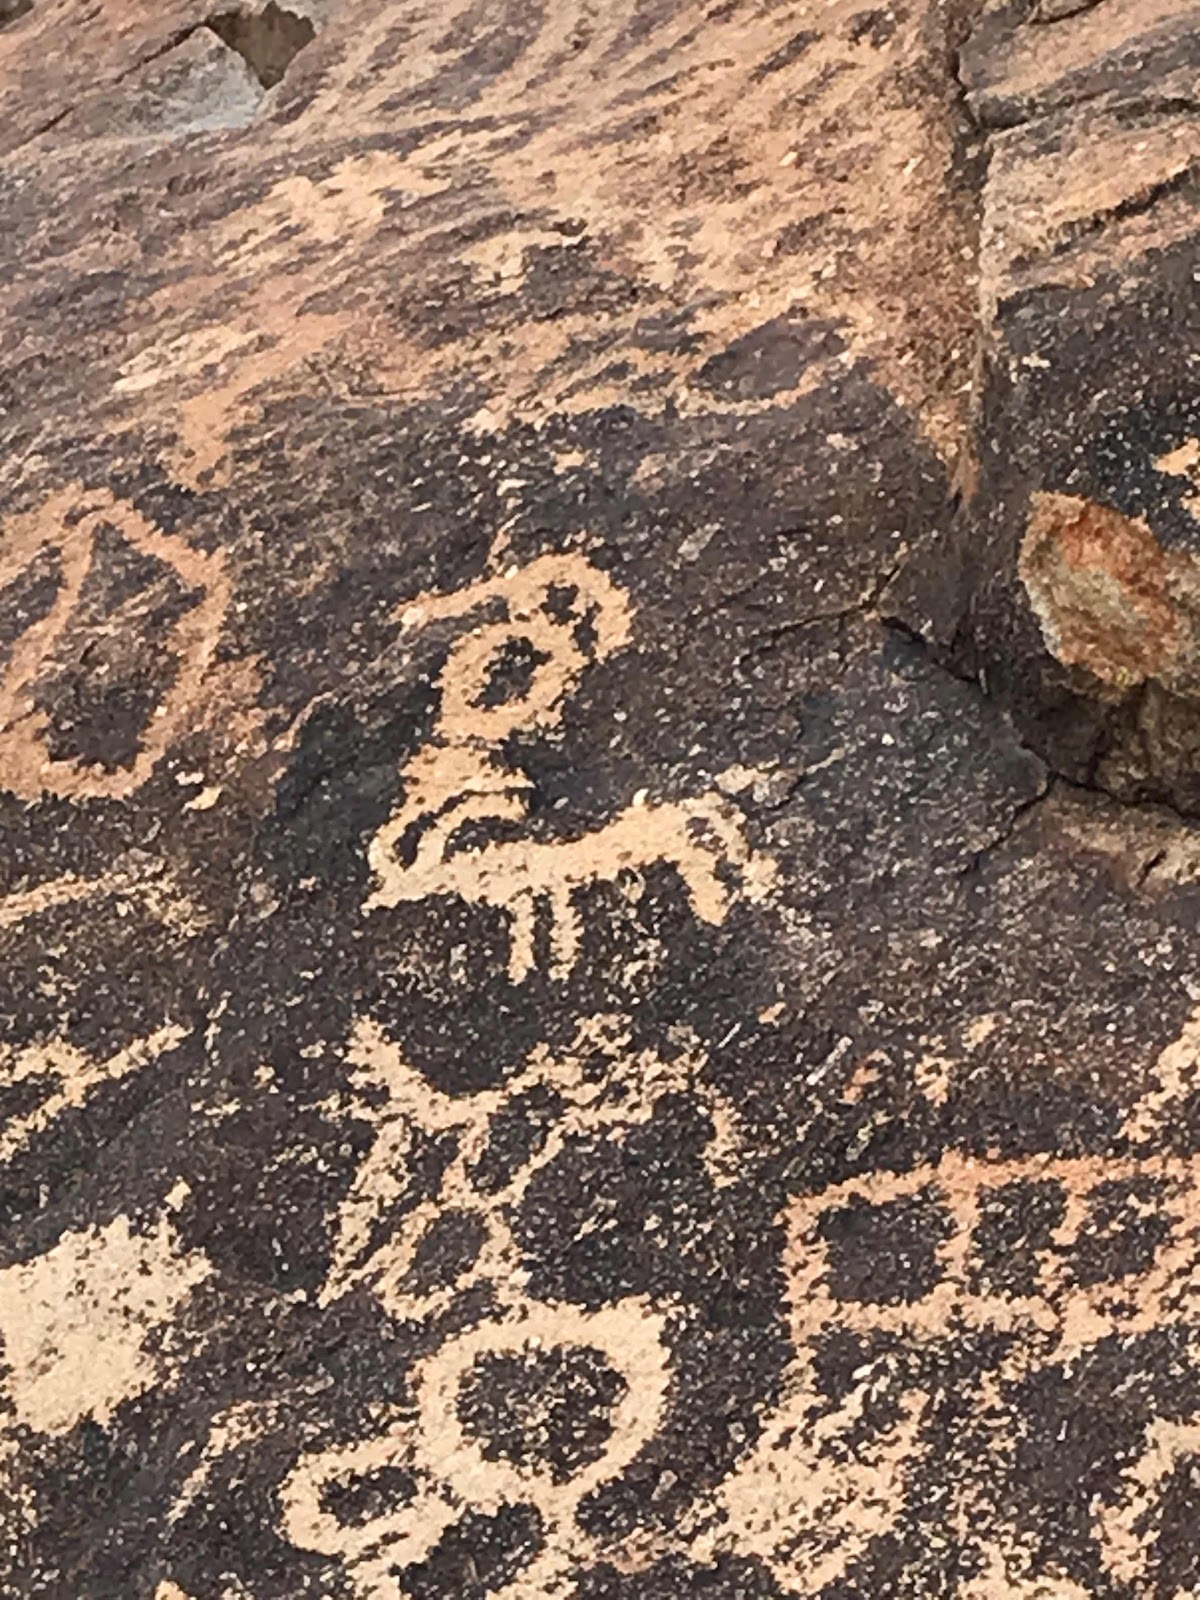
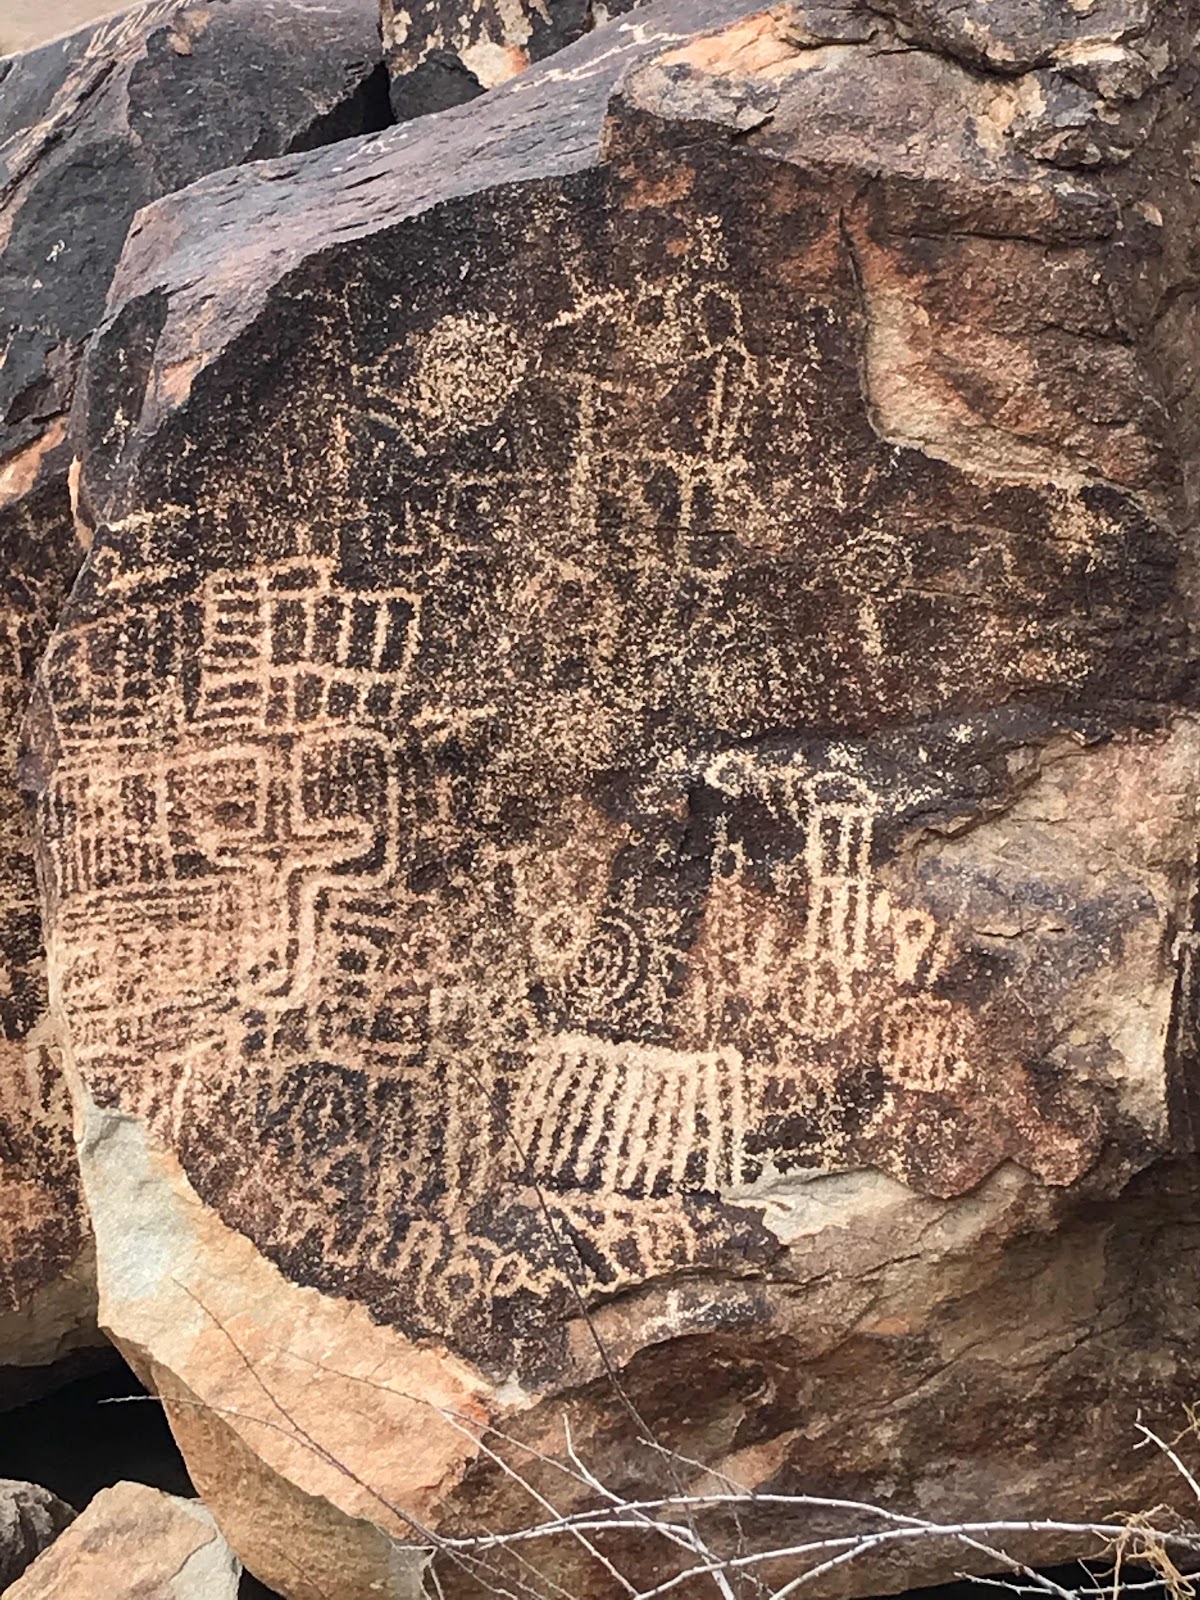
I enjoy people and running animals petroglyphs, and that is why I selected the first picture.  This panel can be found further in the canyon so do explore and look for it if you go.


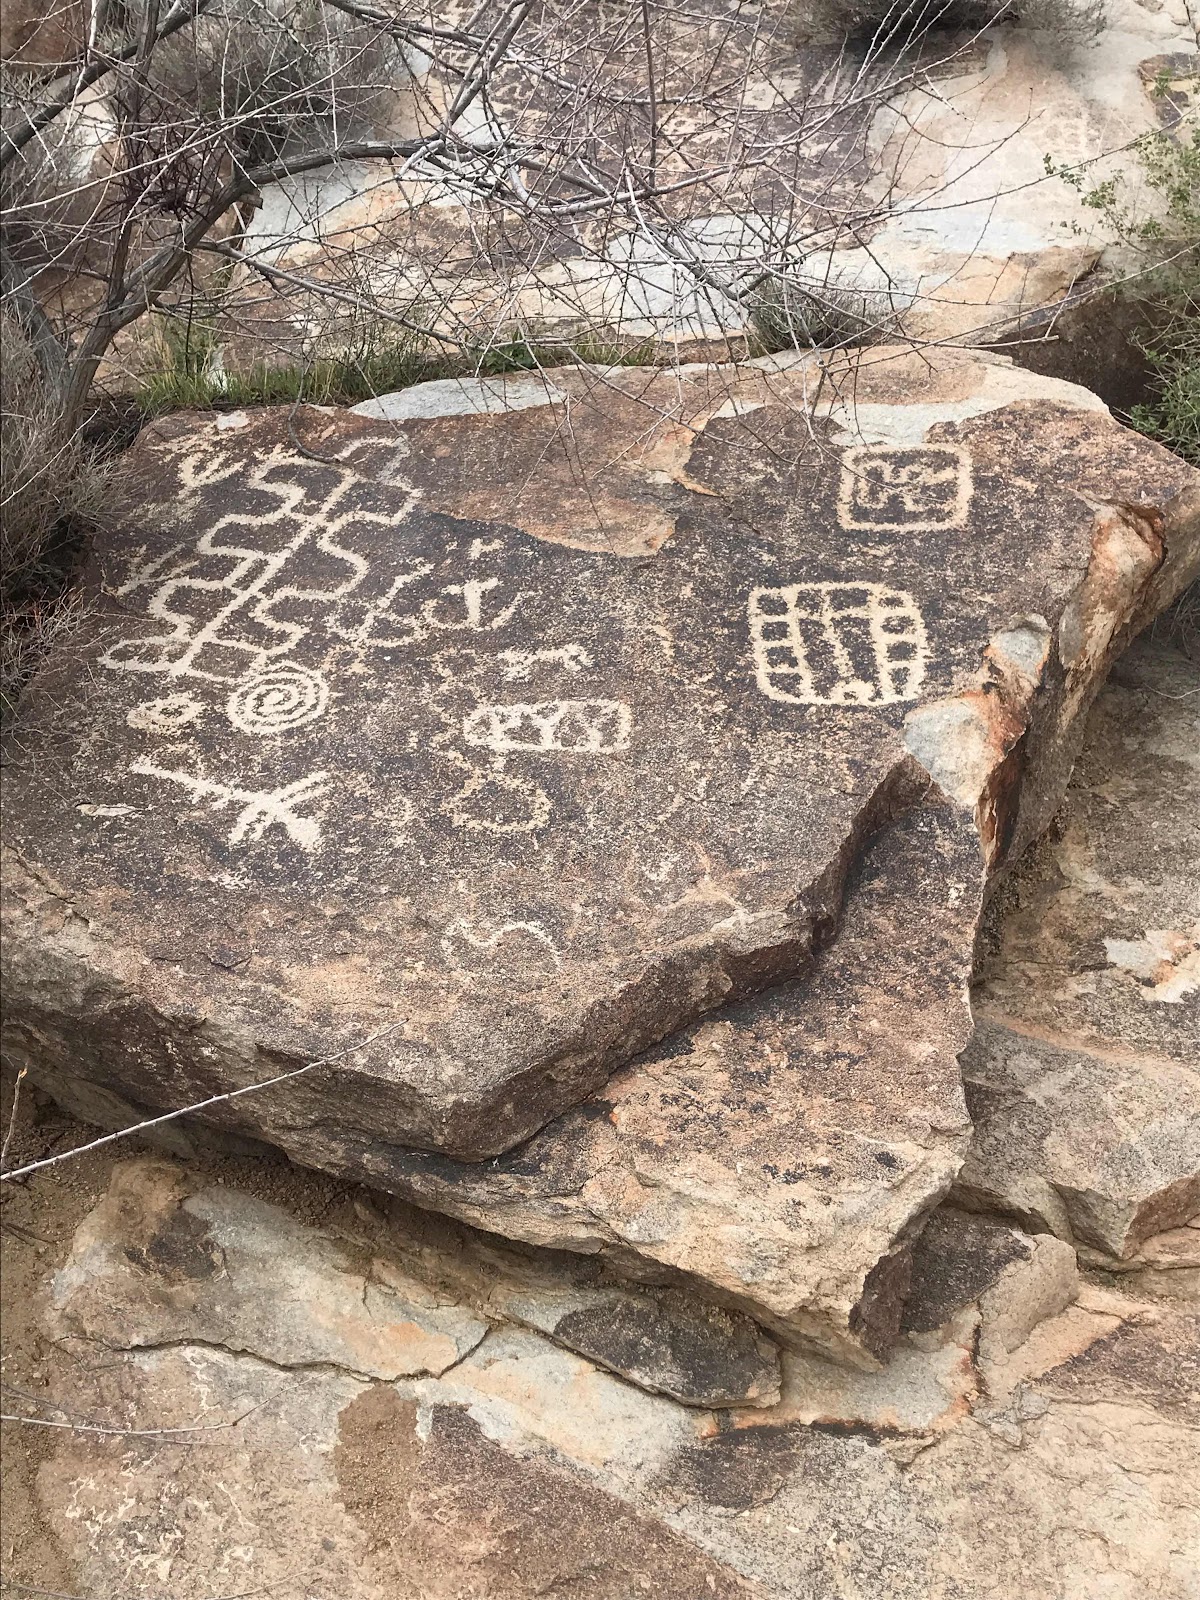
Geometric shapes are always common on the panels in this area


i think it’s a person or someone special.  Of course it could be modern art in the day.


Another animal.


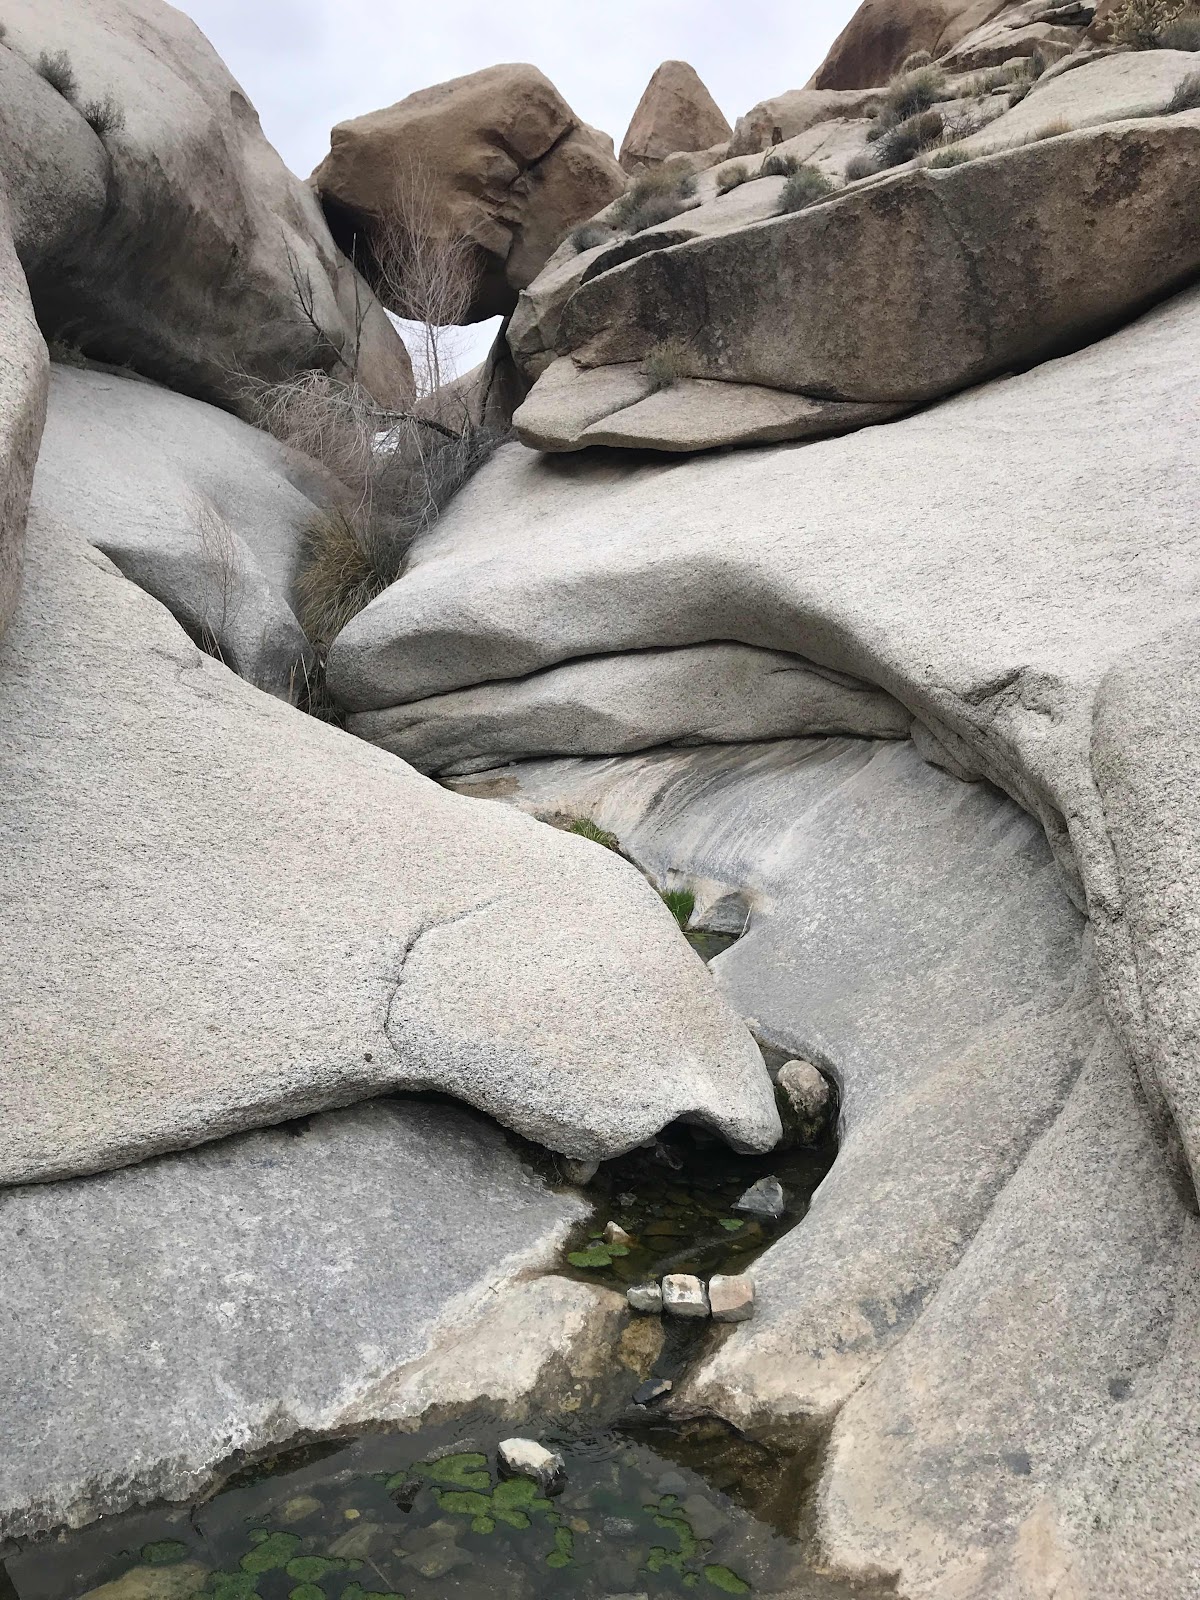
Way back in the canyon water still carves the rock.  This boulder found a spot to land and balance for years to come.


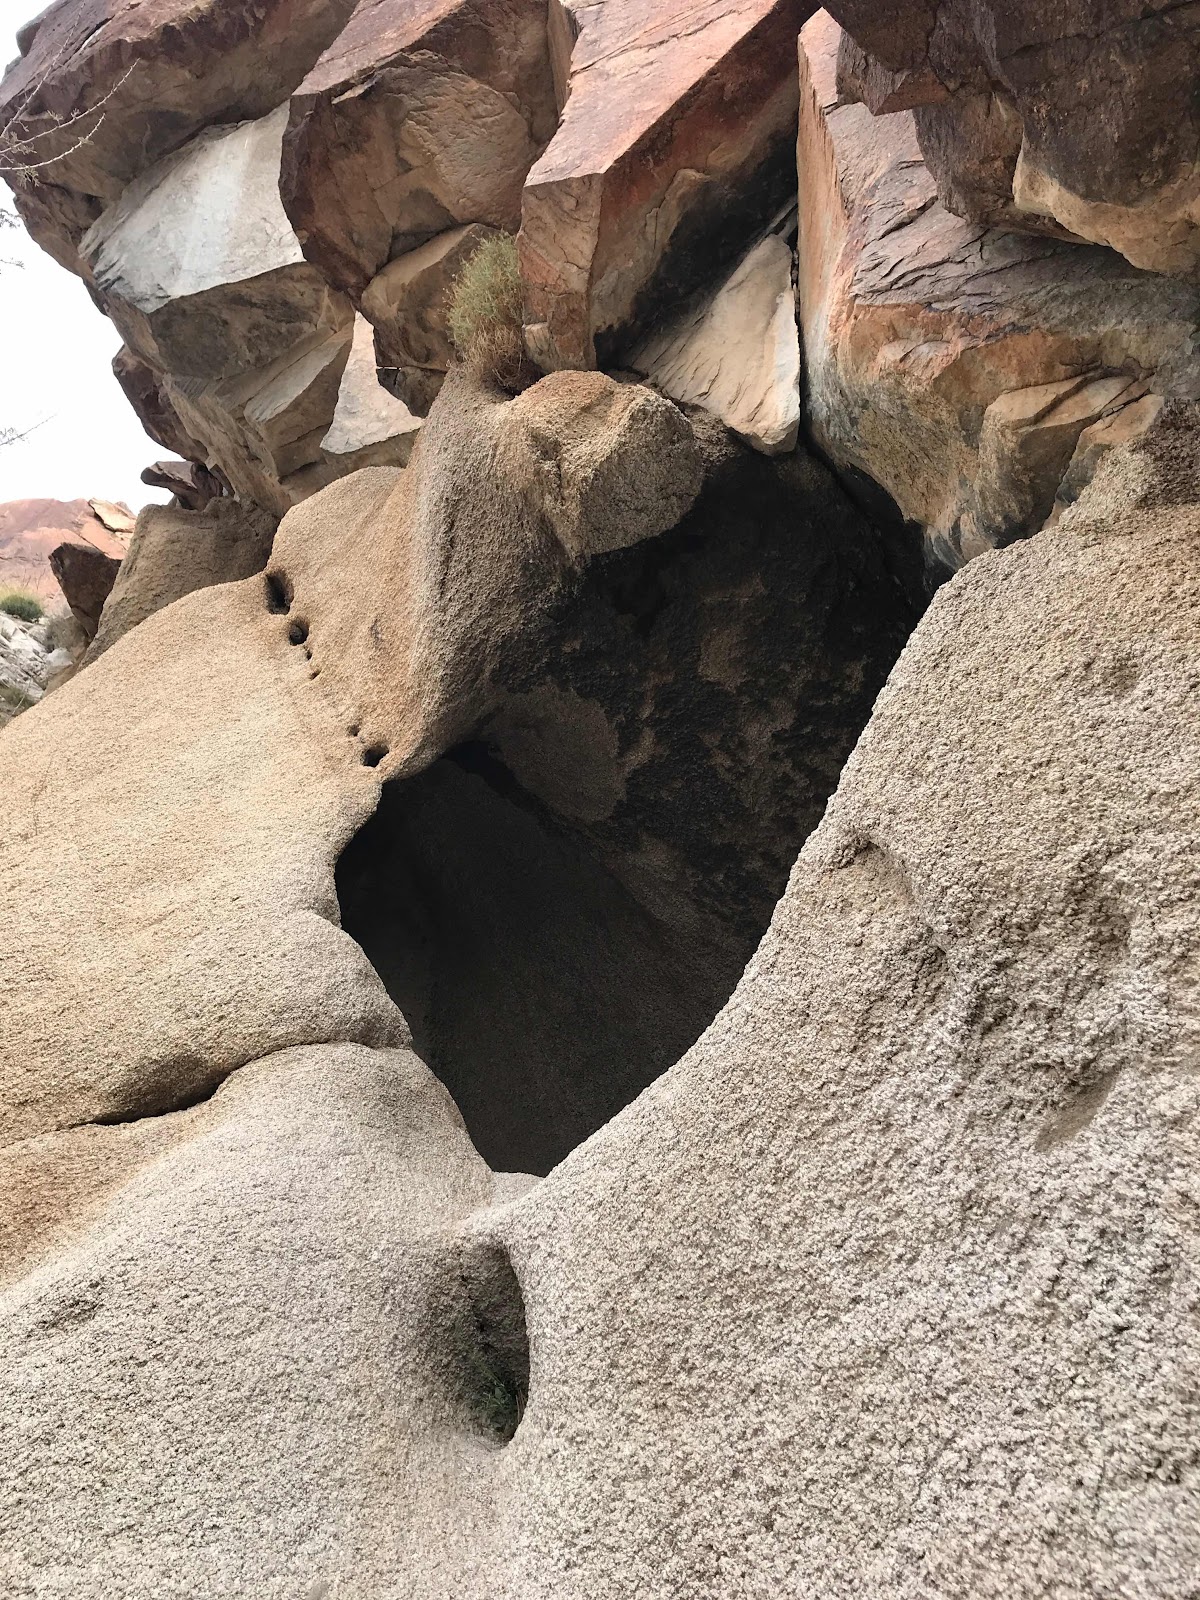
If your into it you can climb into any one of these caves carved by water millions of years ago.  Evidence still exists of Native Americans using them as shelters.


Way to busy on this panel.  I think some art has been added from the modern era.

If you find yourself in the Laughlin, NV/Bullhead City, AZ area in the future and have an hour to spend head out to see ancient art in Grapevine Canyon.

Brent

macaloney@hotmail.com
Thursday, March 5, 2020

How To Straighten FWC Camper On Truck Bed


I wrote about how turnbuckles are used to hold my Fleet Model Four Wheel Camper to my Tacoma.  I also reviewed my, and other frustrations with the turnbuckles that are supplied by FWC

This blog will address what happens when the turnbuckles loosen and how to realign camper.

When you put the camper on the truck the camper is on 4 jacks and as you lower the camper a little hand pressure can align the camper before it finally makes contact with the truck bed.

Once the camper is straight and on the truck and held down with turnbuckles, I remove the camper jacks as they are heavy and more than one FWC has caught the still installed jack and tear it off the camper or bend it.

I don’t want to carry the weight of 4 jacks back and forth across country so I remove mine.

But, what happens when the turnbuckles loosen and your camper vibrates out of alignment on the truck bed?


I usually know I have an alignment problem and therefore loose turnbuckles, is the symmetry between the camper and the truck bed, as shown above in alignment.


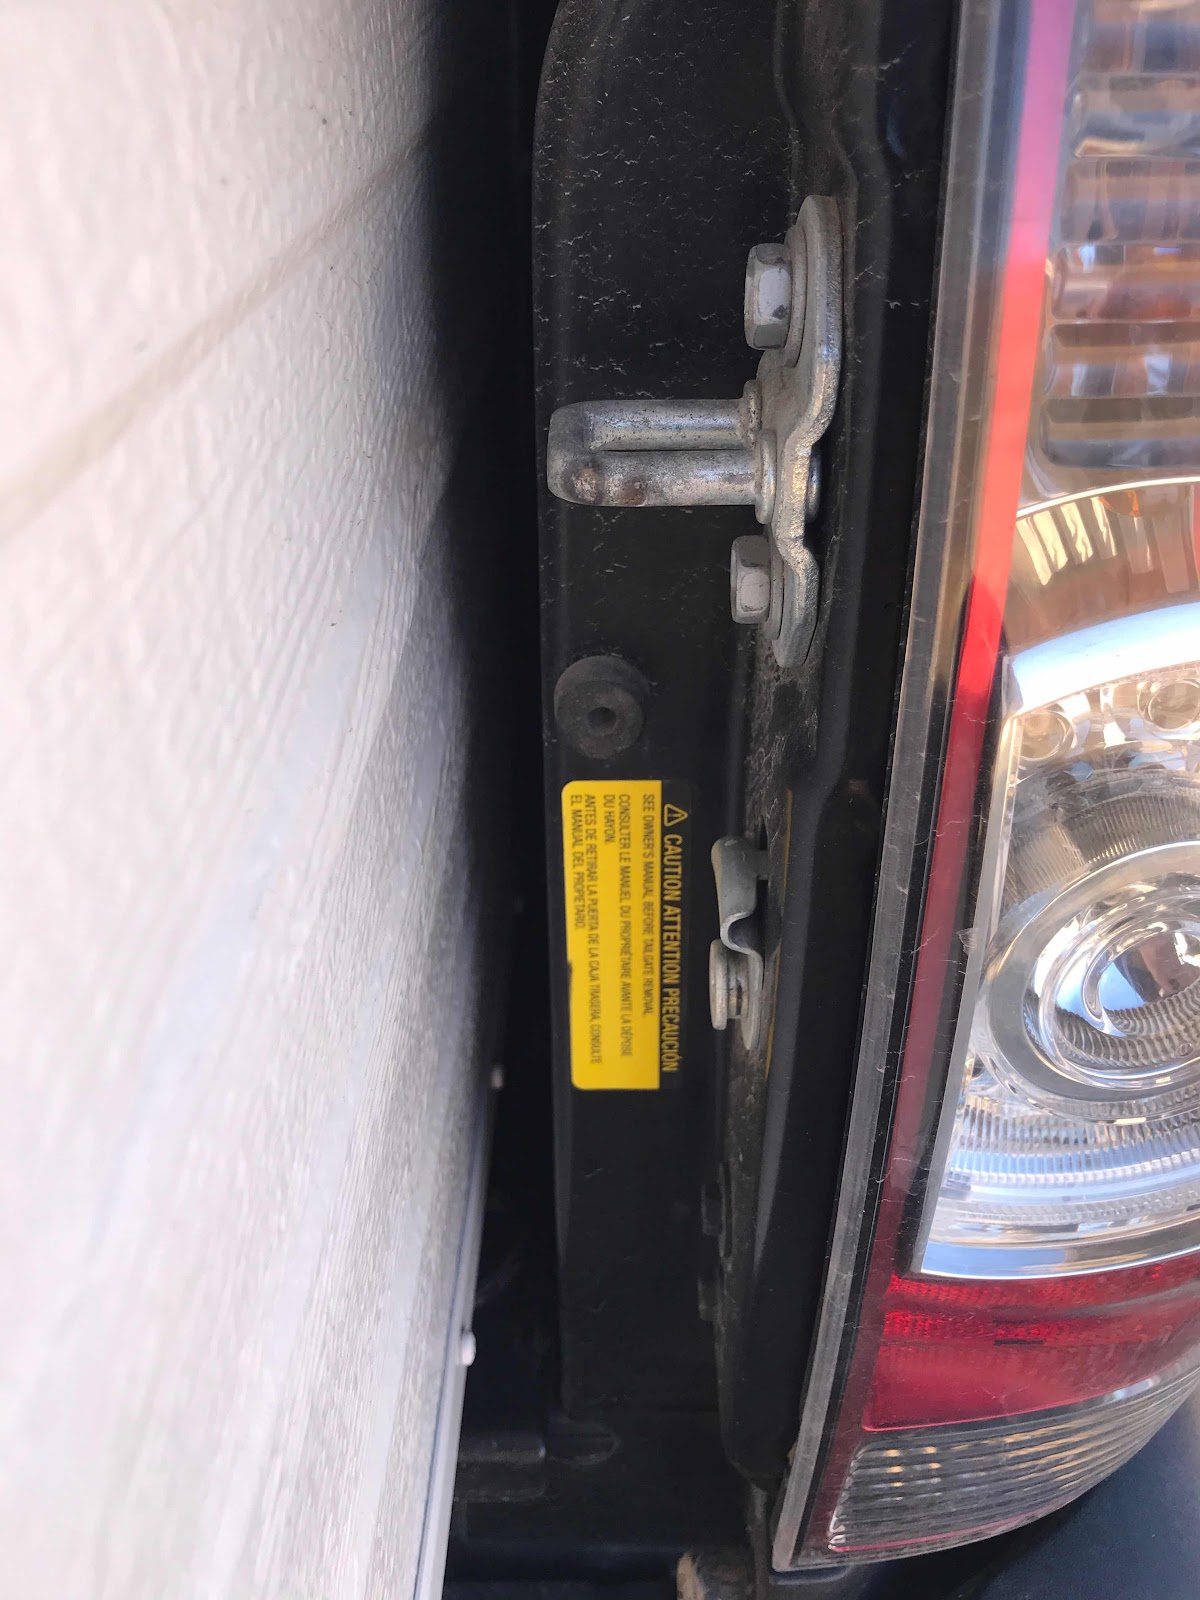
The other way of knowing the camper is out of alignment is the gap on either side of camper to the side of truck bed.  Driver’s side above.


Psssenger side above 

The gaps above ore closely the same and therefore in alignment.

So, this year I see an alignment problem, that resulted in the turnbuckle being loose.

In the past 2 years of camper living I just tightened the turnbuckles as is, and not try to align the camper, without the camper jacks.

I asked Joanne to use her new recovery jack for her Jeep.  I planned to lift the corner of the camper’s passenger side and push the alignment back into place.  The jack was too short for the height of the camper.

What did I do?


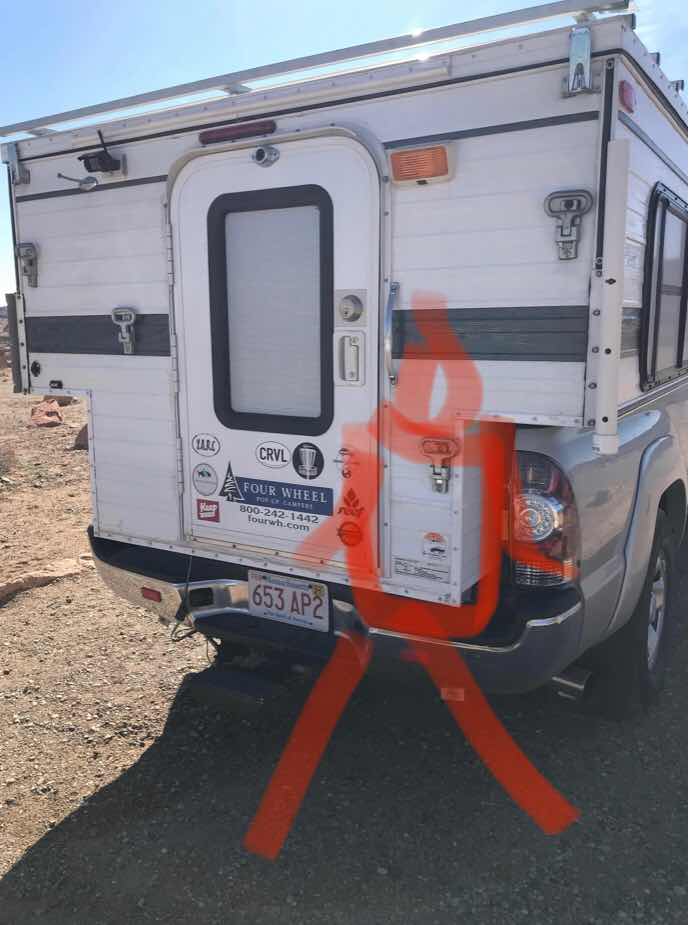
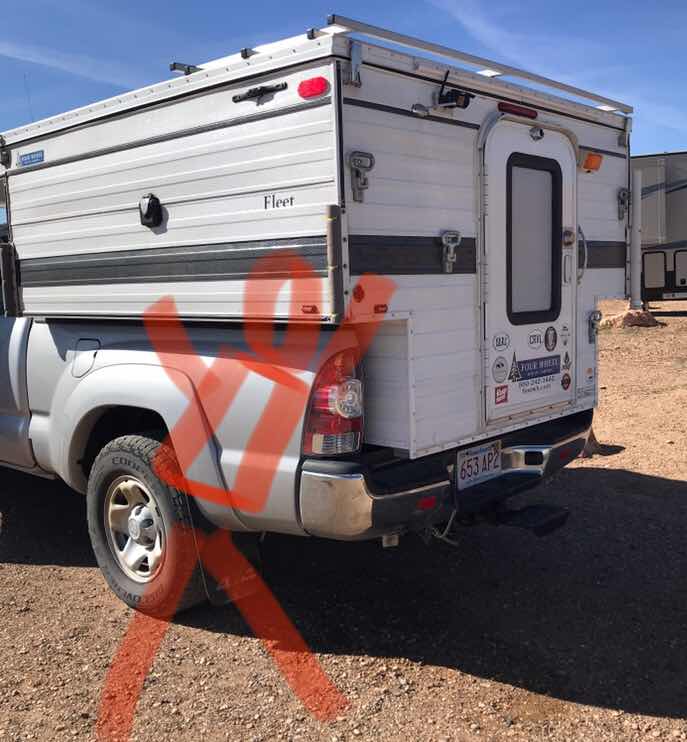
I’m the stick figure above facing away from the camper and back against it.  I pushed and lifted and bounced the camper a bit and it moved a little.


With the front drivers side turnbuckle secure I got my friend Susan to push the camper’s rear from the rear drivers side above.

As I bounced she pushed and we were able to realign the camper as you see in the pictures above.

I couldn’t believe we did it with no major effort.  This is doing it on flat ground.  It could be easier on a forward slant.

Now you know how to do it too.

Brent

macaloney@hotmail.com

Tuesday, March 3, 2020

FWC Camper - The Problem With Turnbuckles


My FWC (Four Wheel Camper) is held down to the truck bed by 4 turnbuckles.  


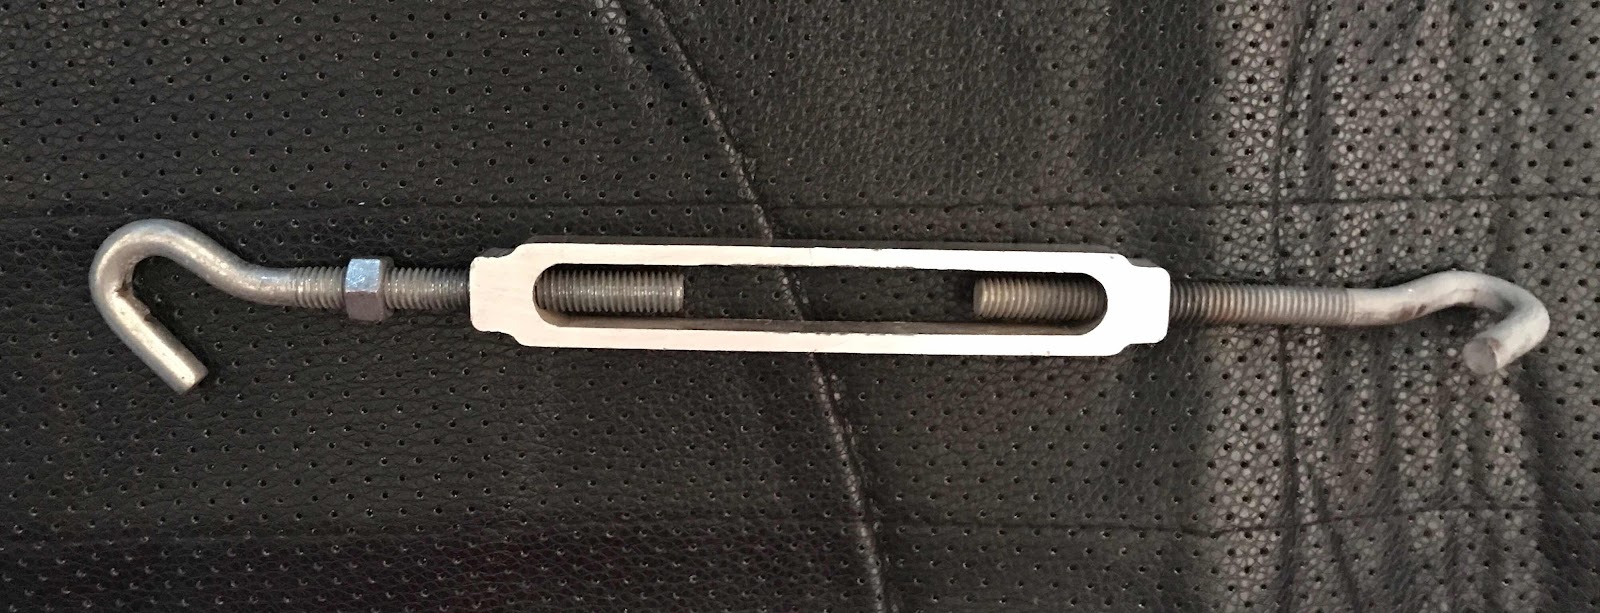
The turnbuckles that came from the camper are aluminum with steel hooks. Above 

There are many complaints about the factory turnbuckles on social media that echo my problems.  They loosen while driving is the biggest concern.  A loose turnbuckle is frustrating as the camper shifts in the truck bed.

Note: I added the nut on the left of the turnbuckle above to help lock the turnbuckle from unwinding.  There should be one nut on both sides of the turnbuckle, but the turnbuckles have one right hand thread hook and the other side left hand thread.  The single nut did help with loosing, but they eventually did loosen.


Above is an Amazon screen capture

This is my third year with the camper so I decided to replace the factory turnbuckles with all steel ones with backup nuts on both sides, based on posts from other FWC owners.


I have four of the two doors in the picture above to access the turnbuckles. The one to the left (rear of camper) is the easiest to access to fix the turnbuckle. 


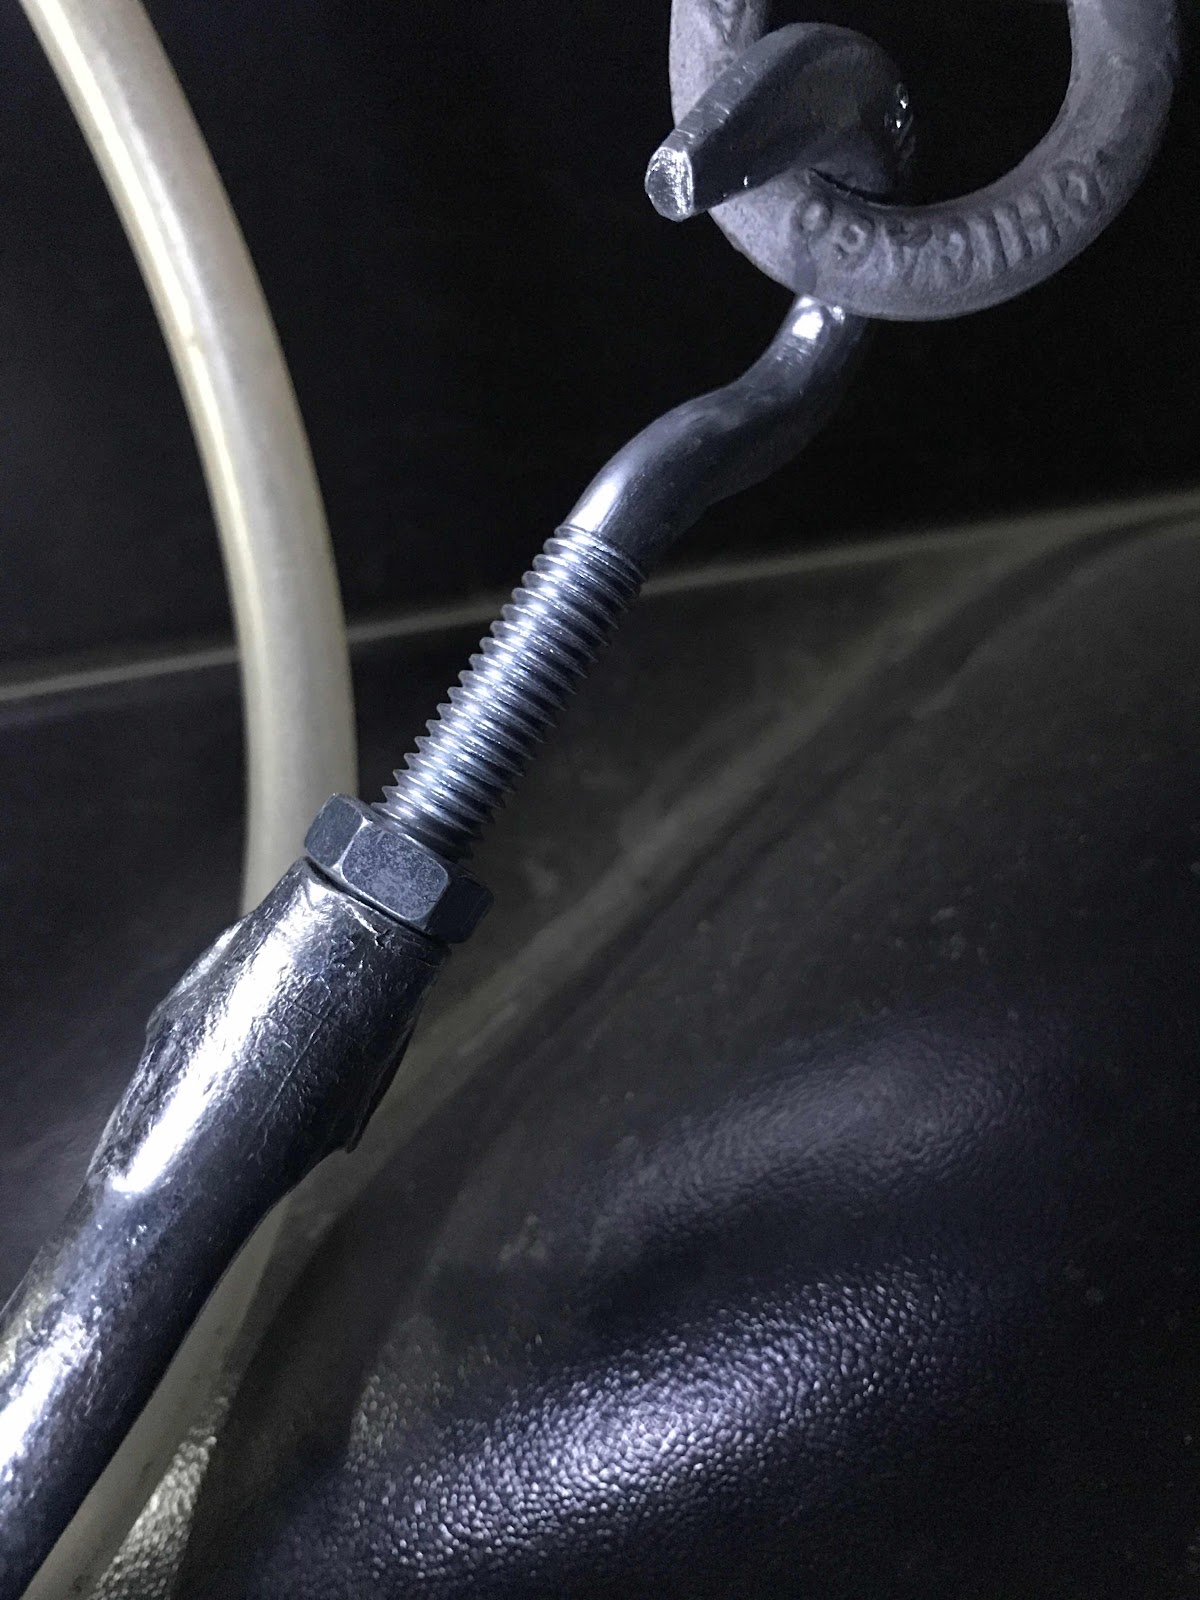
Above is a picture of the turnbuckle bottom connection on the rear truck mount.


Rear top turnbuckle connection


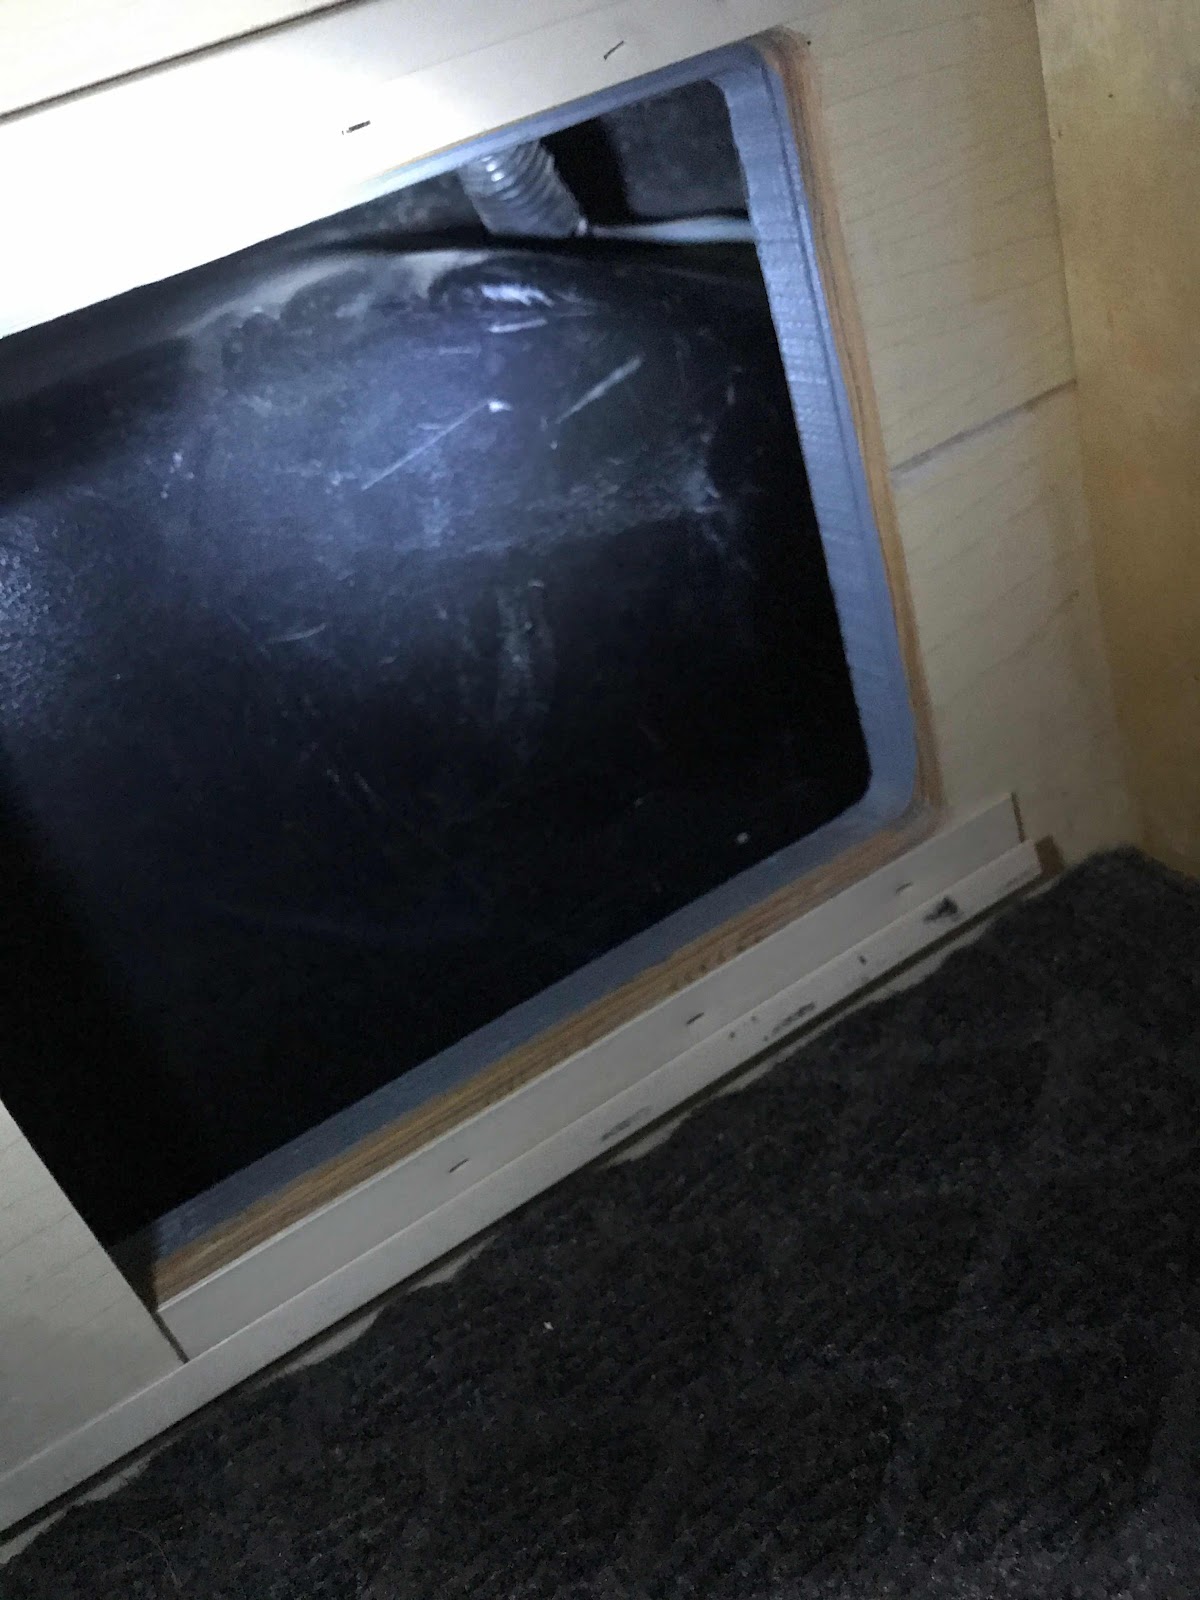
The two front door turnbuckle (above) have to be put in and tightened using feel only, as you can’t see the mounting location while installing.  To install you need to lay on your belly and extend one arm in and set and tighten the turnbuckle.

Above picture shows the turnbuckle as it is off to the side of door opening.


Above I have the camera facing the front turnbuckle near the front of the truck bed.

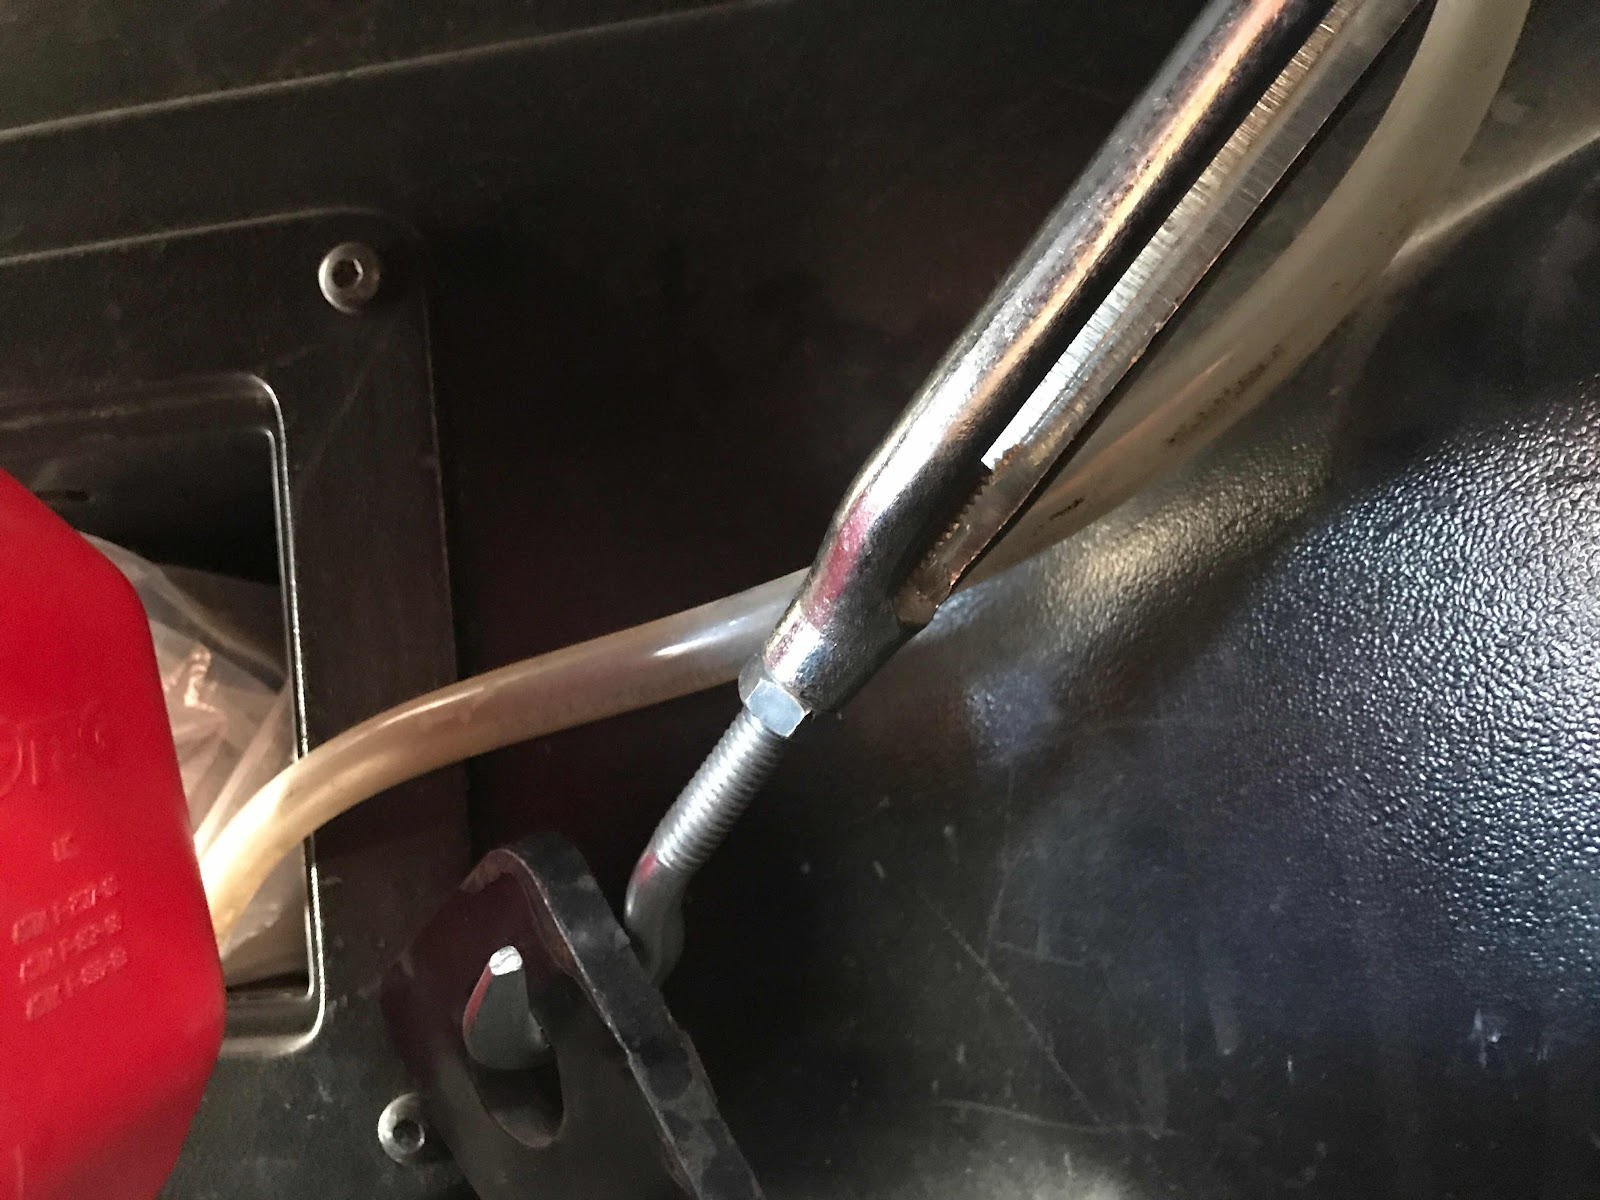
In order to tighten the turnbuckle it works best with putting a small tool between the turnbuckle bars.

Initially I tried to tighten the backing nuts with an open wrench.  The wrench would slide off the nut and I would have to find the nut and put wrench in again.  It was a big pain.

I then tried a tubing wrench to tighten the backing nut. The wrench didn’t slip off, but since the space inside where turnbuckle is located is not large enough to rotate the wrench, I had to take the wrench off and rotate it to tighten more.  I kept doing this until but was tight.  This was a pain too but better than open end wrench.


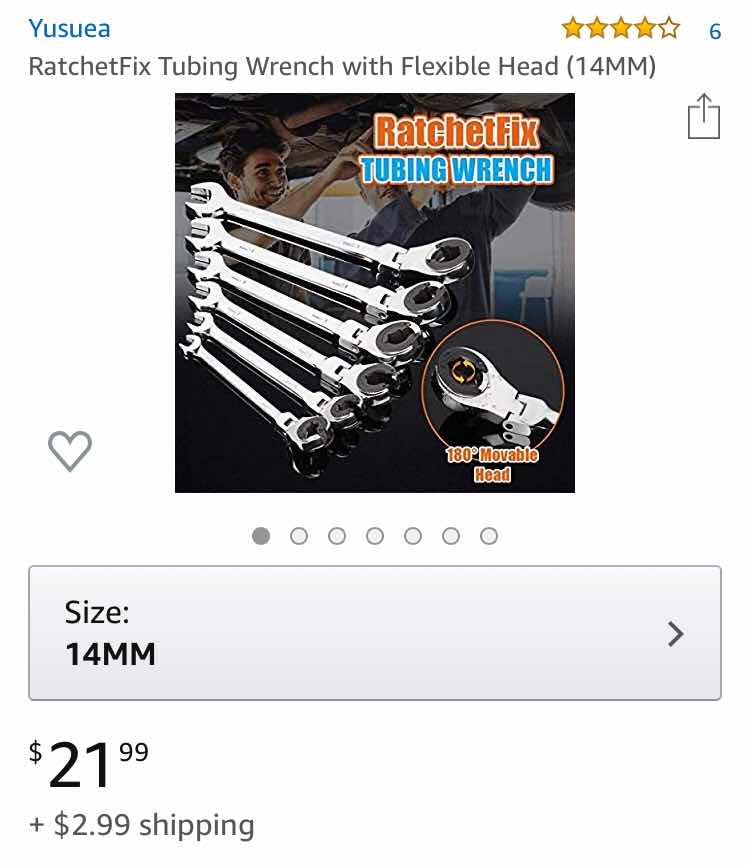
Above is an Amazon screen capture

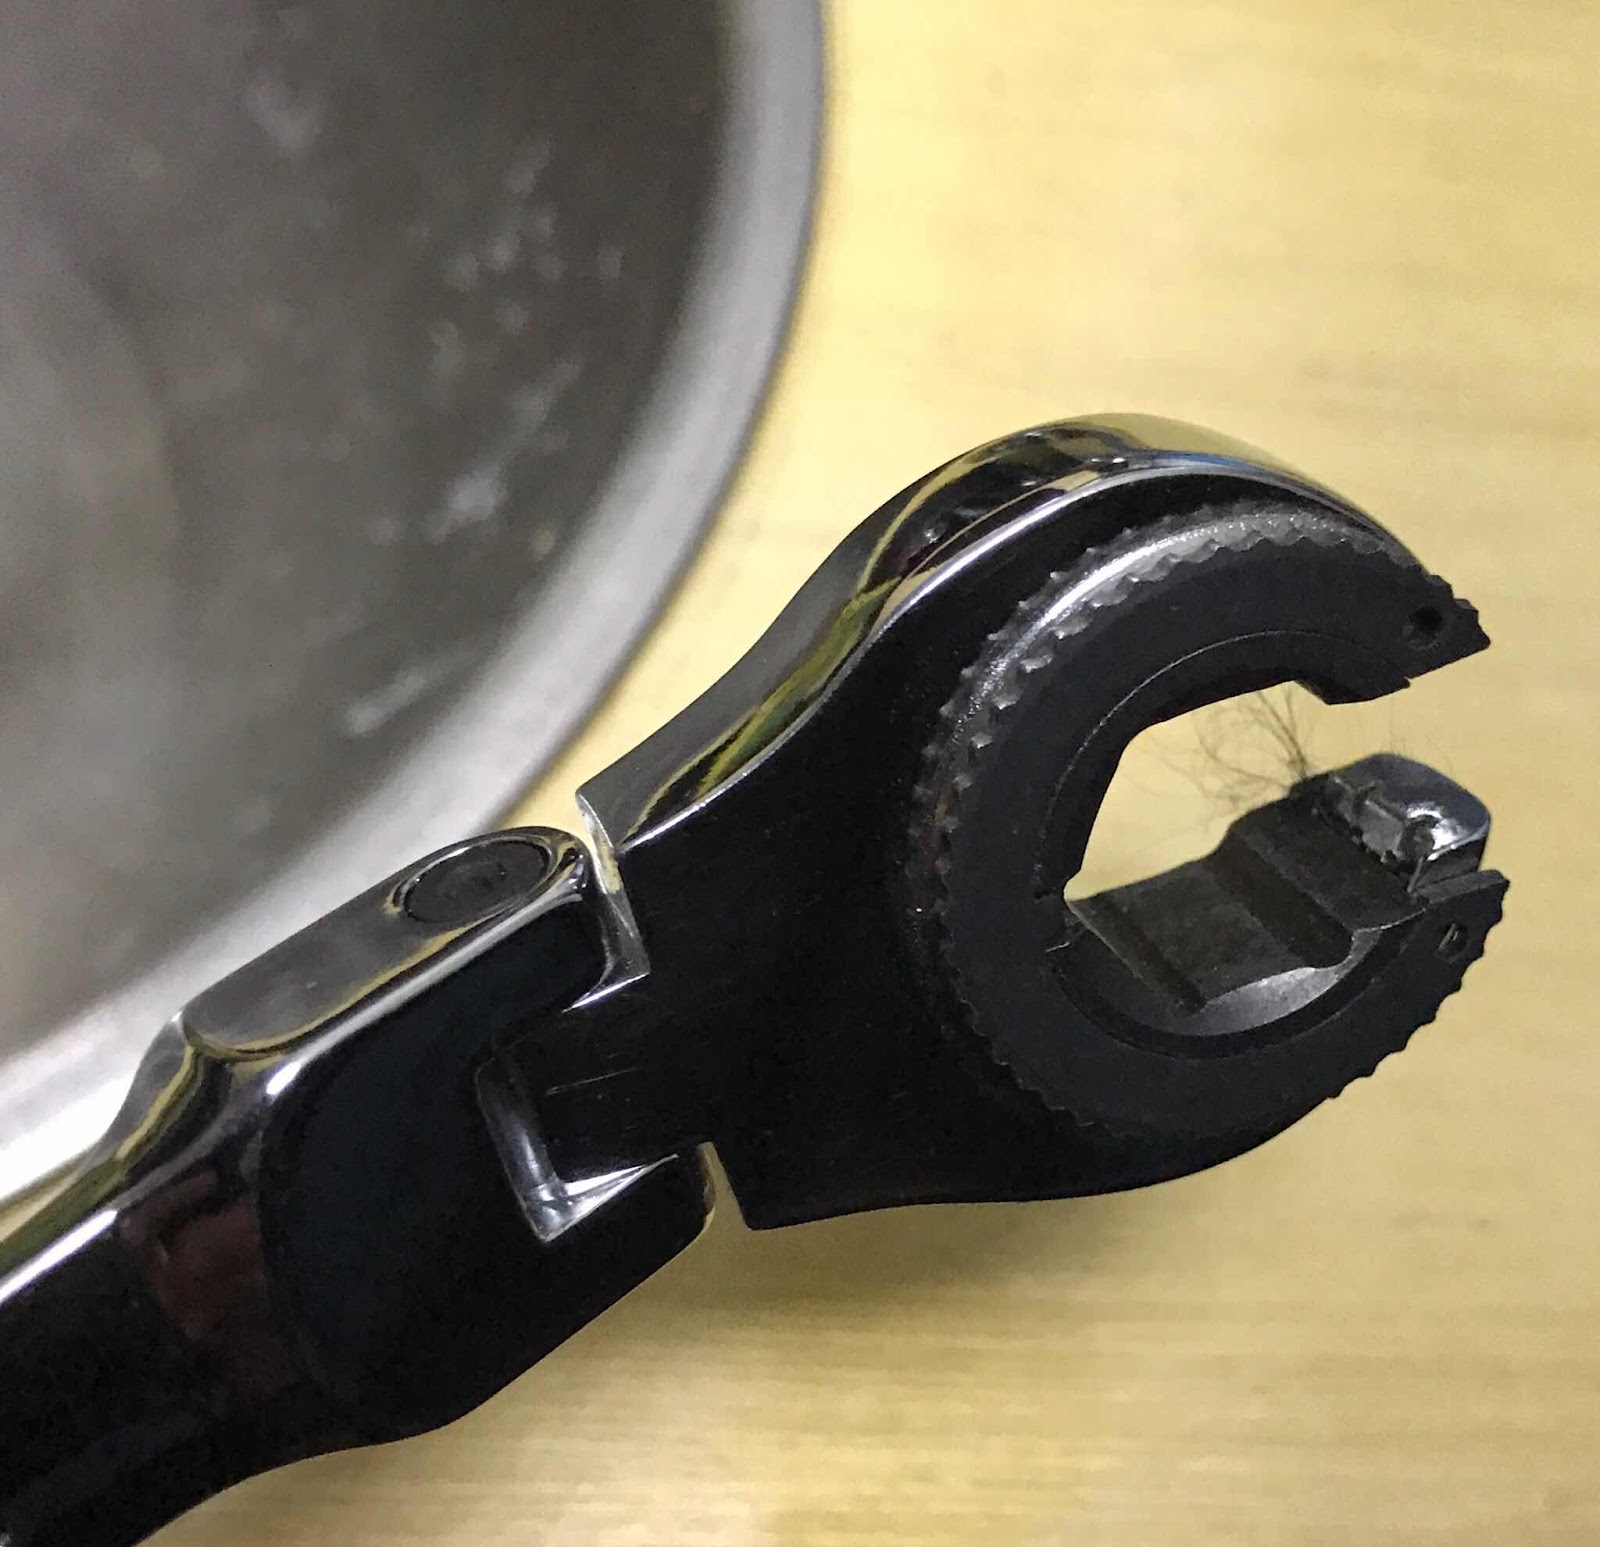
Then I found this ratchet head tubing wrench with articulating head.  Now I can not slide off the nut and I can ratchet tighten the nut without repositioning the wrench and where the space is narrow, I can bend the wrench.


I have told people about the turnbuckle problem as it isn’t easy to do and can be frustrating, but now with locking turnbuckles and a tubing wrench that ratchets and bends, it is much better to set and tighten the turnbuckles.

This is a big relief!

Brent

macaloney@hotmail.com 


Monday, March 2, 2020

Going e As a Vandweller

I find it ever more important to look at what I do and how I do it to be environmentally friendly these days.  This is as true at home as during my travels.

It’s hard to deny that our lifestyles contribute to polluting the environment.  This statement is true on many levels, such as the vehicle we drive, the products we use, services we purchase, food we eat, clothing we wear, and so on.

I don’t believe that just not living in a home as a full time or part time vandweller is enough to say we are ok and doing our part for the environment.

Mankind is depleting natural resources faster than ever, or should I say faster than the earth can replicate.


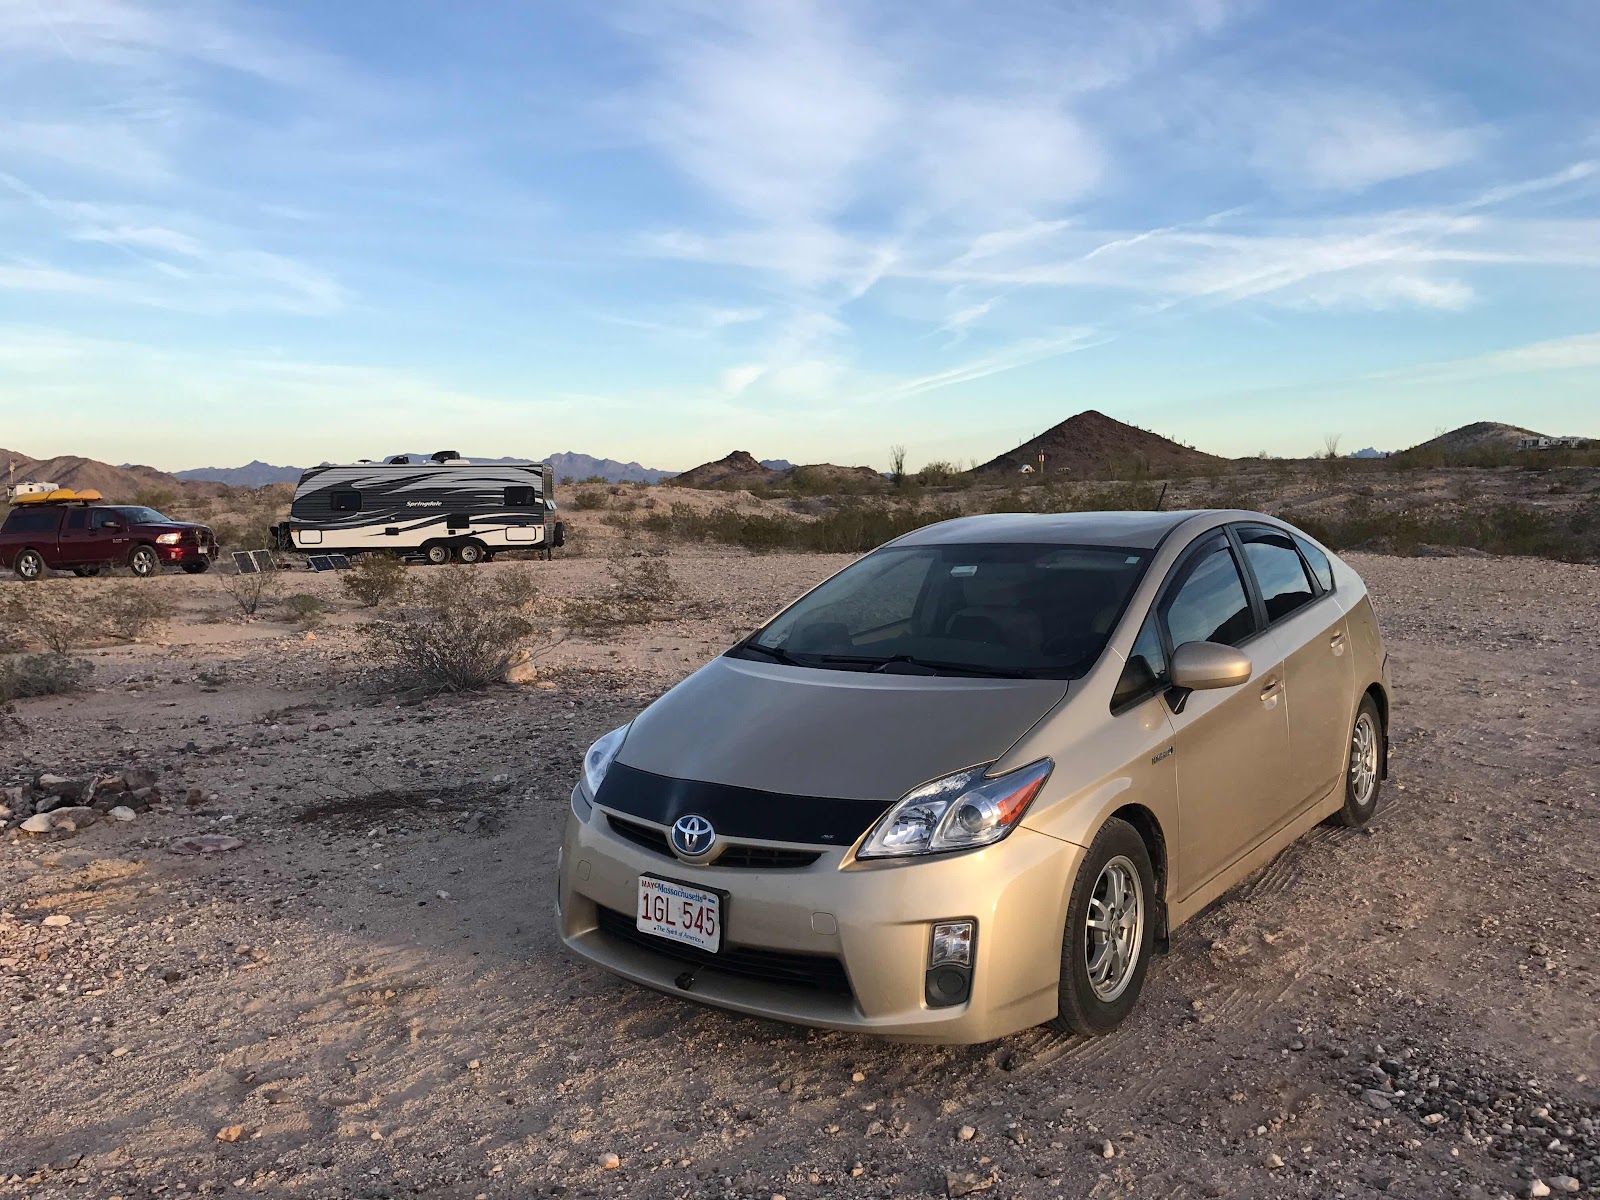
My biggest move to becoming more environmentally  minded as a Vandweller was my move to the Prius life, from a Class B Campervan at 10 mpg to my Prius at 50 mpg, I thought I was making a statement, and I was.

The problem was the Prius for all the fun in driving and parking so many places where people had no clue, it couldn’t get me to many places due to its ground clearance and lack of all wheel drive.


So my move 3 years ago to a lightweight pickup camper combination was a step backwards for the environment, wasn’t it?

My youngest son has been bugging me for a few years to get a Tesla as my Vandwelling vehicle, but limitations in charging stations and distance are a drawback for many of the places I go.  The concept of doing this was appealing, but not practical.  Elon Musk’s proposed all electric truck with extended distance could be that vehicle but it’s somewhere in the range of $80K and a few years away.

There are many smaller things we can do as vandwellers, regardless of what we drive.  My friends that buy clothing from thrift shops are doing their part by repurposing clothing.  

Other friends often offer used items for little to no cost to others as a way of exchanging items.  At home we have a swap ahead at the landfill.  I’ve personally benefited from such exchanges.  I’m also benefited from the RTR swap pile.

Enter the plastic bag discussion.  In Massachusetts where I live only a few towns ban plastic bags at point of sale.  In California where my youngest son lives and,  where I visit on my travels, has a ban on plastic bags.

I have told myself time and time again that I repurpose the Walmart and Home Depot bags by using them for rubbish cans at home and in my camper on my travels, so that is good, right?

Well in a way it is.  But, I see many plastic bags blowing around and stuck to fences and bushes as I drive out great country.  The problem is bigger than me repurposing my bags.  These bags are not designed to decompose quickly.  They are not made of plant based materials.  


As a Vandweller I have decided on skipping the bag here and there at stores that offer them and be more deliberate using reusable bags.  For my rubbish and bio waste I have now purchased these 100% compostable bags that I am trying and for the two weeks I have had them in use I’m happy with the results.  There have not been any holes or spills, provided there are no sharp objects.

I can change the world but I did live a good part of my life without plastic bags and there is no reason not to try it again.  It’s just one thing that I can do, 

It may be one thing you can do too.

We have one earth and we need to make the best of it.

Brent

macaloney@hotmail.com