Wednesday, January 8, 2020

Sarasota Trail/s - Bobcat Ridge Hike


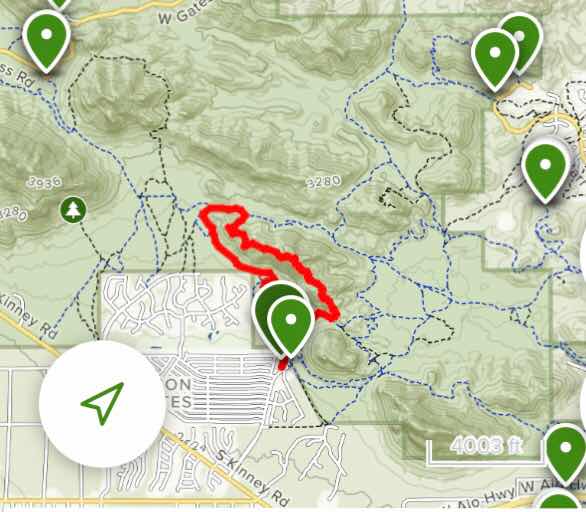
I look forward to the sun and warm temperatures in AZ.  One of my enjoyments is hiking and I wanted a hike that wasn’t an all day event.  I needed to stock up on groceries and put them away in the afternoon.  I did this hike on Bobcat Ridge last year and it is a great overall hike for exercise and beauty.

It starts at the Sarasota Trailhead at the back side of a housing development.  


The hike is along the side of a mountain and then up the ridge and along the ridge until you decline on the other end to return.

The lush green desert is beautiful and the Chola Cactus are beautiful but a pain when you step in them or they get attached to you, so keep your distance.


Above are my hike stats.  Again this is not a huge hike but it is great exercise for me having not had much over the holidays.


Lastly the ridge offers views east and west, and as you can see from the picture above you are at some elevation during your time on the ridge.  There are plenty of places to stop and have a break or a snack.

Just a great hike.  Off to the store to take on groceries.

Brent

macaloney@hotmail.com

Tuesday, January 7, 2020

How Many Days From MA to AZ?


As I mentioned in my last post my trips vary each year based on weather.  I do not take I40 west of Oklahoma City as it is very cold after Amarillo, TX into NM and then AZ.  

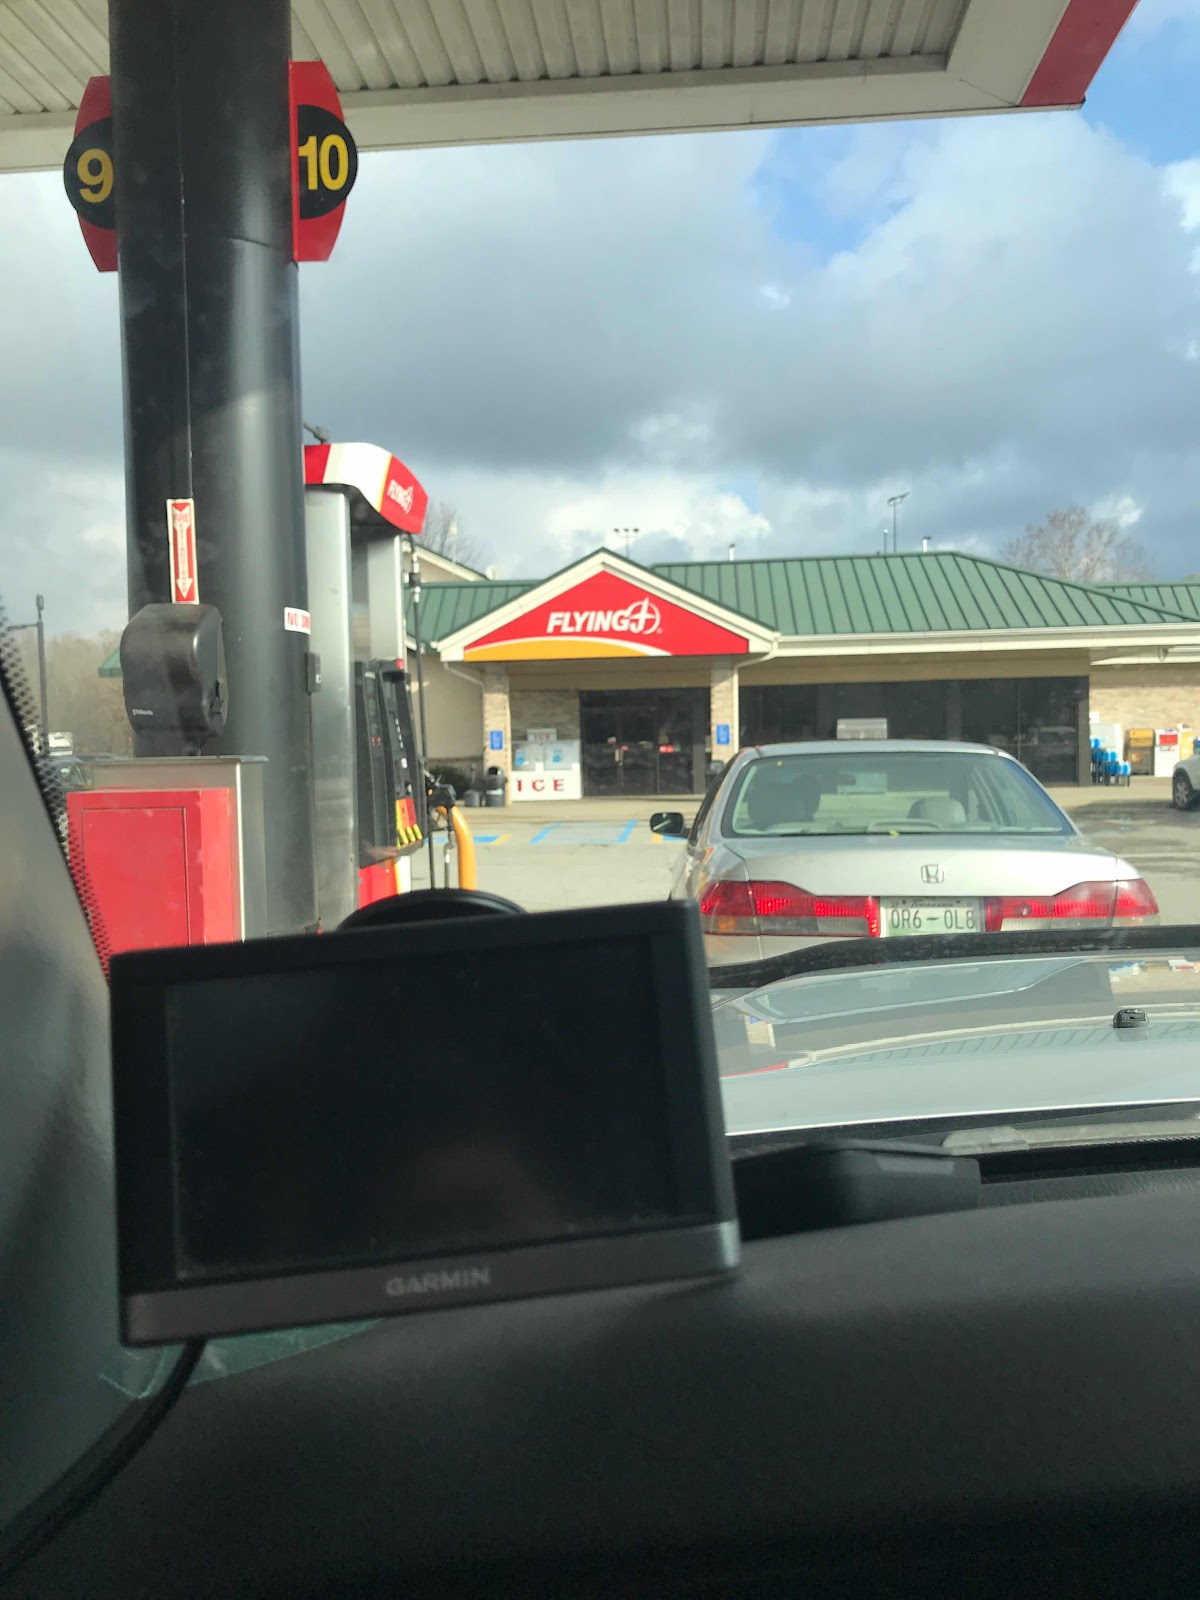
My truck uses so much more gas than my Prius😩, but it’s good to stop every few hours and I do that at about 150 miles between fill ups.  I normally stop at truck stops like the one above to fuel up and use the restroom.


My second night stop was the same as last year on I30, about 25 miles before the outskirts of Dallas, TX.  Last year I drove from this stop all the way to Tucson, AZ in one day putting 1058 miles on in one go.  I don’t recommend this and this year I was tired when I went into NM from El Paso, TX, so I decided to stop at a federal camping spot in the hills overlooking White Sands, NM and outside of Las Cruces, NM

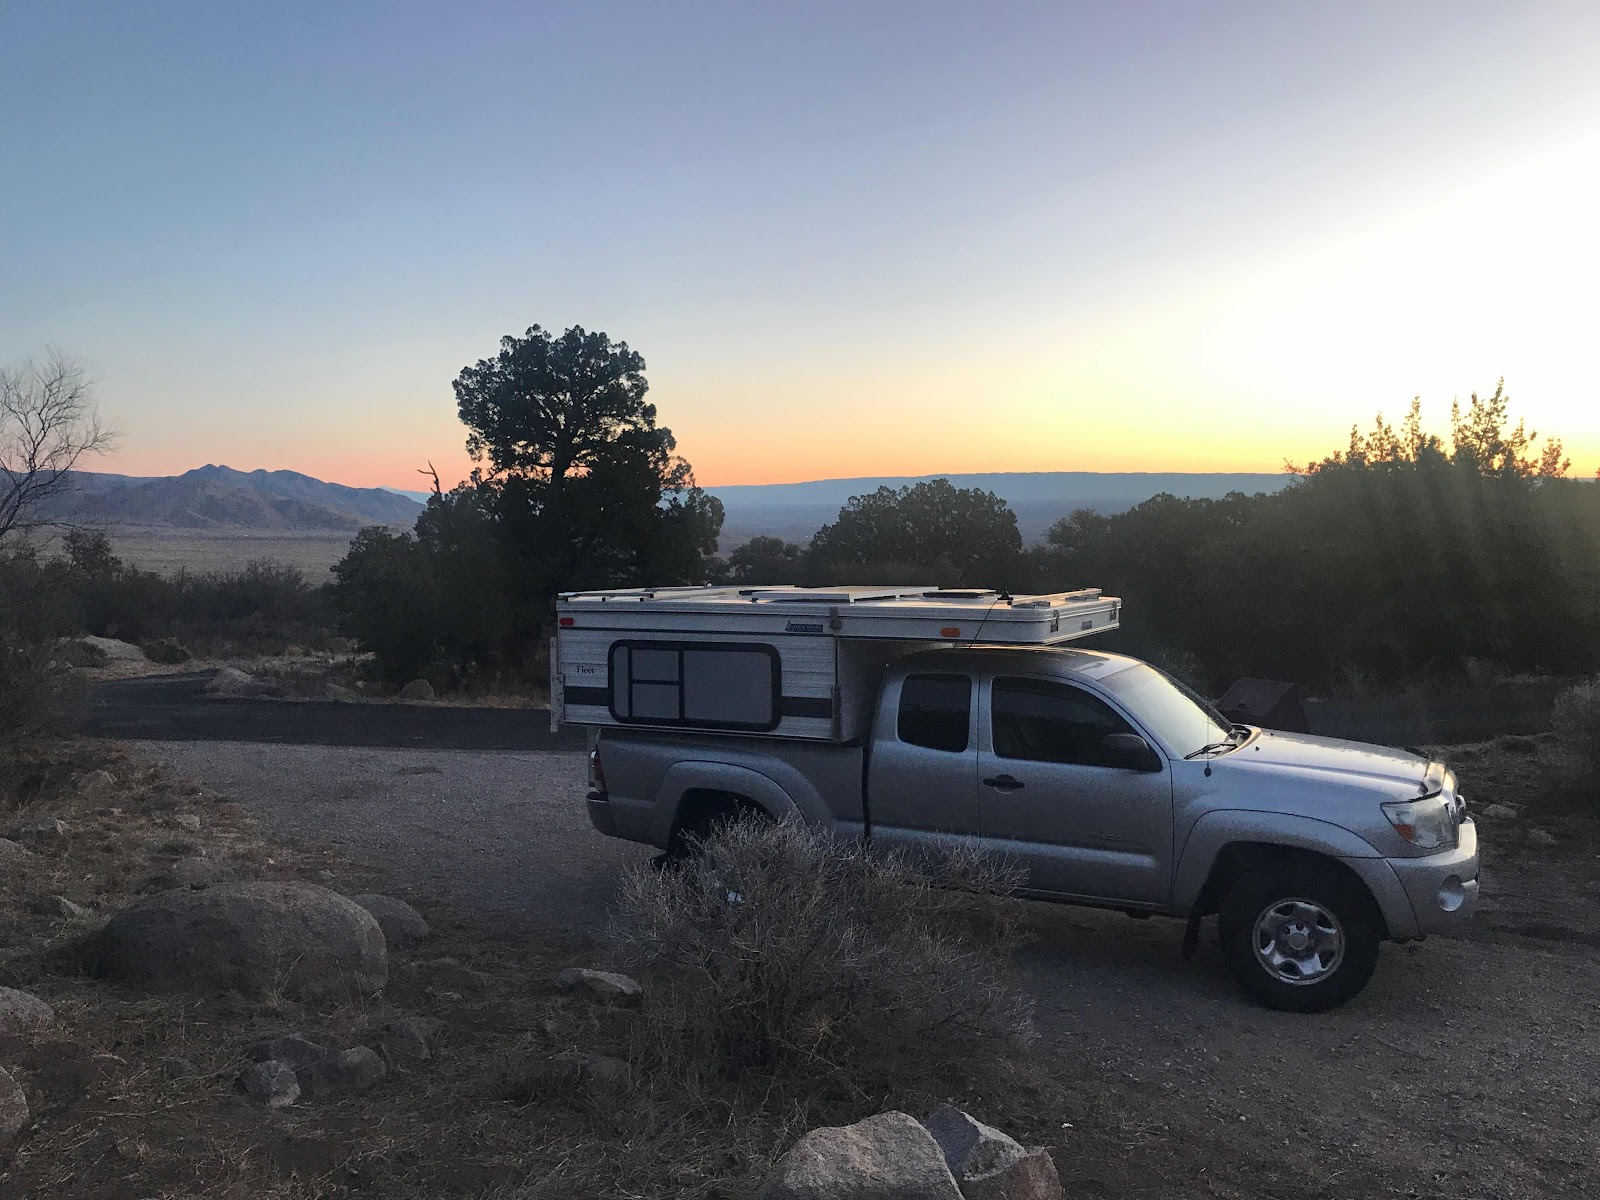
The picture above is my camper at daybreak at the Aguirre Spring Campground, 30 minutes from Las Cruces and I10.  It was $7.00 a night but with my National Park Pass I paid $3.50.  Such a deal!

Now on my fourth day of travel it was an easy trip to Tucson from there.  After a morning stop at Walmart in Las Cruces, I headed West again in I10.


(Google search photo)

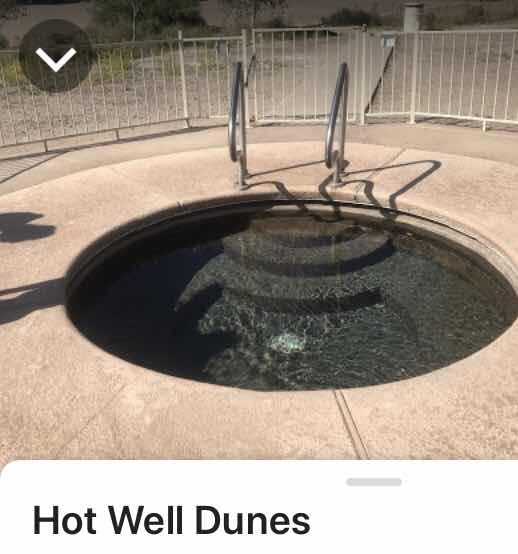
It was a nice blue sky day again with the temperature at about 60 in western AZ and I decided to take a side trip to Hot Well Dunes.  This is a BLM campground costing $3.00 a night and with my park pass $1.50.  You pay the same for day use as staying overnight, so I got to say hi to Lon, the campground host and catch up a bit then soak in the hot tub for about an hour before heading back on the road to Tucson that night.

I wanted to get to Tucson as I wanted to hike the following morning.

So this year it took 4 days to get from MA to AZ and only 3 days last year.  

After a day and a half of rain it was blue sky’s and sunshine all the way.  The weather is supposed to be good in southern AZ for a few days and I’m looking forward to hikes and Disc Golf.

Brent

macaloney@hotmail.com

Sunday, January 5, 2020

Which Route Do Your Trip Out West?


Each year I get the question about my decision on what route I will take to get to the southwest.

Last year I drove through Pennsylvania into Ohio and Indiana, stopping just east of Indianapolis the first night.  I decided this based on weather forecasts.

It was two days out when I also planned to head from there to Oklahoma City and down to Dallas/Fort Worth.  The only problem was the weather in OKC was changing by the next morning.  OKC was looking at possible freezing rain.  I drove to Illinois by midday and decided to head south to Little Rock, Arkansas and then down to Dallas.  

You can gather I change my route at the last minute and on the fly.

This year the map above shows what I had to deal with.  Taking last years route would have been nice but a cold front was dipping down into MO/IL and there was a chance for some snow on the route I took last year.

This year I opted to head to Pennsylvania from MA and then head south on I81 through MD, WV, VA, & TN

I stopped for my first night just into TN before where I40 heads west.  There I could check the radar and forecast in the morning and decide to take I40 to Little Rock and save about 70 miles over heading to Birmingham, Alabama and picking up I20 to Dallas.

The weather worked in my favor and the cold front in Illinois would not be making it down to Nashville before I headed off to Memphis.

Saving 70 miles is about 1.5 hours of driving.

My first day and my second day of driving to get outside of Dallas were both in the mid 800 miles.

These are long days of driving and only stopping for breaks and fuel.  

Once I got past Memphis the sun came out and I’ll have good weather all the way to Arizona.

Brent

macaloney@hotmail.com

After The Ice Storm - Cleaning The Camper Roof


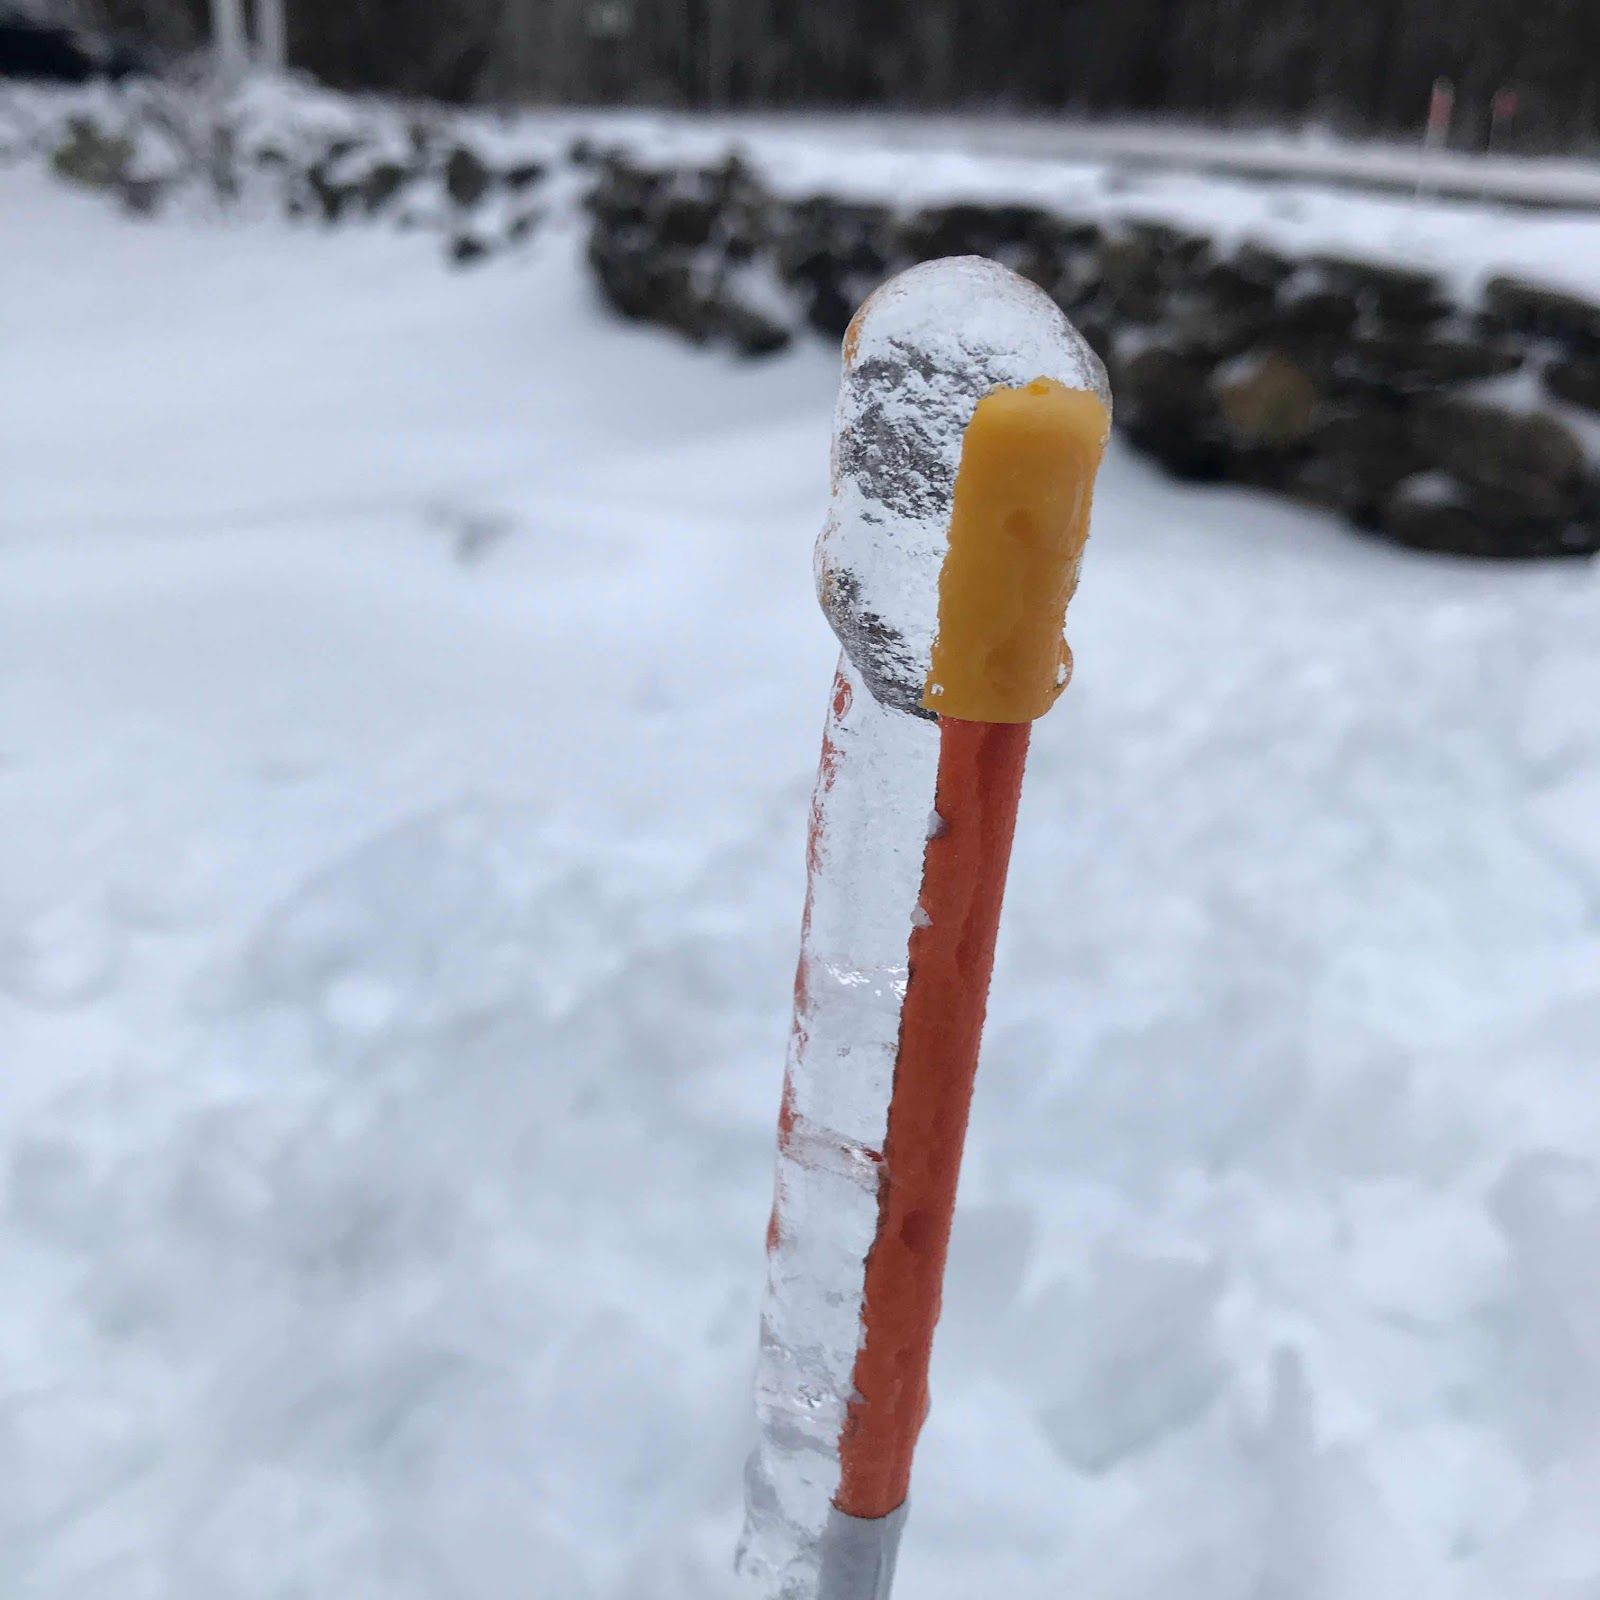
We got a bit of everything from this storm.  Snow sleet, thunder and possible hail, and yes a coating of ice.


Although we had worse ice this was a significant storm as many small branches came down and a number of large limbs and trees too.

We lost power twice, the first on for an hour and the second for 4 hours.  


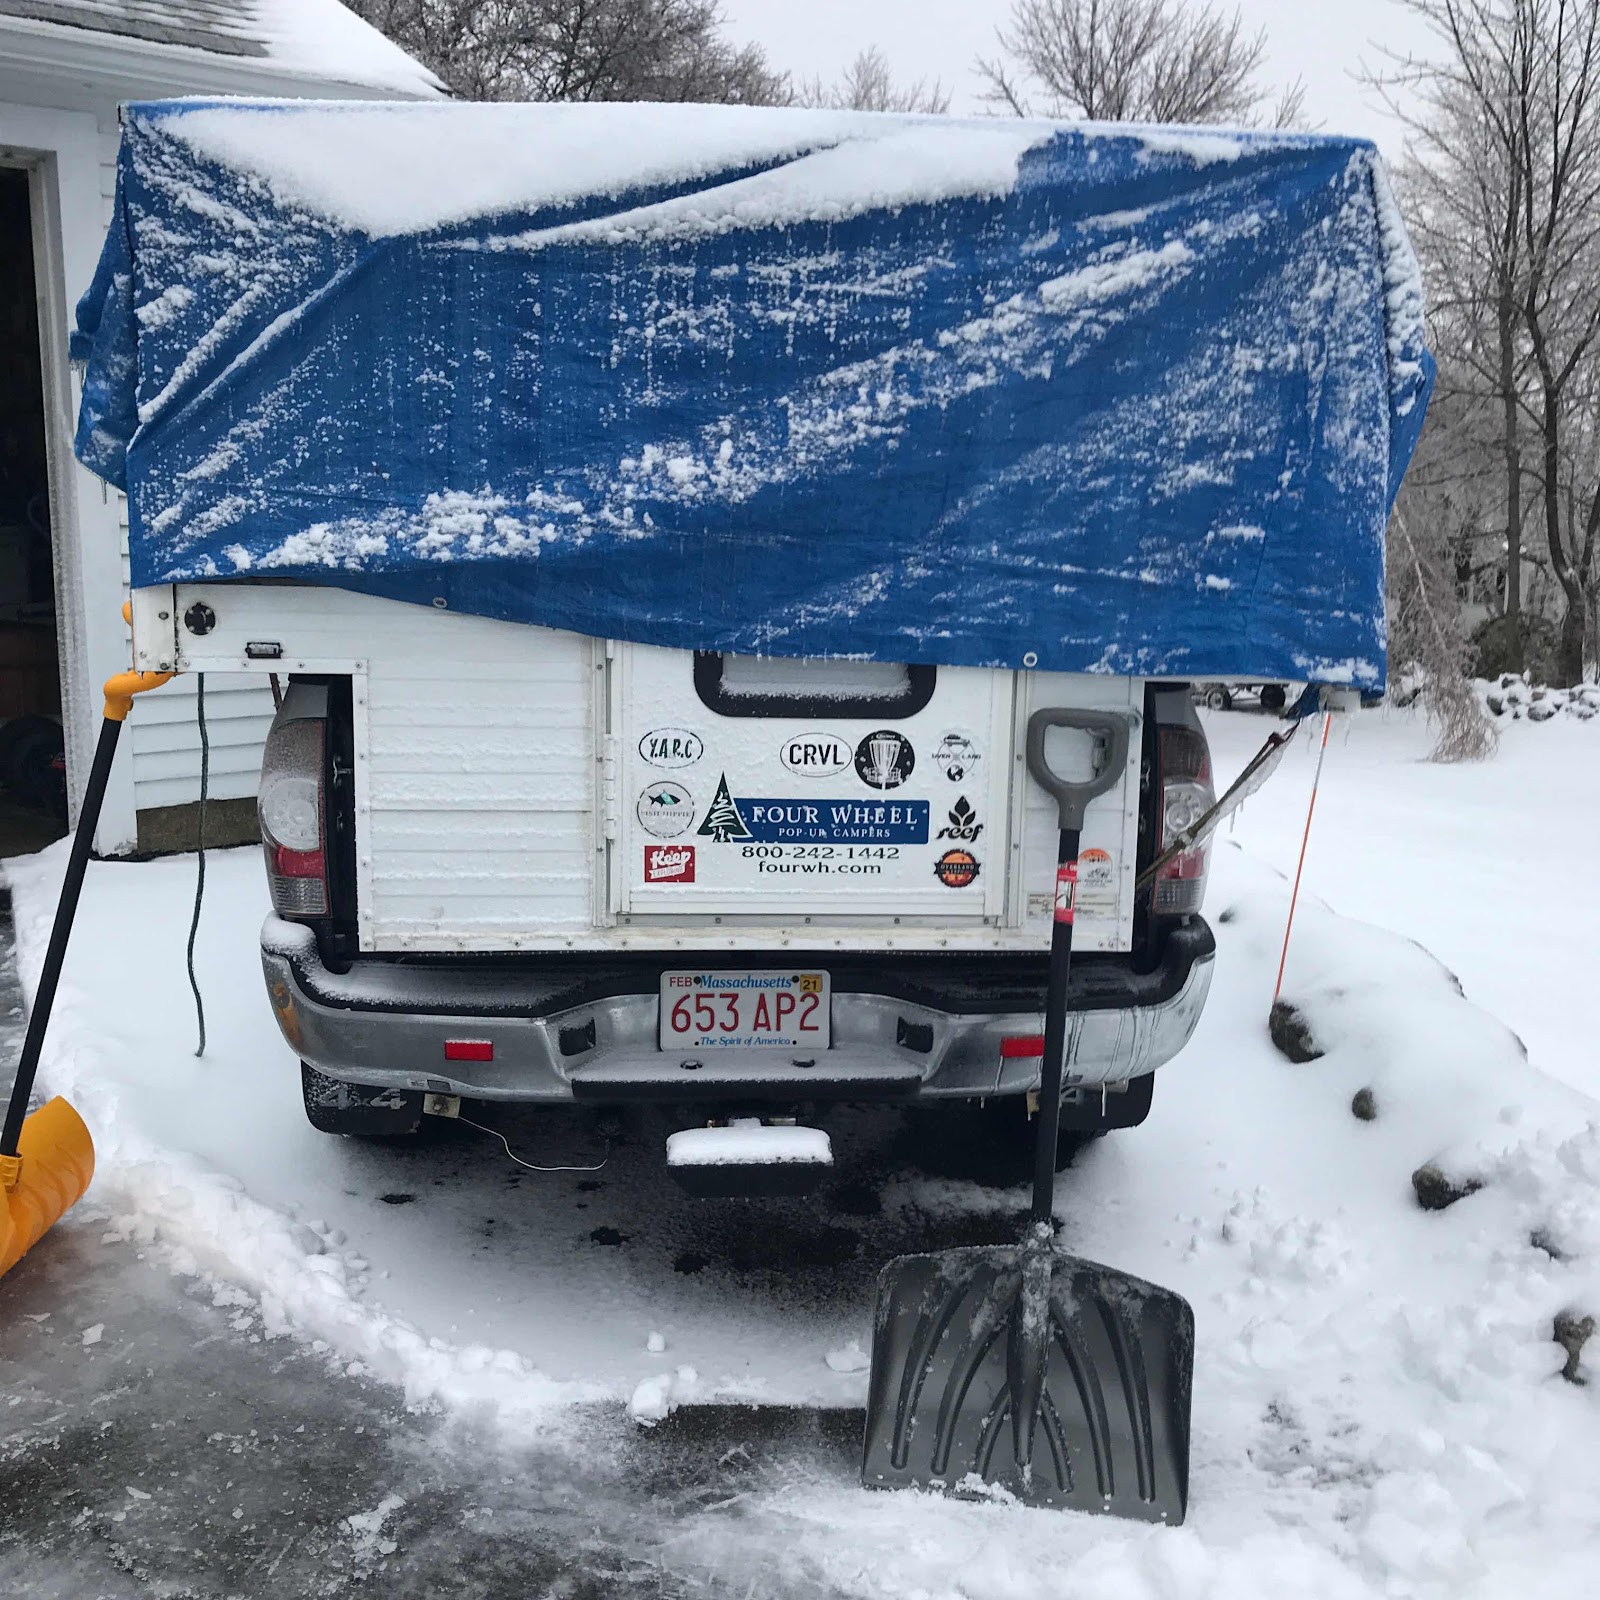
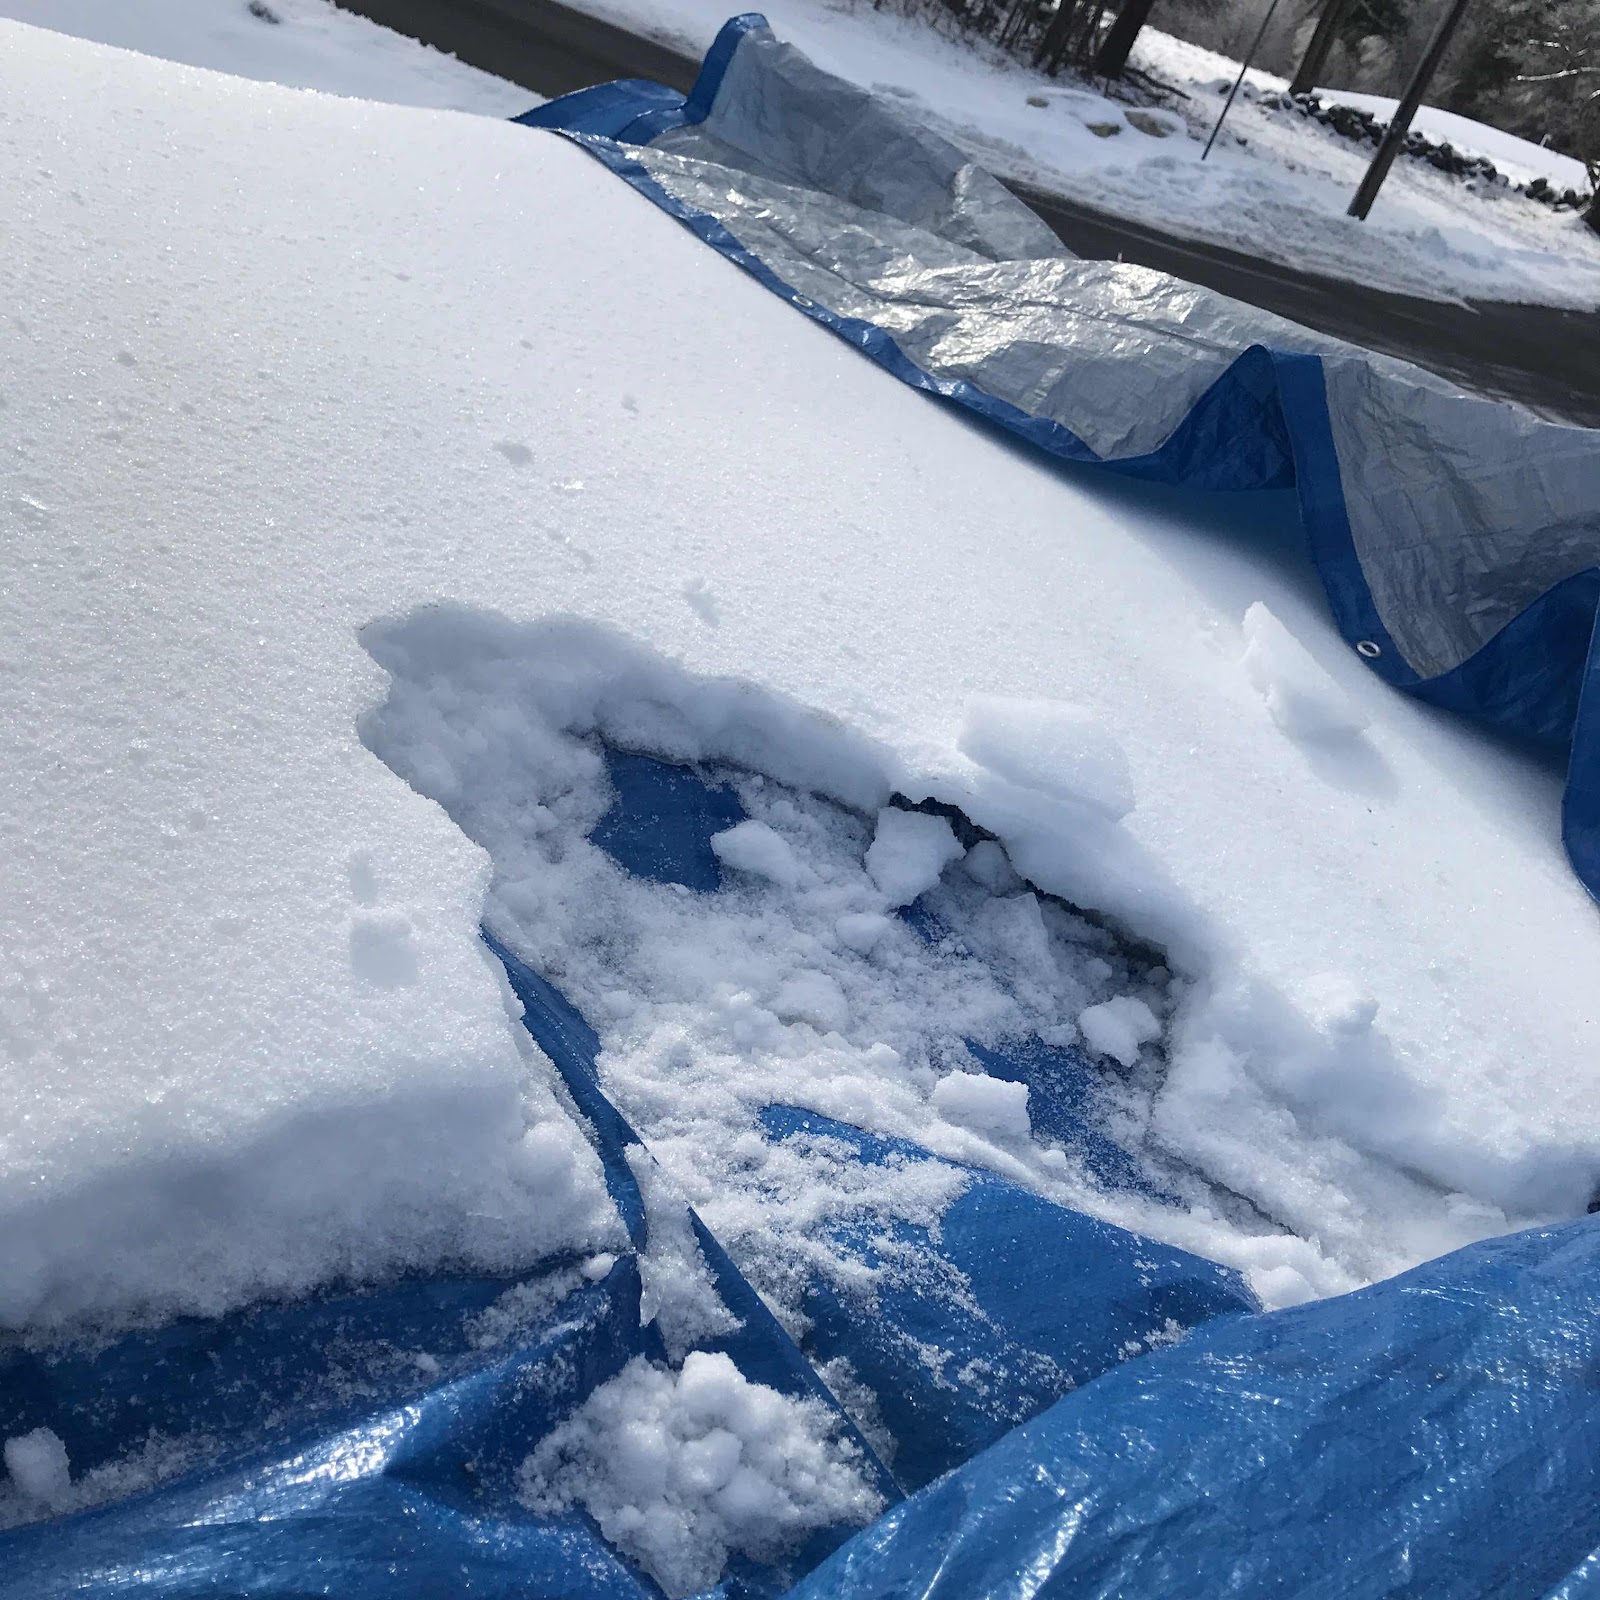
The day after the 2-day storm, I got the ladder out and had to lift and bang the snow/sleet covered ice off the camper.  

I estimate that it must have been a few hundred pounds of excess weight on the camper. My concern was not being to easily get the accumulation off the top of the camper.  I did want to have it come off going down the highway.  There were some accidents in the Boston area from box and trailer trucks that had ice come off the tops of and go through a car’s windshield.

I didn’t count on the blue tarp being stuck (frozen) to the flat camper surfaces, so pails of hot water was in order to peak the tarp off.

In the end it was worth planning and using the tarp.

Brent

macaloney@hotmail.com

Sunday, December 29, 2019

How To Prepare FWC For Ice And Snow

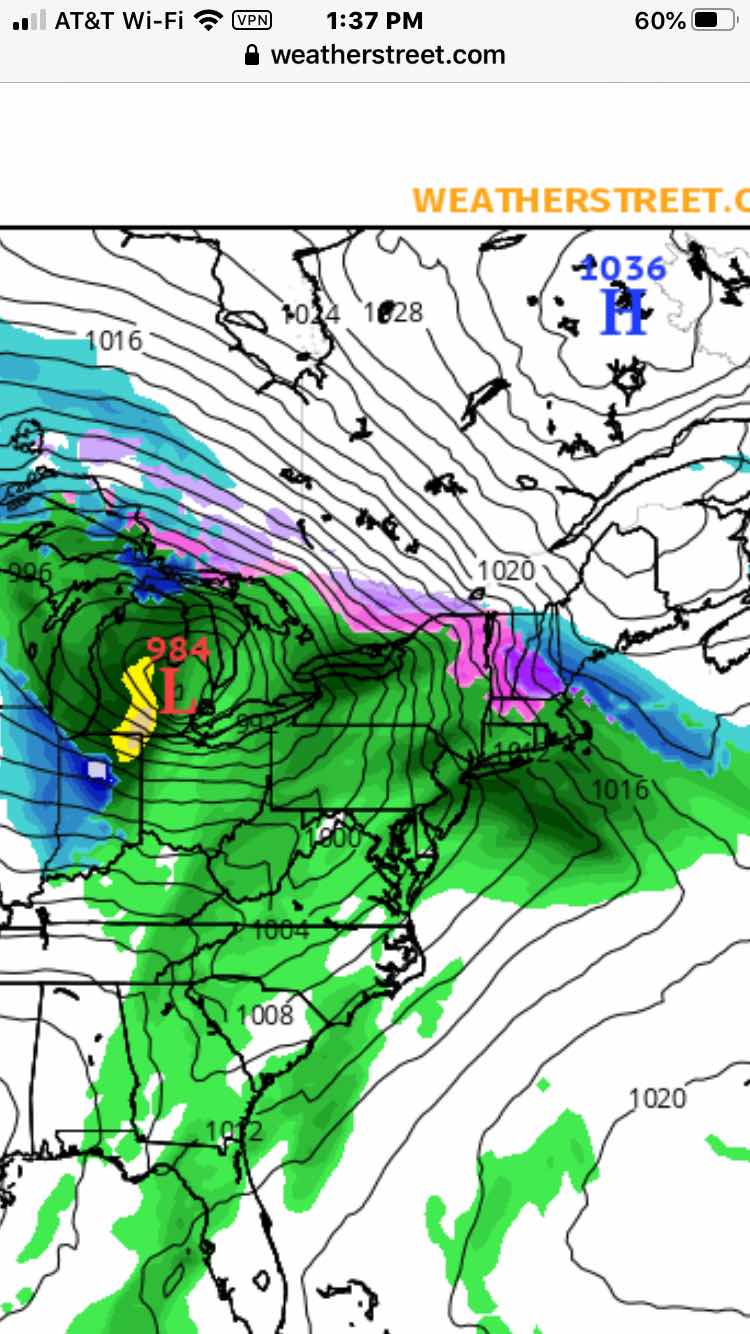
We have a winter storm warning for snow and prolonged ice storm Monday.  The surface map below shows the center highlands of Massachusetts, where I live, having ice in the early hours of Monday, and possibly lasting through the day.


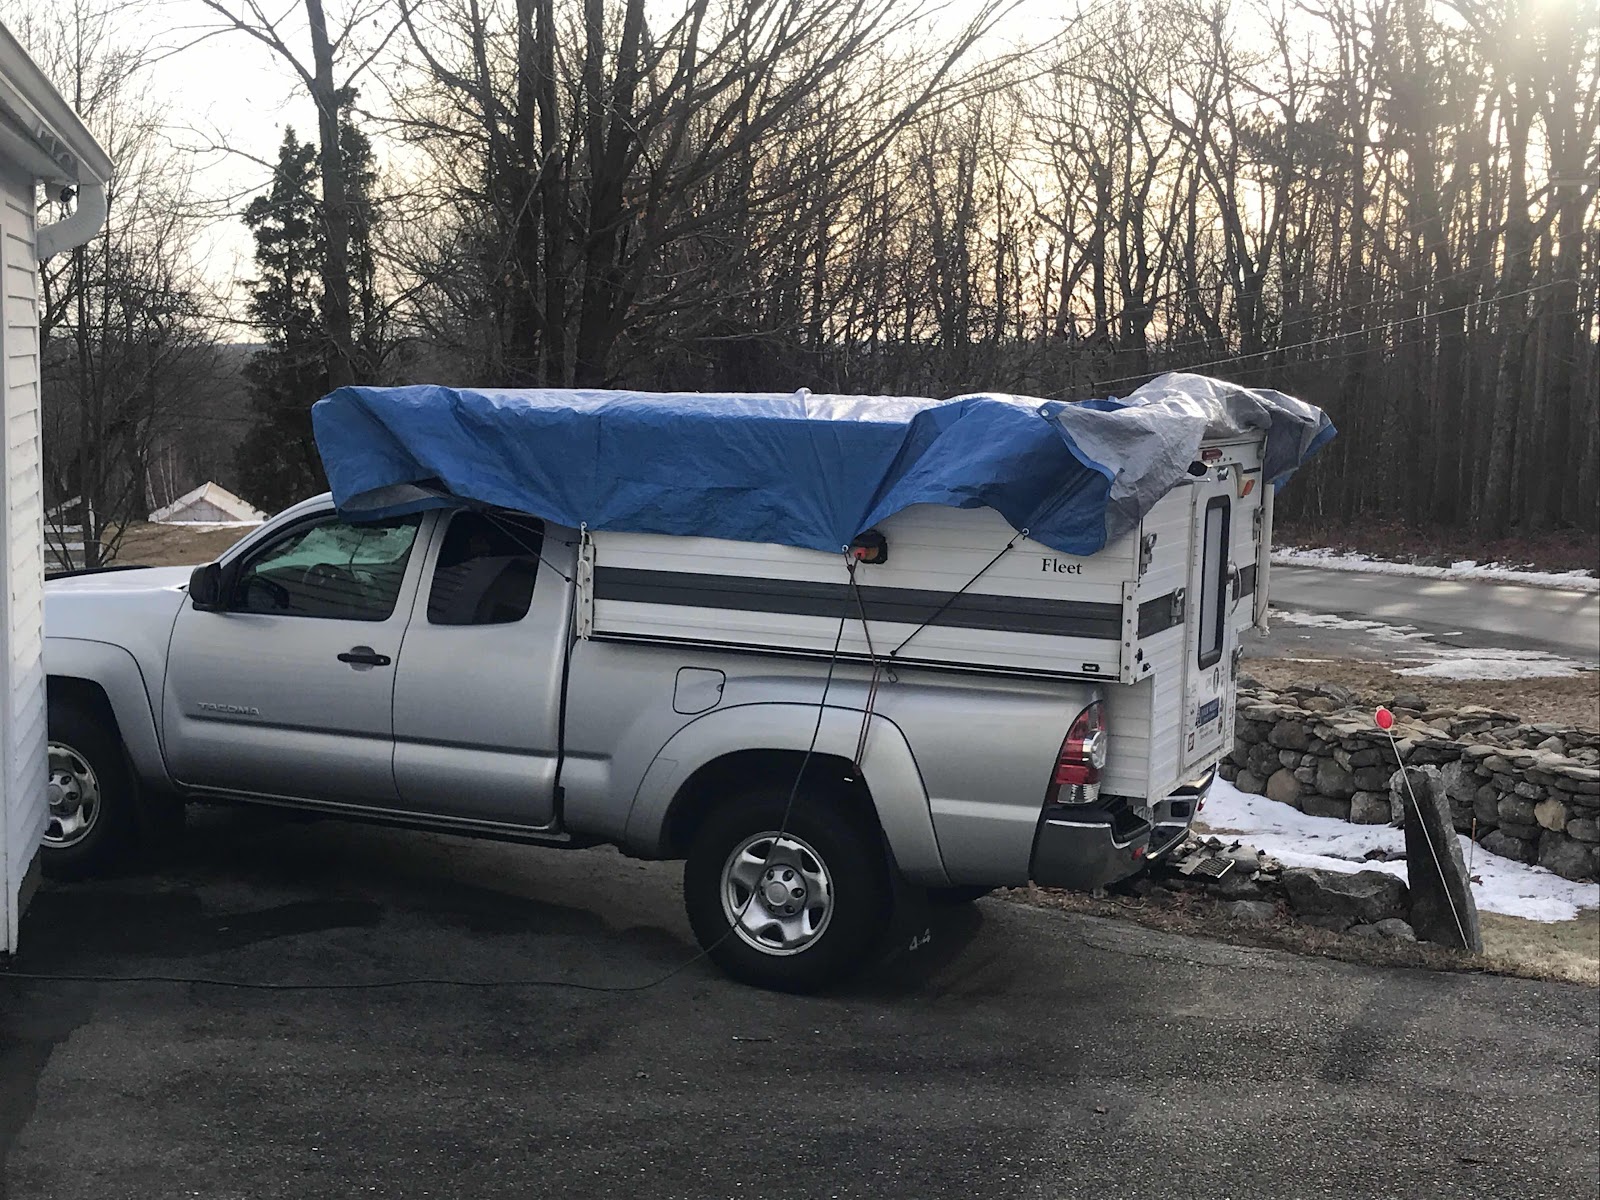
With my goal to leave later this week, I have prepared the FWC camper to prevent ice and snow from building up on top.  Freezing rain in Central MA is no joke after 2008 and being out of power for a week from so many trees and limbs take the wires down.  I’m hoping for no power interruption with this storm.


When I go to leave, I may have snow and ice on my camper that would not be easy to get off.  The last thing I want happening is for the ice to fly off when I’m driving and hit someone or their car.

The tarp will allow me to easily remove any buildup on the camper.  The camper itself will have no problem with the snow or ice other than weight to lift the roof, but that’s not my concern.

Yes I haven’t yet tied the tarp down in the back as I’m enjoying another mice day to pack and organize the camper before the bad weather arrives.

Brent

macaloney@hotmail.com

Tuesday, December 24, 2019

Putting FWC On The Truck

Actually the first thing I did on Sunday was pail out buckets of hot water to remove snow and ice in the truck bed in preparation for a beautiful sunny warm winters day Monday, to install my Four Wheel Camper on my Tacoma.

So how much work is it? Well, here is what is involved.
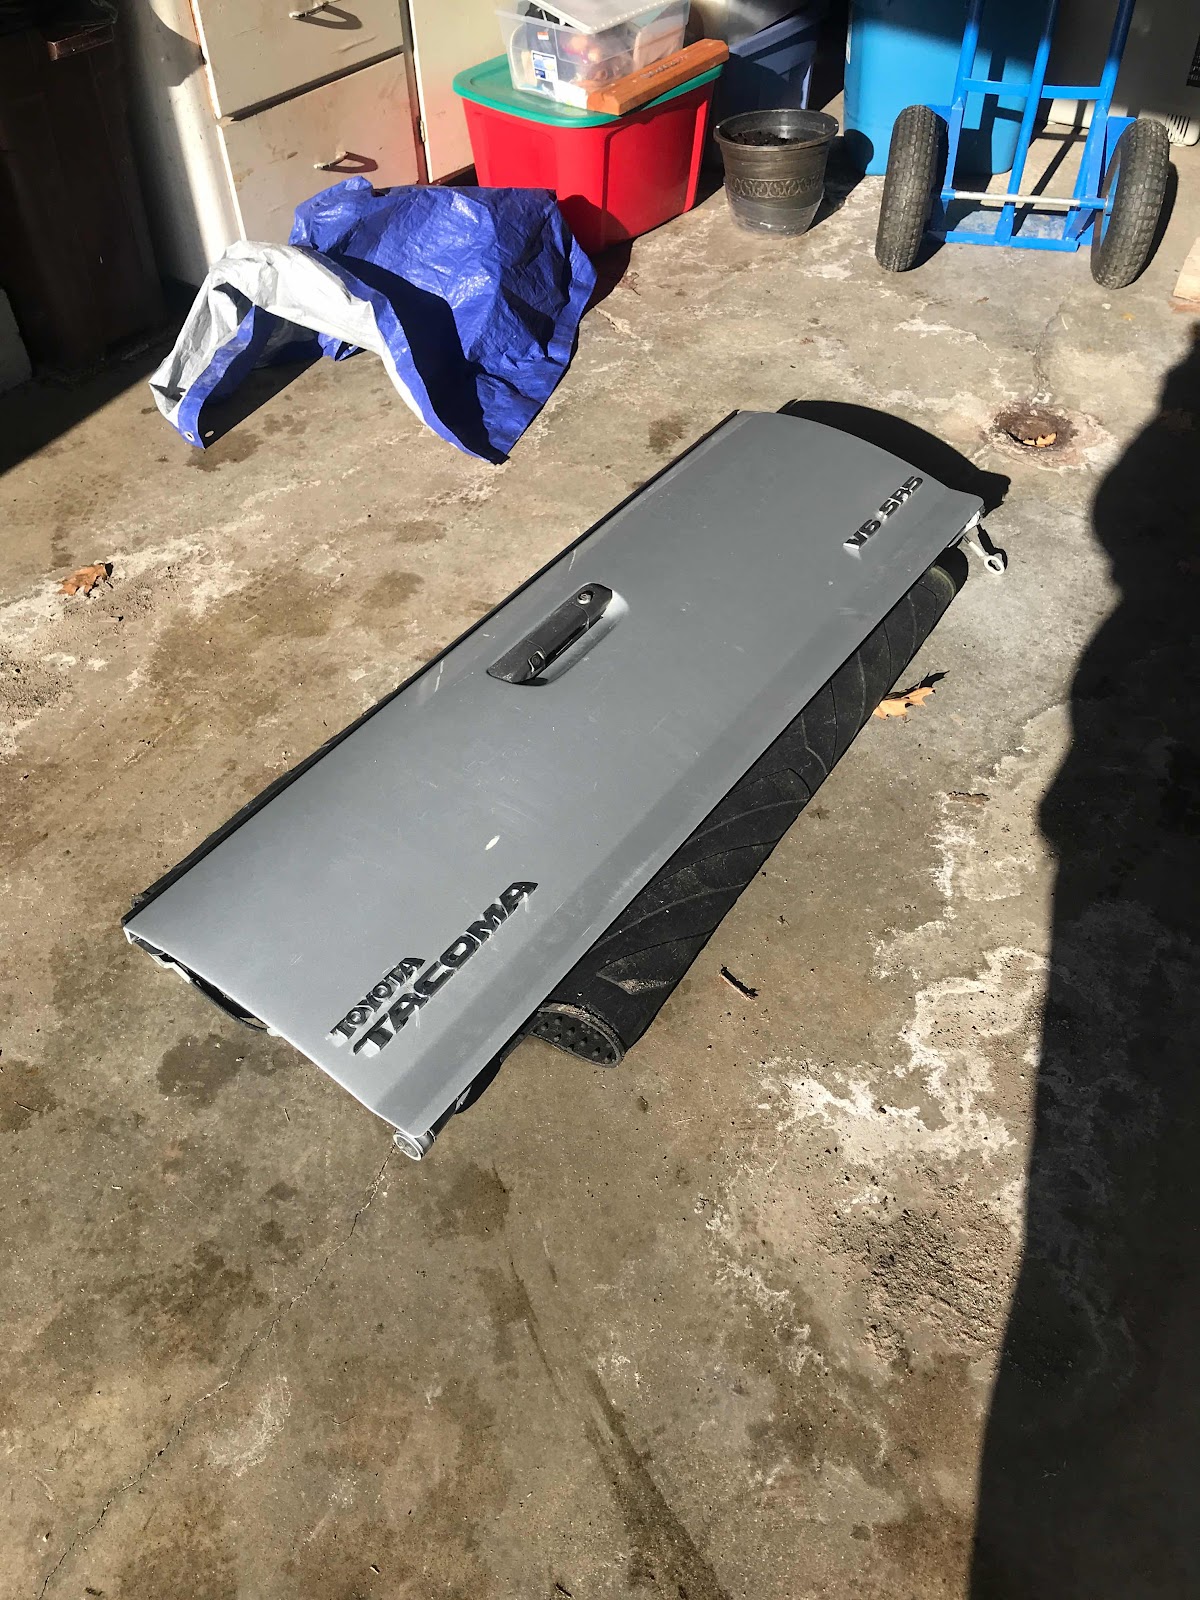


First crawl under the rear bumper and unplug the rear camera cable in the tailgate.  Then place on the protective connector cover to prevent damage to open connection. Removing the tailgate is very simple to do once the camera wire is removed.


Next I check the FWC bed mounting bars and put anti slip pads between the bars.  The anti slip pads help the camper from sliding on the Tacoma’s composite camper bed that is plastic.


It’s now time to prepare the camper by listing it so I can drive under it.

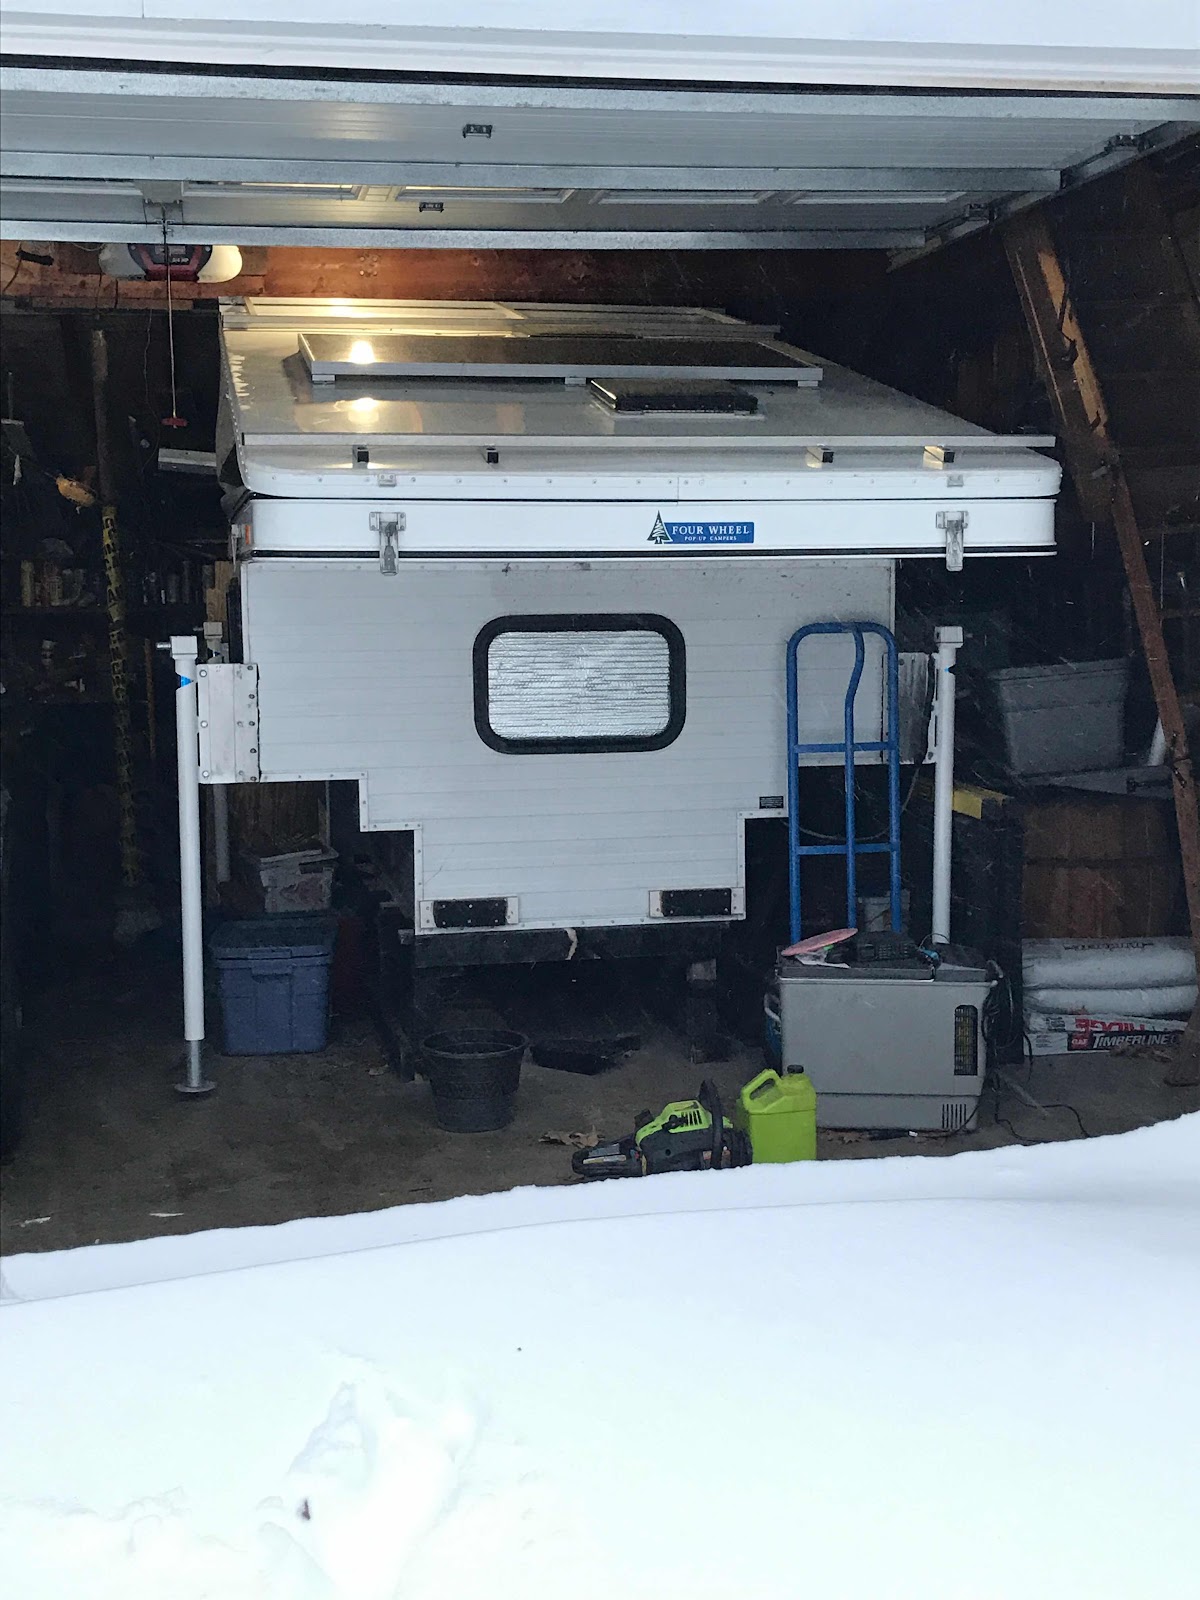
Above you can see the stand I have the camper resting on in my garage.  This low supports allows me to pop up the camper top in the garage to work on it.  My garage door is 8’ high and ceiling is about a foot above that.


When I bought my camper used a couple years ago I ordered the crank adapter to fit a drill so I don’t have to use hand cranks to lift and lower the camper.  

Since you need to go to each of the 4 corners to lift the camper a few inches at a time, the drill makes this so much easier.  This step actual takes the longest to do.


I have the lifting planned out from prior years.  Notice the 55 on the jack extension bracket.  This reminds me that the front of the camper must be 55” from the floor to the bottom of this bracket to load on the truck.

The extension brackets that the prior owner had made assists with loading and unloading as it gives more clearance to move the truck as you back up.

The rear jack brackets are marked 57” as the rest needs to be higher since the driveway slopes in front of the garage door and as I back in the tail of the truck slopes up, so I need to taper the camper height.
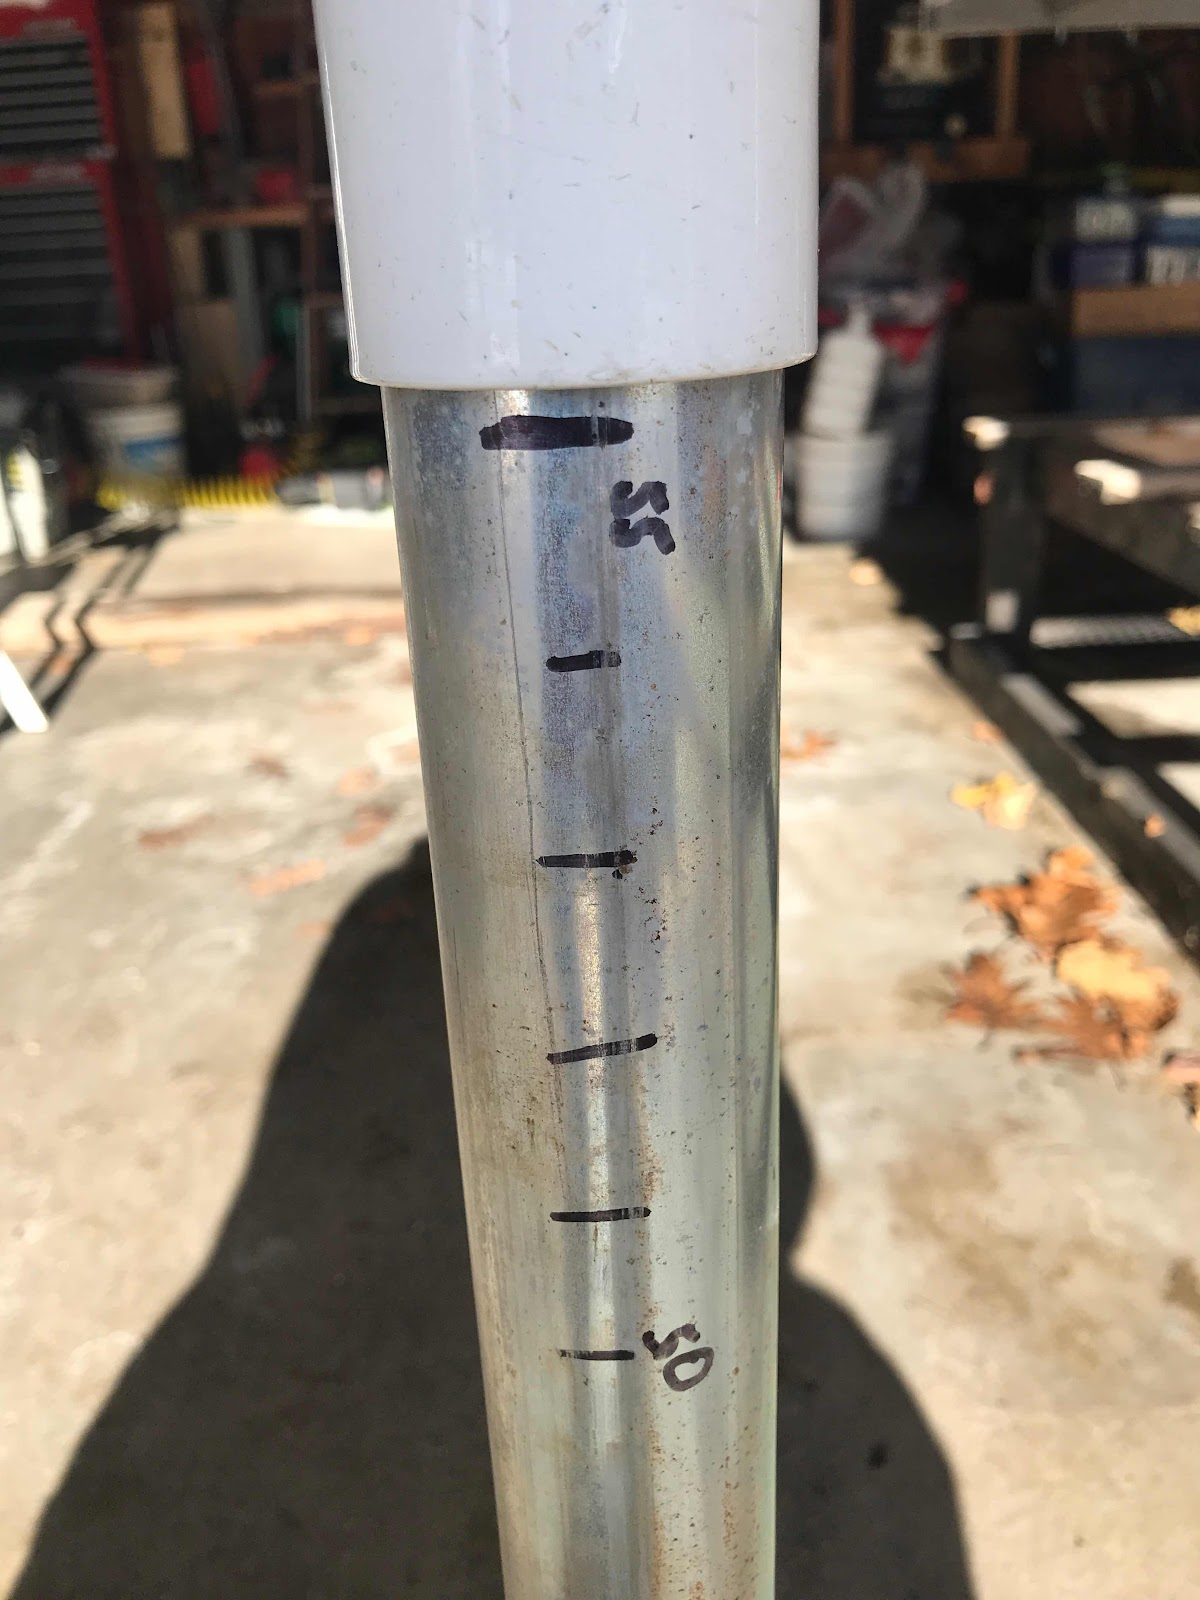


To not have to use a measuring tape I marked the jack posts with gradients to sow approaching and arriving at 55”


With the camper elevated I remove the camper stand.


Backing up under the camper is not the hardest thing.  

I open my slider bed window to hear what I’m doing.  I can align and get under the camper with no problem at all.  It is fine tuning the placement that takes a bit of skill.

You want the camper’s front rubber bumpers to be all the way against the truck bed.  I can’t stress this enough. This helps straighten the camper in the bed too, but more importantly the camper can slide around if secured against the front of the truck bed.  So i Ned to get in and out of camper a bit to check things.  Last adjustment you can see in the Tacoma’s front wheels being cut a bit to get the passenger side to rest solid.

On the way in and not shown are two things that I need to do.  First I need to plug in my truck charging cord and put my sink drain hose through the rear drivers side bed box hole


I’m not quite done until I use turnbuckles to connect 4 points to the FWC mounting bars attached to the truck bed.  This deserves its own post as I have changed to review this year.

In brief I start with the front turnbuckles to hold the camper tight to the front of the truck bed.  Any gap leaves a chance for movement that is not good. This is very important!  I then mount the rear turnbuckles.  

Installing the turnbuckles takes the second longest time, as the front turnbuckle installation is mostly a blind operation with arm stuck in access hole.

So there we have it, my FWC on my Tacoma for the third travel year in it.

2020 will be my 7th travel year since retiring.  My first year in a Class B,  my next 3 years in my fun to drive Prius Campervan, and now two years in the truck camper.

Now to pack and prepare to depart in early January.

Brent

macaloney@hotmail.com


Monday, December 2, 2019

Thoughts Quickly Turn To 2020 Travels


There are two things that get me thinking and planning about  my travels than cold and snow.

I’ve been on my “at home” sabbatical since May 1st and although I like New England in the spring, summer, and fall, no so for our long winter.

I actually start thinking about travels and doing some planning, starting in September, but it’s not until December and being one month away from leaving that the piles start to form on the floor as I stage for my travels.

I do a lot around the house each year when I’m home and go on some elaborate travels (non Vandwelling 😁) my wife plans do us.  

This year I will be reviewing some new products, attempted modifications with my Tacoma / FWC camper setup.  It’s very likely I will cover some reviews I started last year but never published.

Anyway, I’m alive and doing well and actively getting ready.  More on what and where when I publish more.

Until then


My camper awaits the last week in December to me mated to the Tacoma.

And


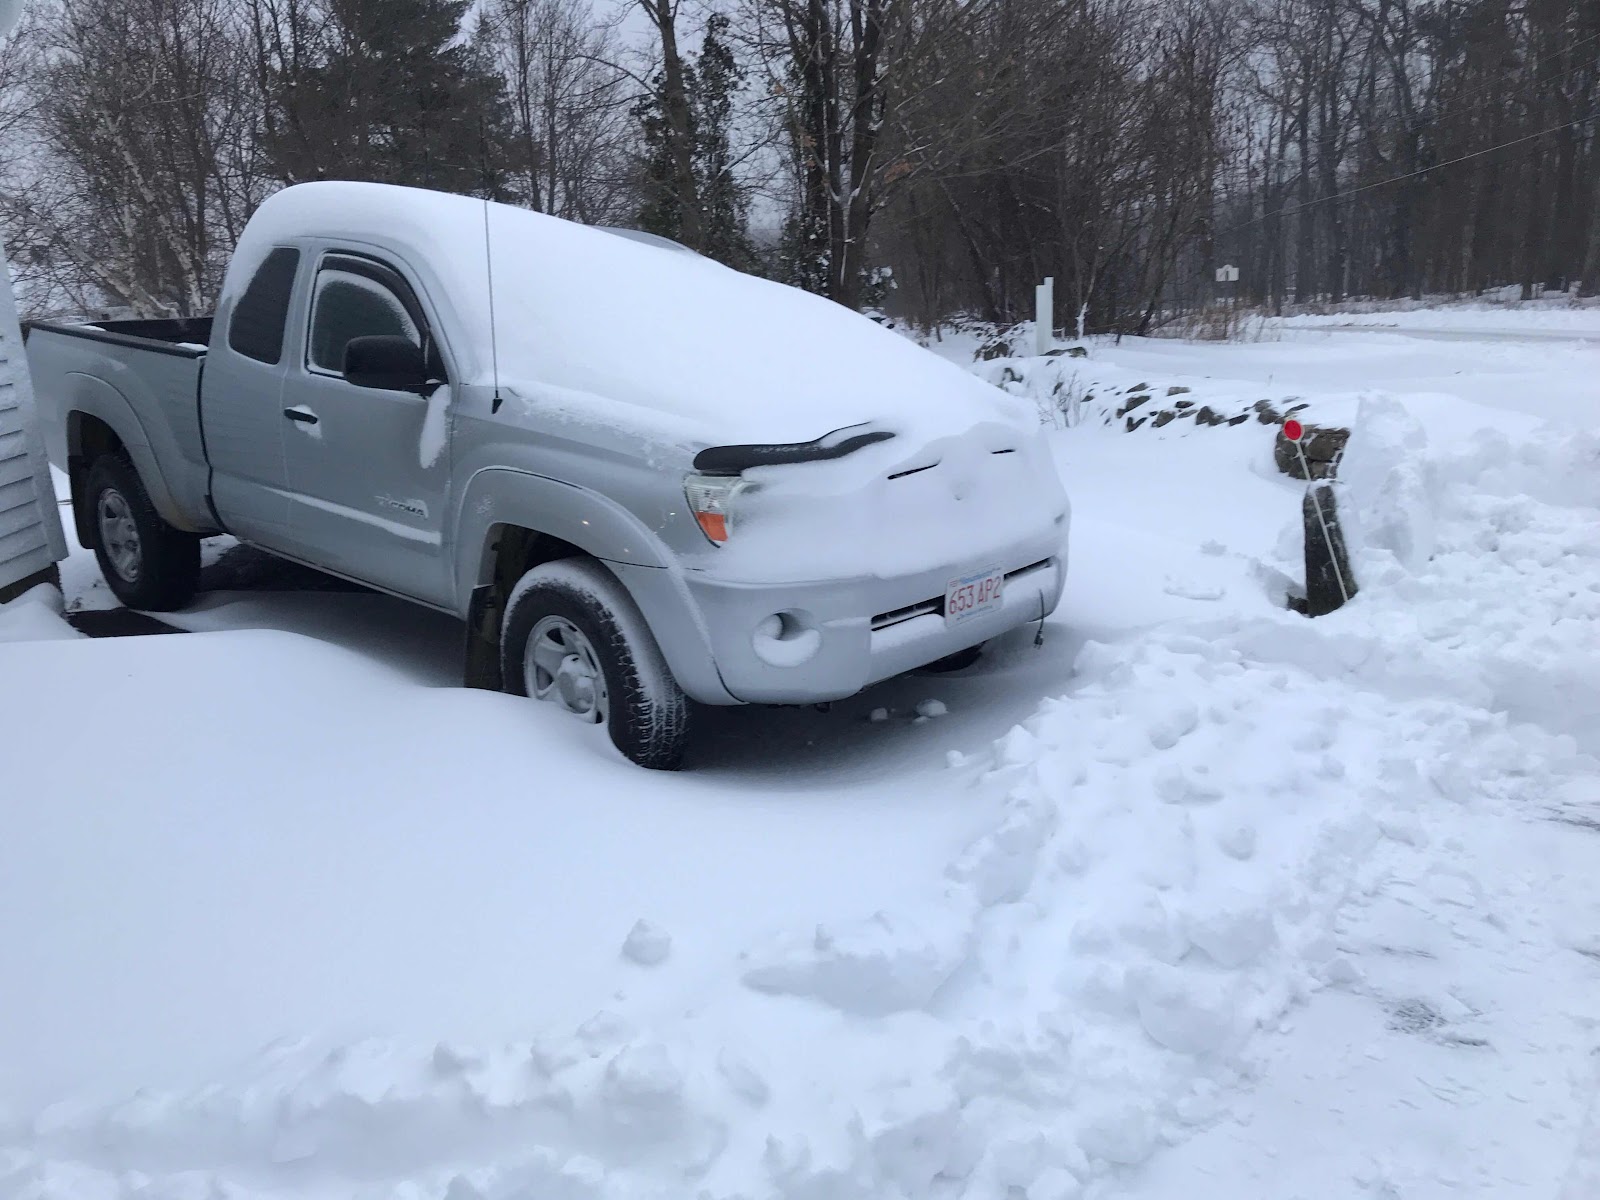
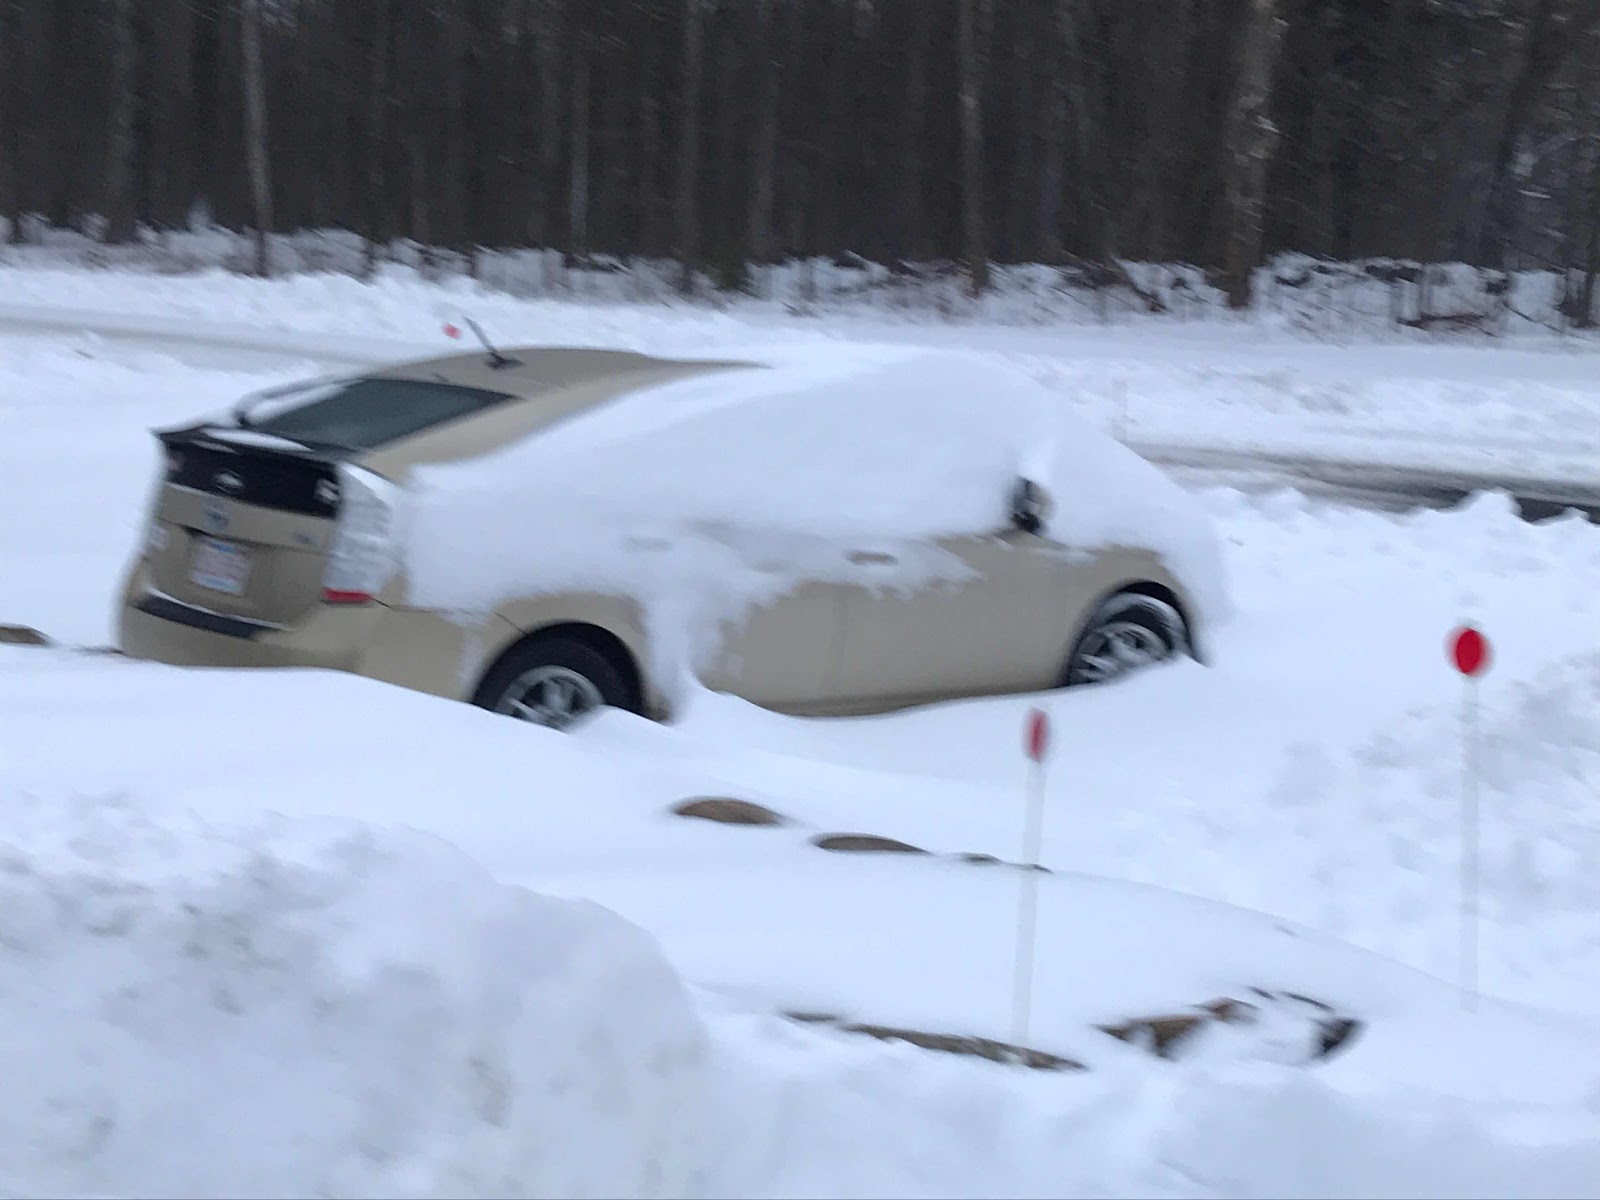
I’m going to go dig the poor Prius out of the 12” of snowfall.

Later all,

Brent

macaloney@hotmail.con