Thursday, February 25, 2021

FWC Bunk Thermal Barrier


When driving across country I sleep with the roof down most of the time.  I do this for warmth and a sense of stealthiness.  

Out west in the winter I put the roof up and lay on my bench watching movies or TV and cold air rolls off the bunk and on my head and neck.

I’ve tried tilting the roof with the front over the bunk down and the back roof up, but still I get a cold draft.  Because I sleep in the bunk mostly, even with the top up the bunk space is only used for putting things there to get them out of my way.

I needed a solution to the cold draft, so this past fall (2020) I took a COVID mask trip to Joann Fabrics and bought some lightweight quilt material to make a bunk barrier. 
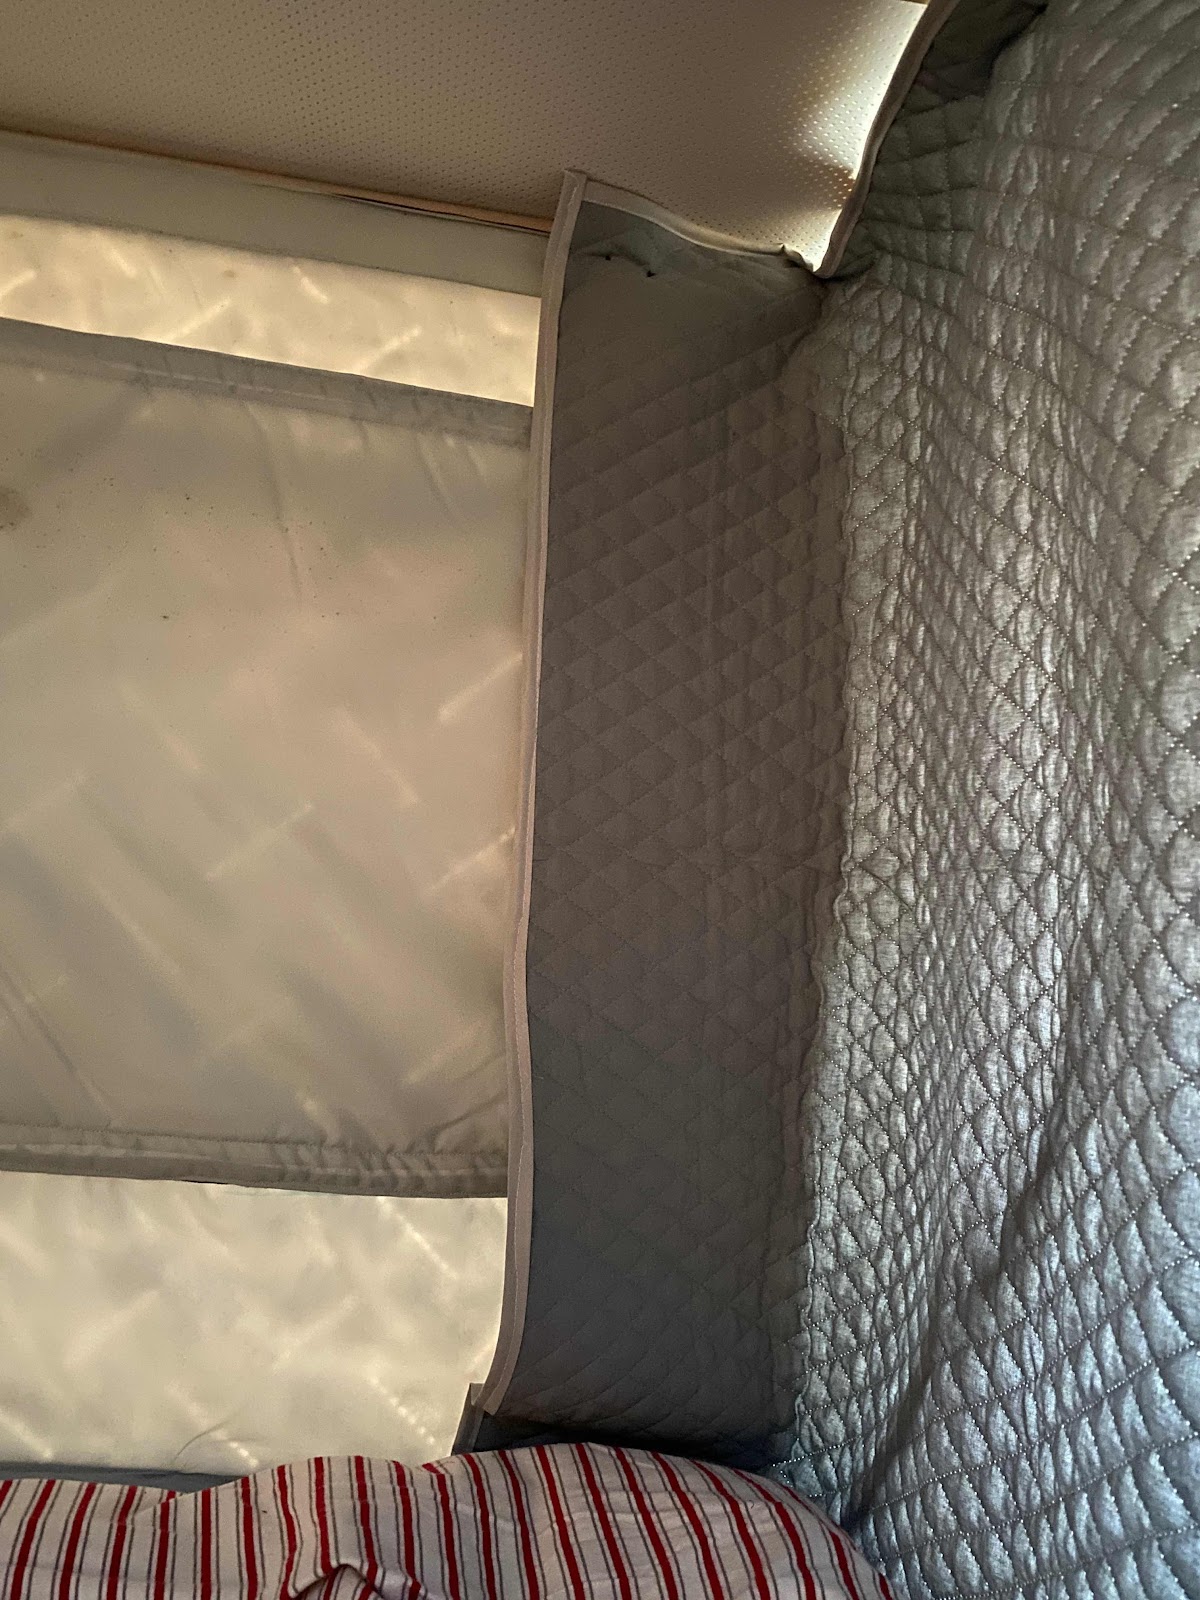


I sized the thermal barrier to tuck in the bottom of the bunk a few inches and wrap around on the outsides to make for a better fit


In trying to think of a way to hold the barrier up I thought of my friend David Swanson of Prius days who used rare earth magnets to hold curtains.


Dang, what a great idea.  I found some rare earth magnets at Joann Fabrics incased in plastic and used them by sewing them to the fabric and screwing them to the wooden roof brace in the ceiling or using industrial double sided tape to the magnets on the roof ribs.  (Don’t go to Joanne Fabric without looking for coupons.  The magnets are expensive and I got them 50% off.)

The other advantage of the thermal barrier is that when I’m heating my camper I don’t have to waste heat to warm the loft bunk.

Note that the material is not a heavy quilt and I lay it in the bunk when I close the roof.

I now have a good thermal barrier and I can put things up there when company comes over and they can’t see the mess.

The magnets make putting the thermal barrier up simple and fast.

Oh, although I usually get help from my wife in sewing I sized, cut, bound the edges with double binding tape, hand sewed the magnets on too.  I did need my wife’s help to give me instruction on using the sewing machine as she was away at the time.

Happy vandwelling.

Brent

macaloney@hotmail.com


Saturday, January 23, 2021

Eliminating Moisture Under Foam Mattress


When I was Prius dwelling I had a Thermarest mattress under my sleeping bag.  I would notice moisture under the sleeping bag where my torso was laying when I got up in the morning.  The colder it got there was more dampness.  I would fold back the sleeping bag during the day to dry things out.

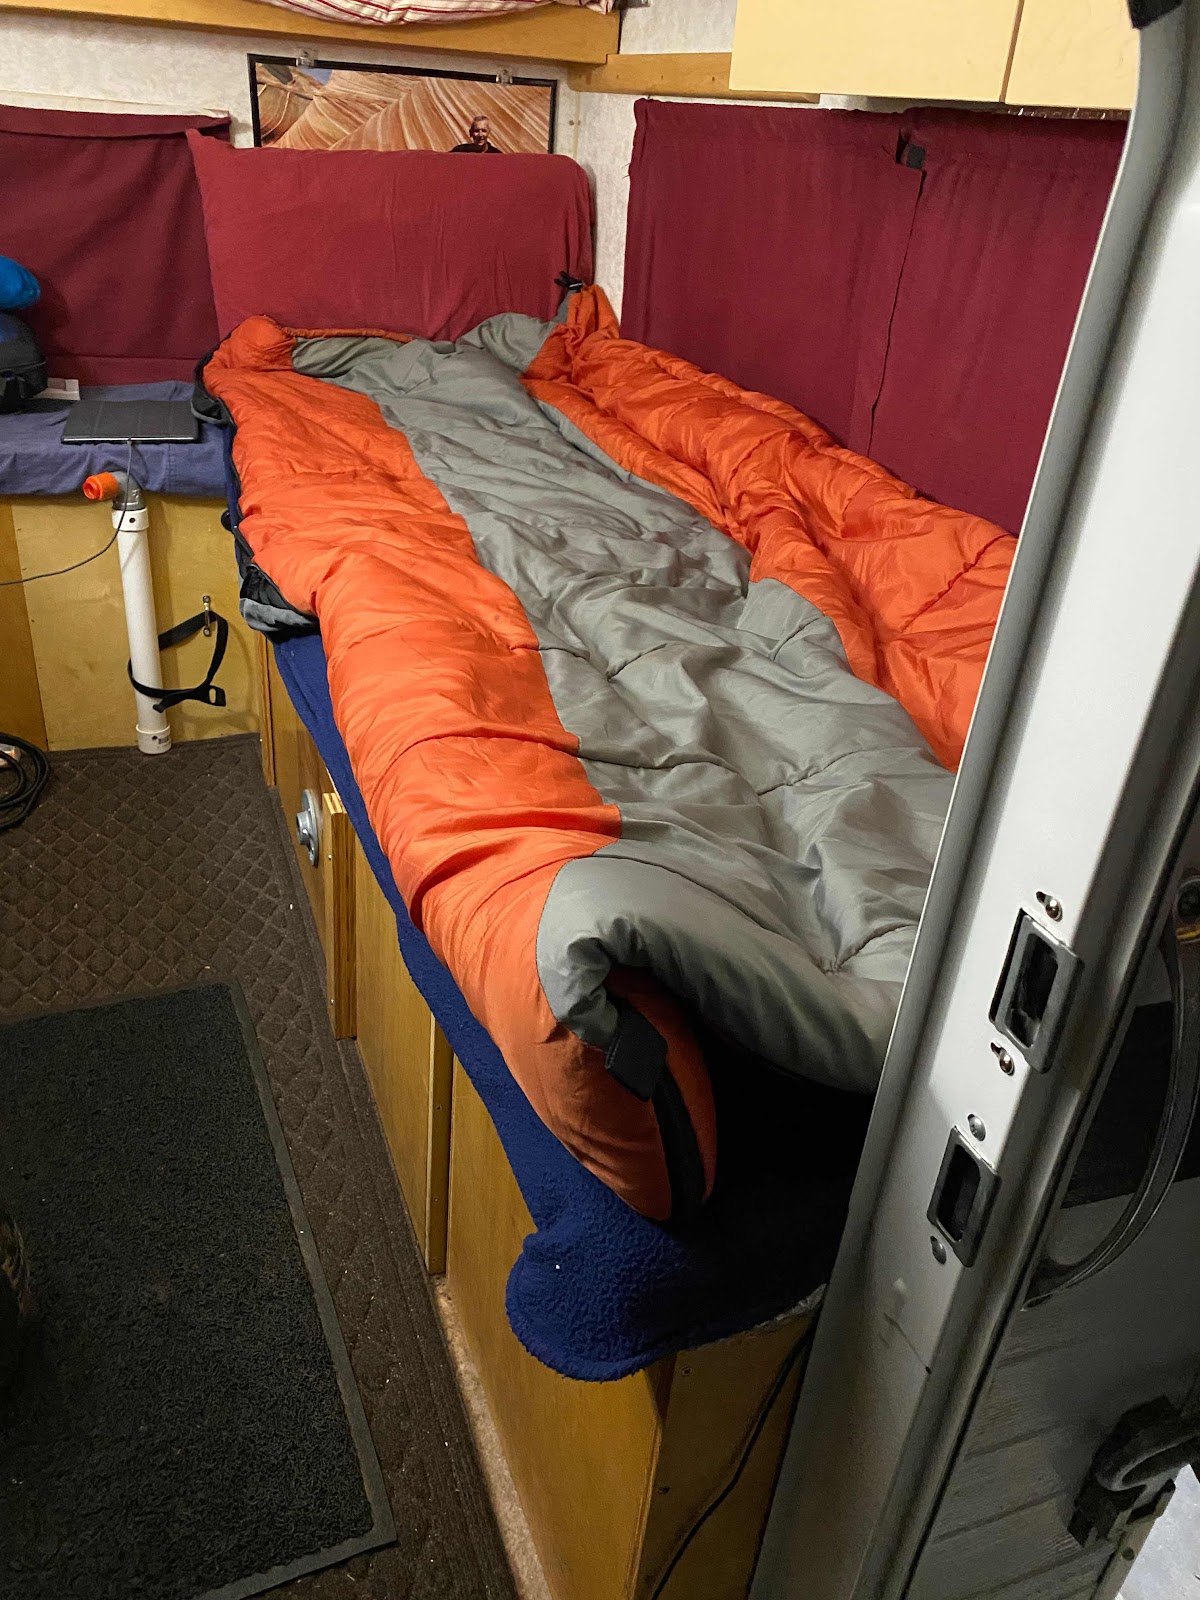
When I switched to the Four Wheel Camper (pick up camper) dwelling, I mostly slept on the passenger side bench seat.  This area is just a piece of plywood under me to the outside without insulation.  The above picture shows the bench with my sleeping bag on it.

Under the sleeping bag is 2” of foam mattress snd the colder it gets the more condensation collects on the bottom of the foam against the plywood.  On my previous years travels I would just flip the foam mattress to have it dry during the day. 


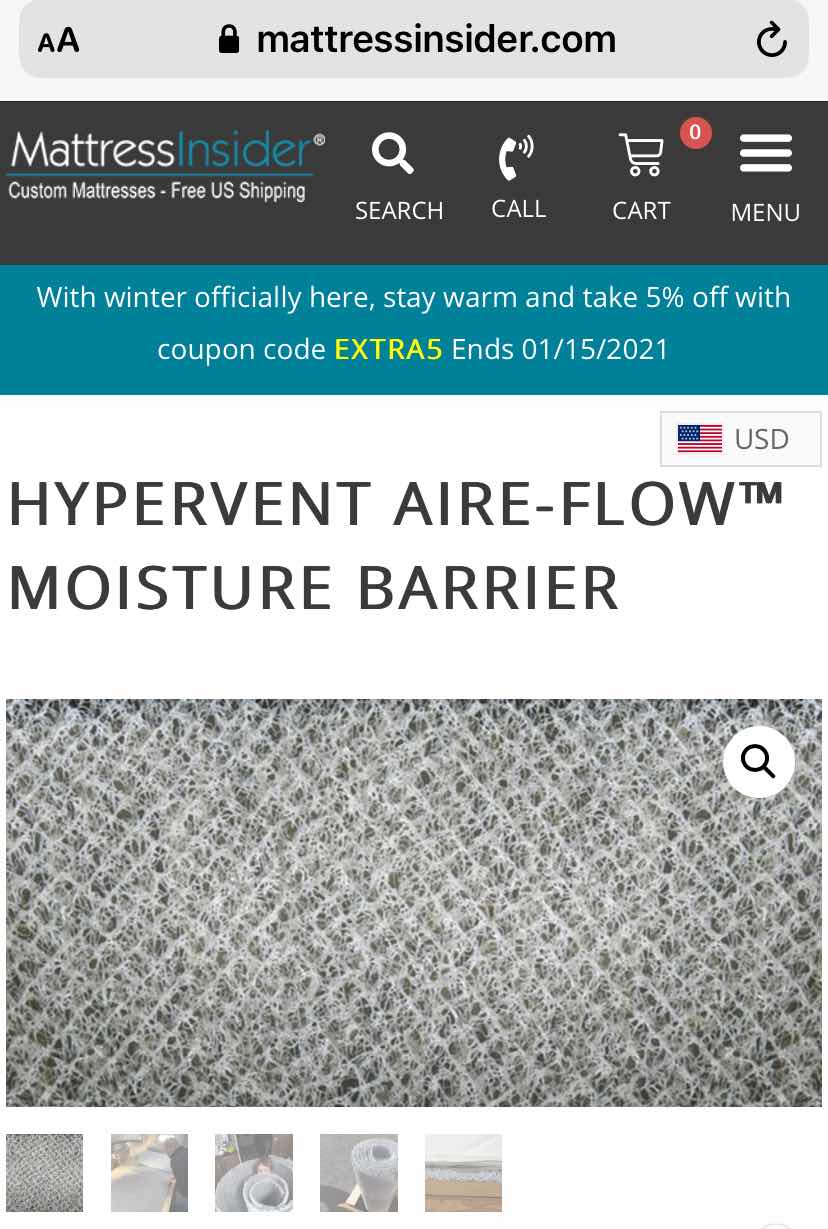
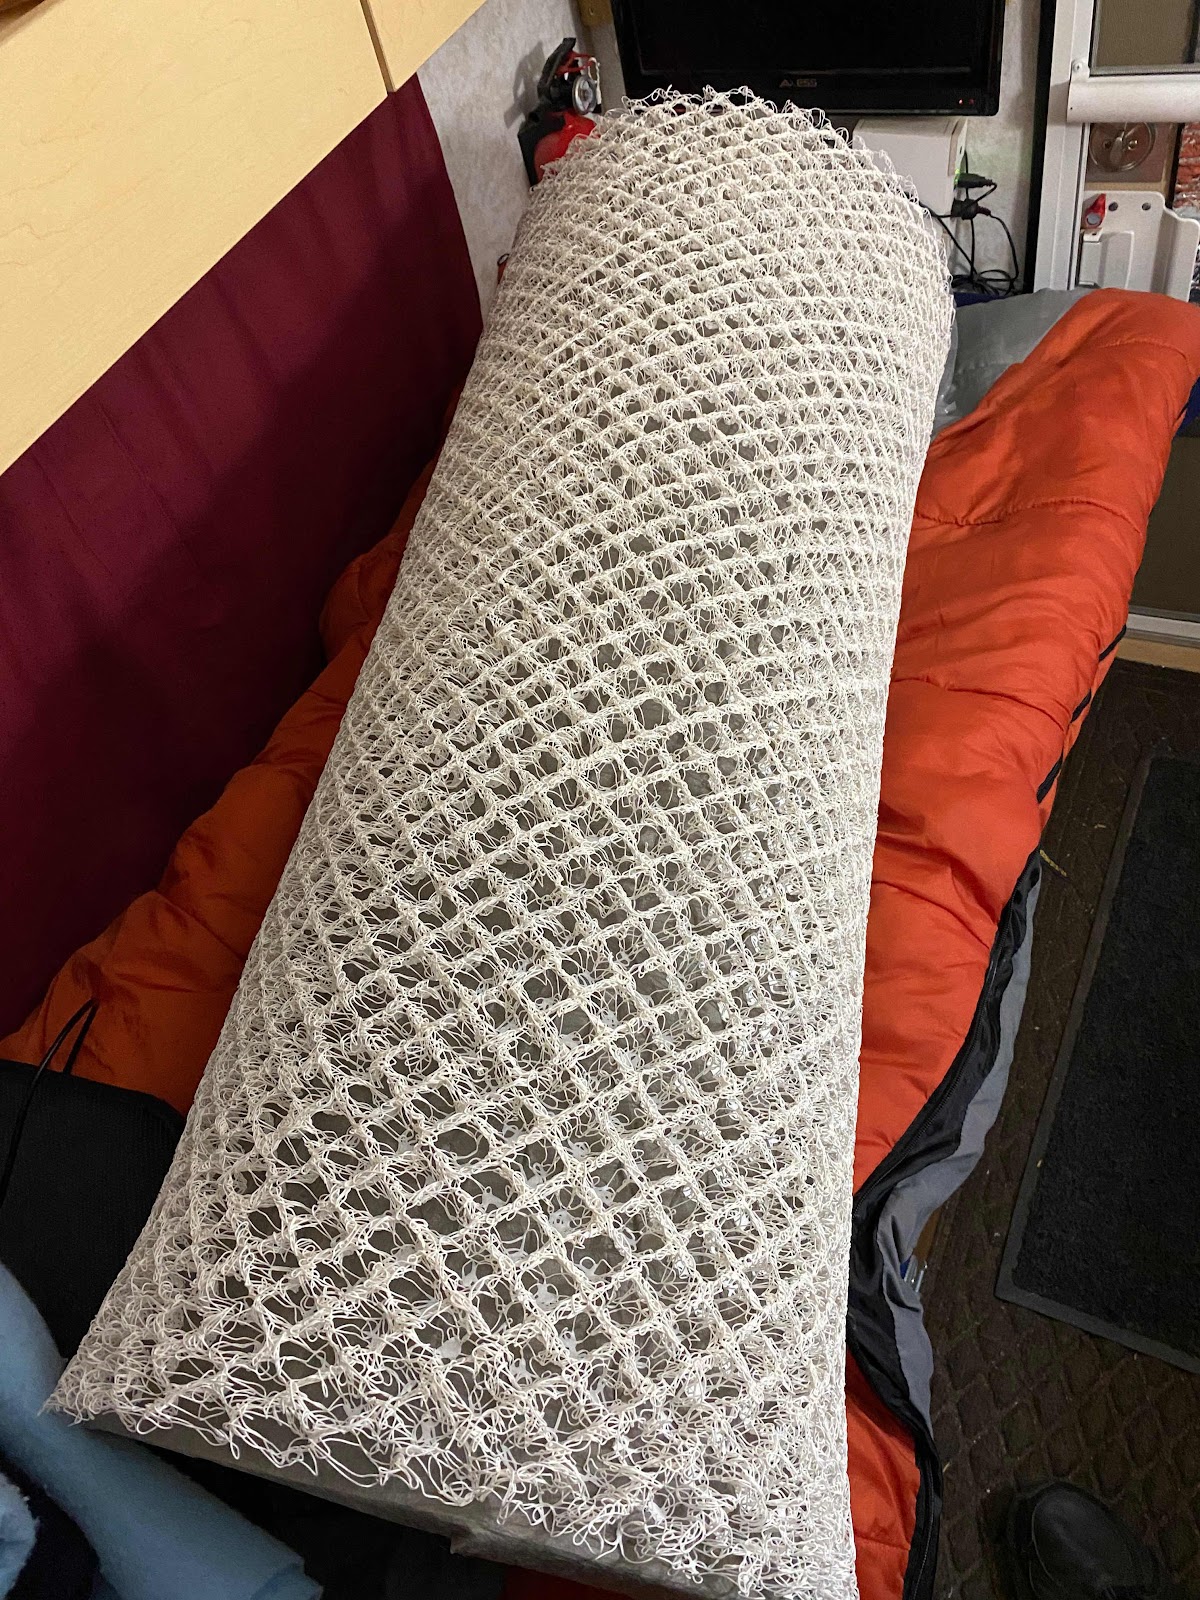
This year I found this moisture barrier for under mattresses in campers snd boats to eliminate moisture.


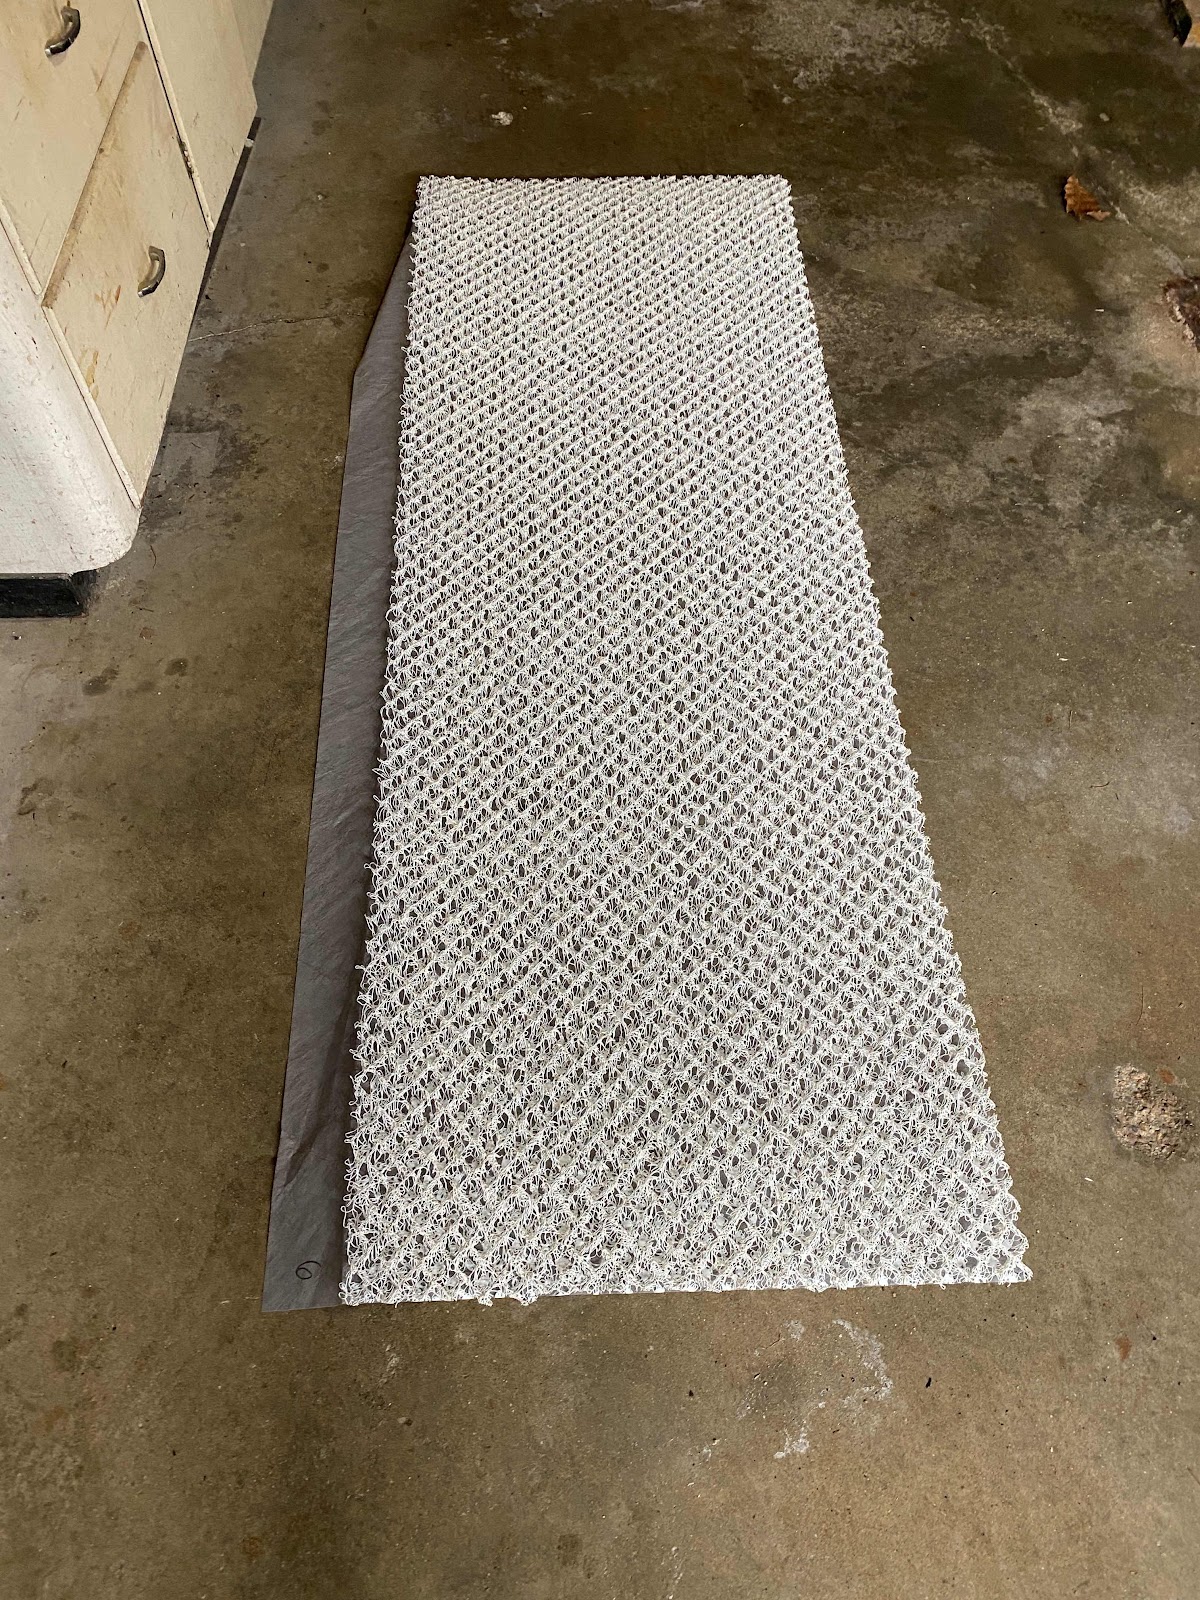
I bought one pieces 39” wide and 72” long and cut it to 25 “ wide to use as a moisture barrier under my bench/bed foam cushion.  I’ve tested it and there is no moisture in the AM and I’m pleased to allow air to circulate and keep the area dry.


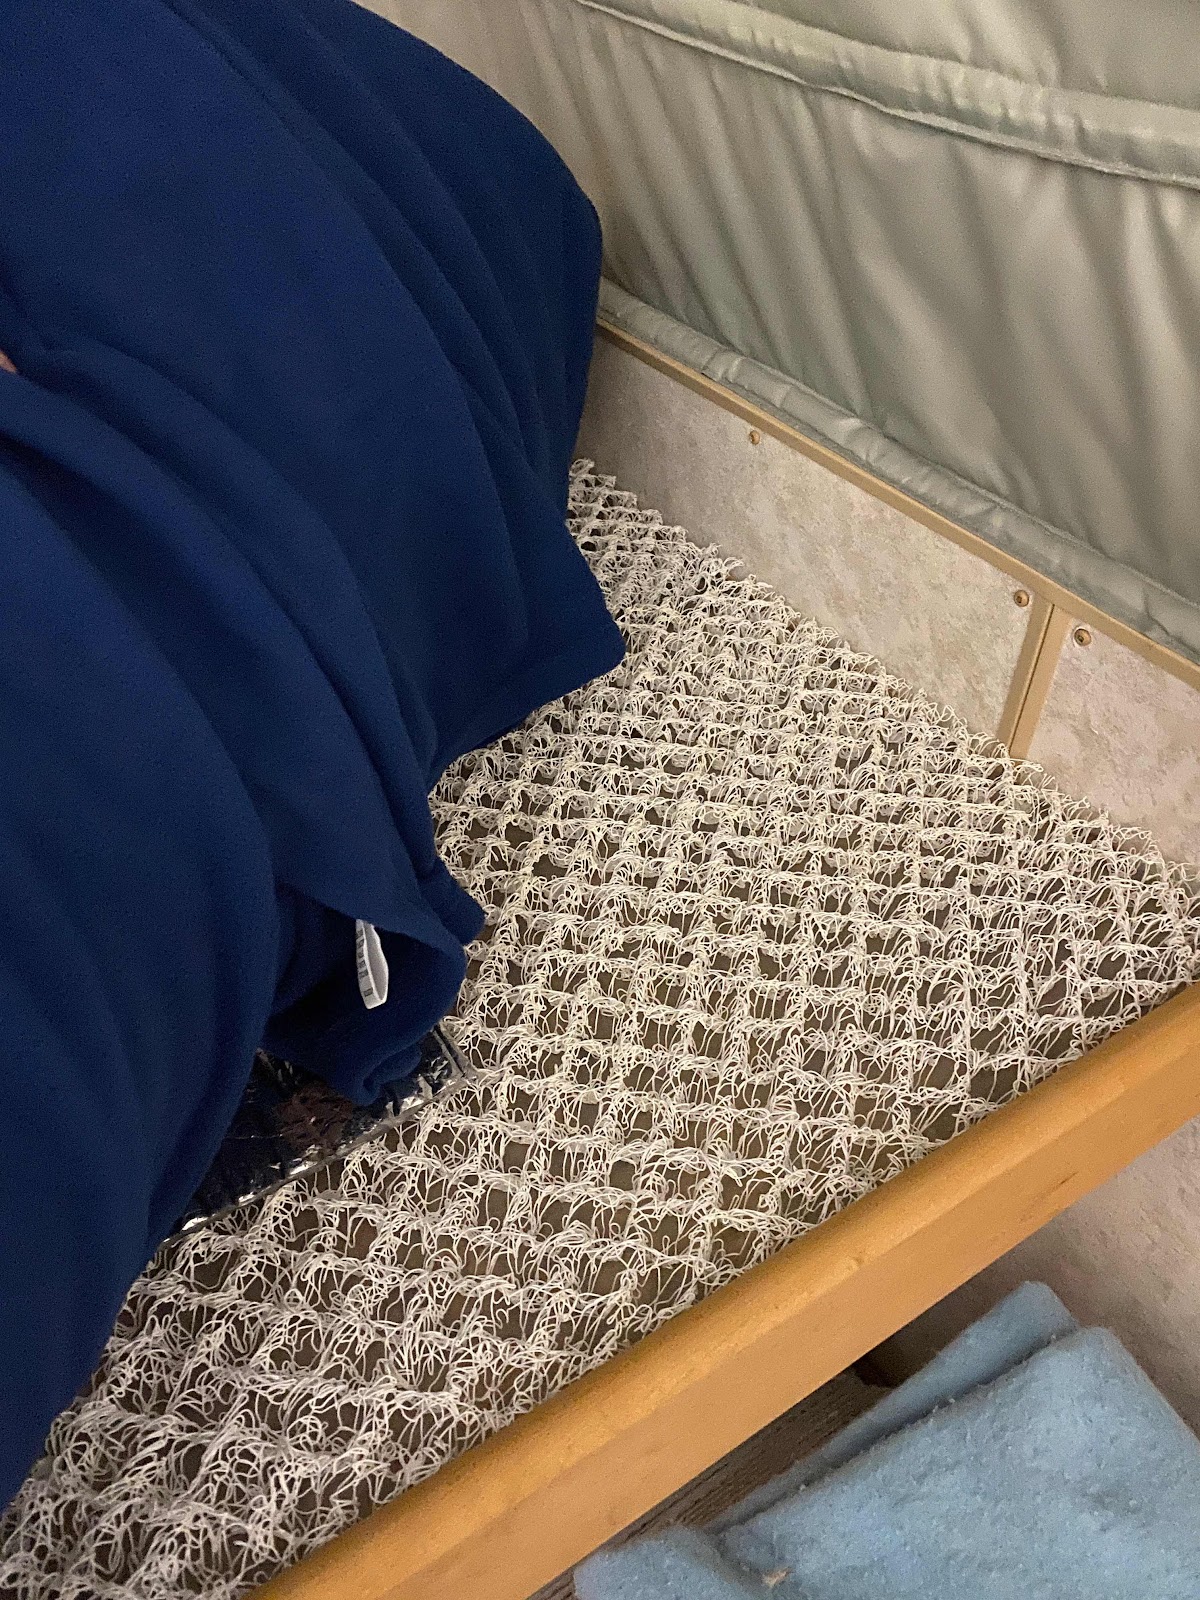
I liked it enough that I decided to also put the moisture barrier under the mattress on the overhang bed.  I only needed to buy one more piece the same size, and with the leftover piece from cutting the size for the bench, it gives me a full size mattress underlay moisture barrier.

The camper upper bunk can be bigger but I use standard full size sheets and this is big enough for two side to side as long as no one is over 6’ tall.


The moisture barrier can be easily cut with heavy duty scissors.  It is 3/4” thick and the webbing that make for an open airflow is moderately stiff but can be compressed with fingers.  When laying in it with foam above, as I’m using, it does not compress.

When I get on the road to 2021 travels I will get to test this moisture barrier a lot more.

Brent

macaloney@hotmail.com

Wednesday, January 20, 2021

New Tacoma - Rust on Rear Brake Drums

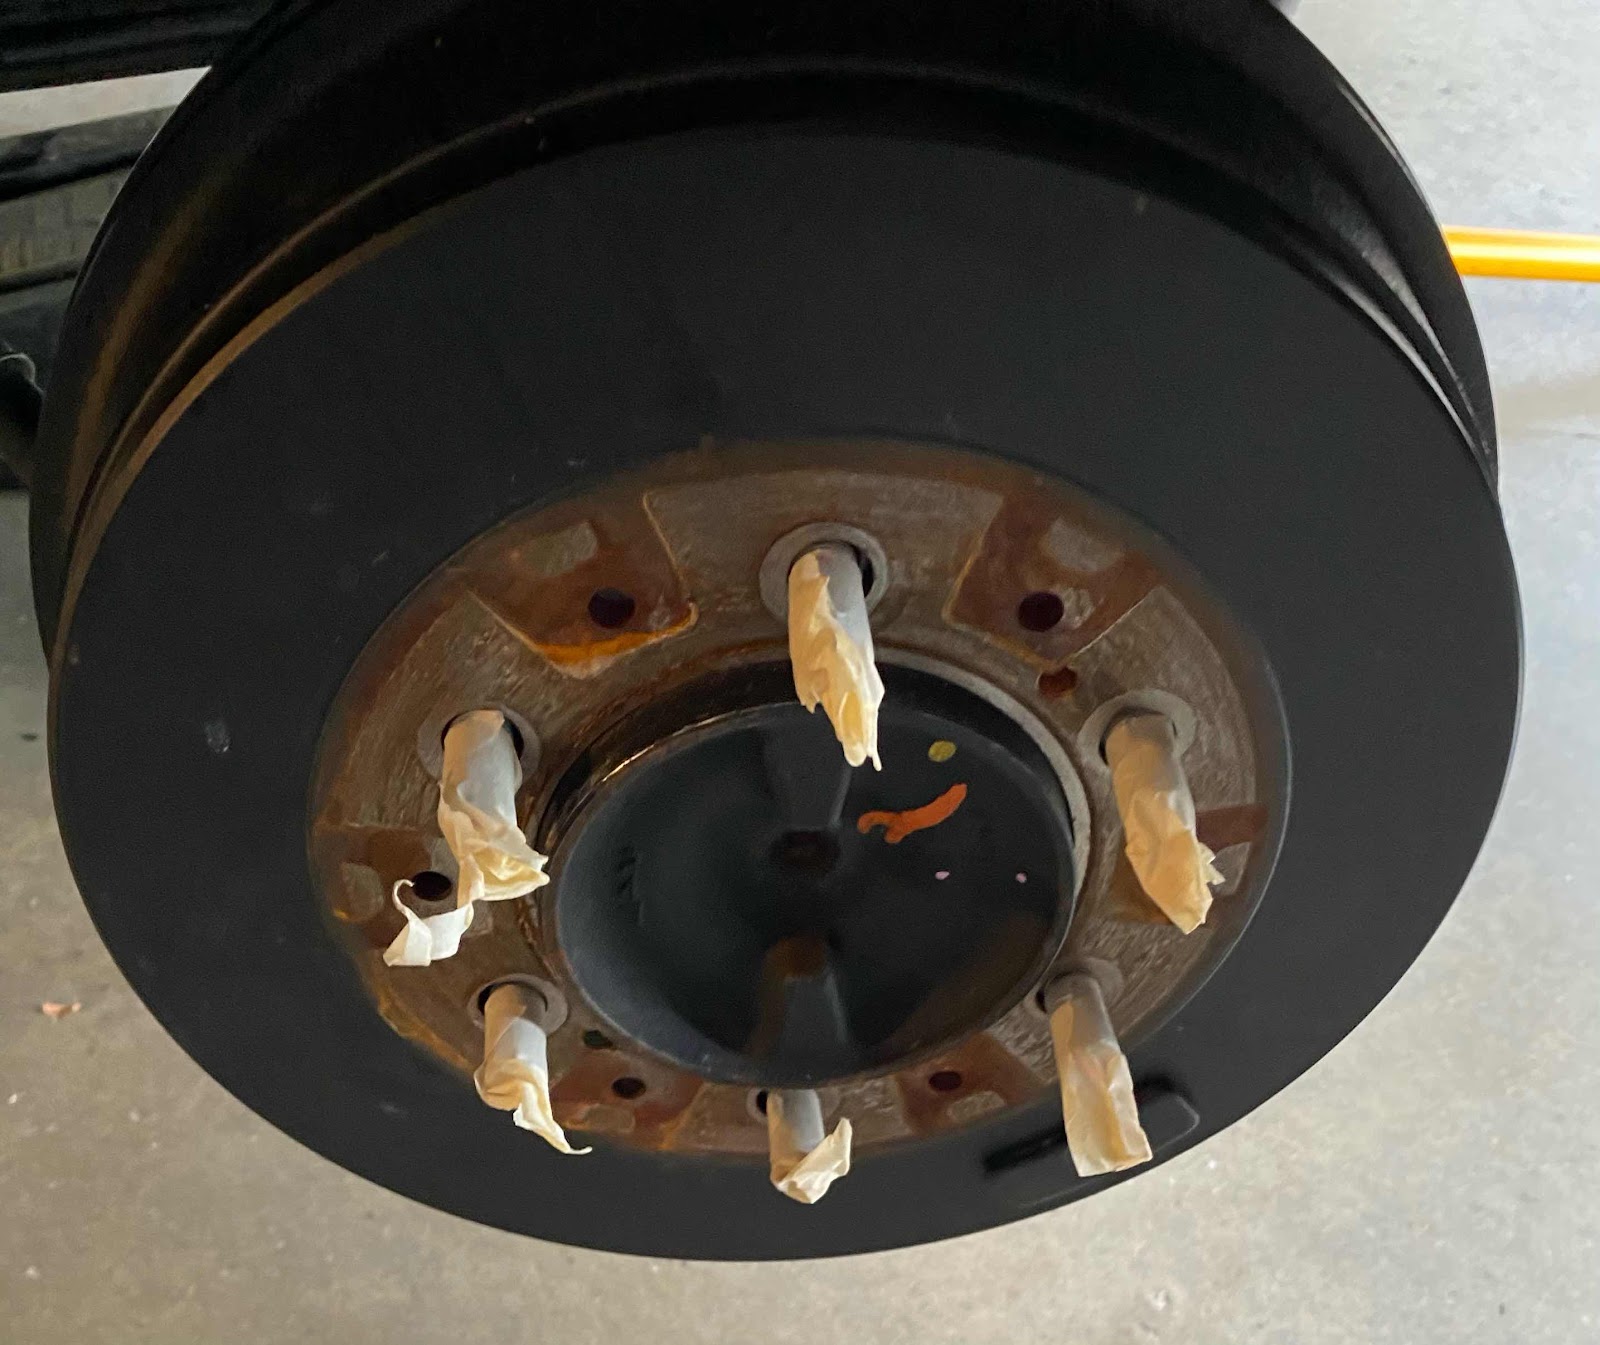
When I buy a new vehicle I don’t want to see rust!  In fact it is frustrating even if it is in a hidden part like the rear brake drums.  They paint all but where the wheel touches the drum?

So, when I jacked up the rear axle to put in airbag suspension I noticed the rear brake drums were rusted.


Above - is the drum as it came from factory with my masking tape on stud threads, ready for spray painting 


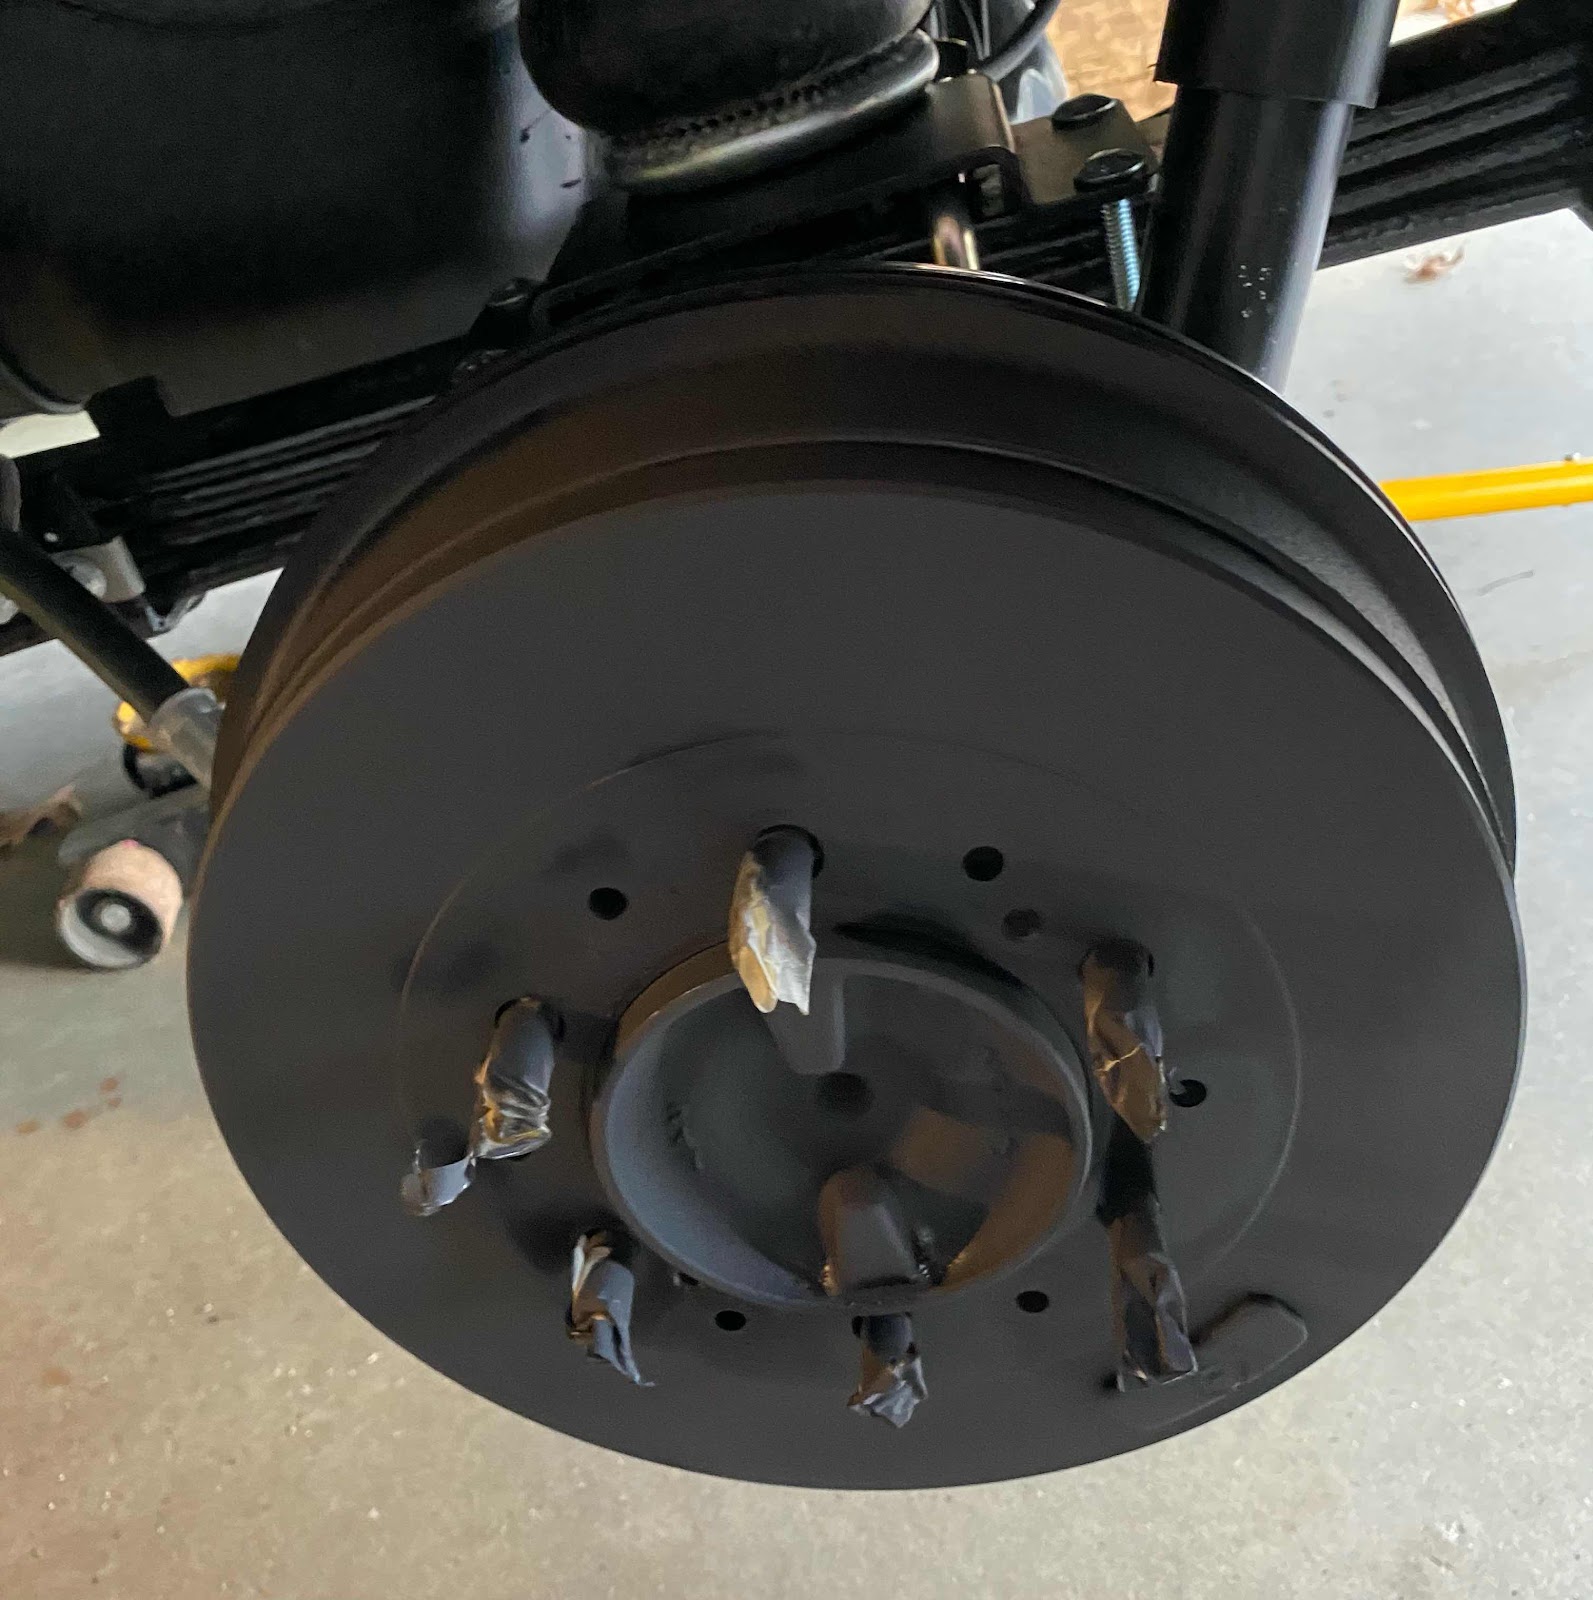
Here is the drum after I sprayed BBQ high temp paint on the drum before putting the wheels back on.

When I was underneath wiring the truck bed for camper power I noticed another thing that needs paint but it’s been to cold to paint that until it gets warmer.

Brent

macaloney@hotmail.com

Thursday, January 14, 2021

Inside Tacoma - Where To Mount Things


I wanted a clean look for the things I have mounted Ted in the cab of my Tacoma.  I found it!

From left to right is my phone, dash camera, ham radio microphone (radio is in the center console front pocket), and my rear camper camera screen (right).

The rear camper camera screen last year (2011 Tacoma) was mounted on top of rear view mirror with heavy duty Velcro. This screen gives me rear view while driving to see behind me with camper mounted.  Unlike the rear backing camera that comes with the 2021 Tacoma that only comes on when in reverse, I can turn this on while driving to see what is behind me.  The camera is wireless powered from the camper.

When I don’t need the rear view camera screen it easily comes off the dash.  Note, there are different mounts available but I decided to make my own mount for the screen from available parts and parts from Amazon.


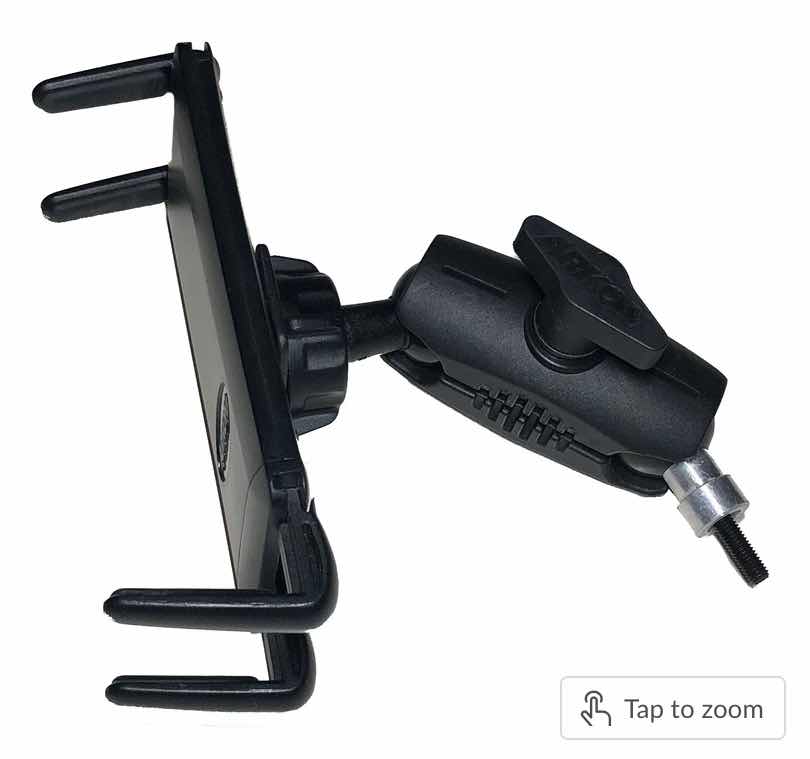
I decided to go with the Taco Garage DMM mounting system. It was reasonably cost effective, although you should buy the 1” ball mounts from DMM as the screw size used on the mount are not the standard 1/4-20”.


DMM ball mount with single stud.


I bought 3 1” ball studs to mount in the dash frame (4th ball came with phone mount for DMM) that is a do-it-yourself build with a YouTube with step by step directions.


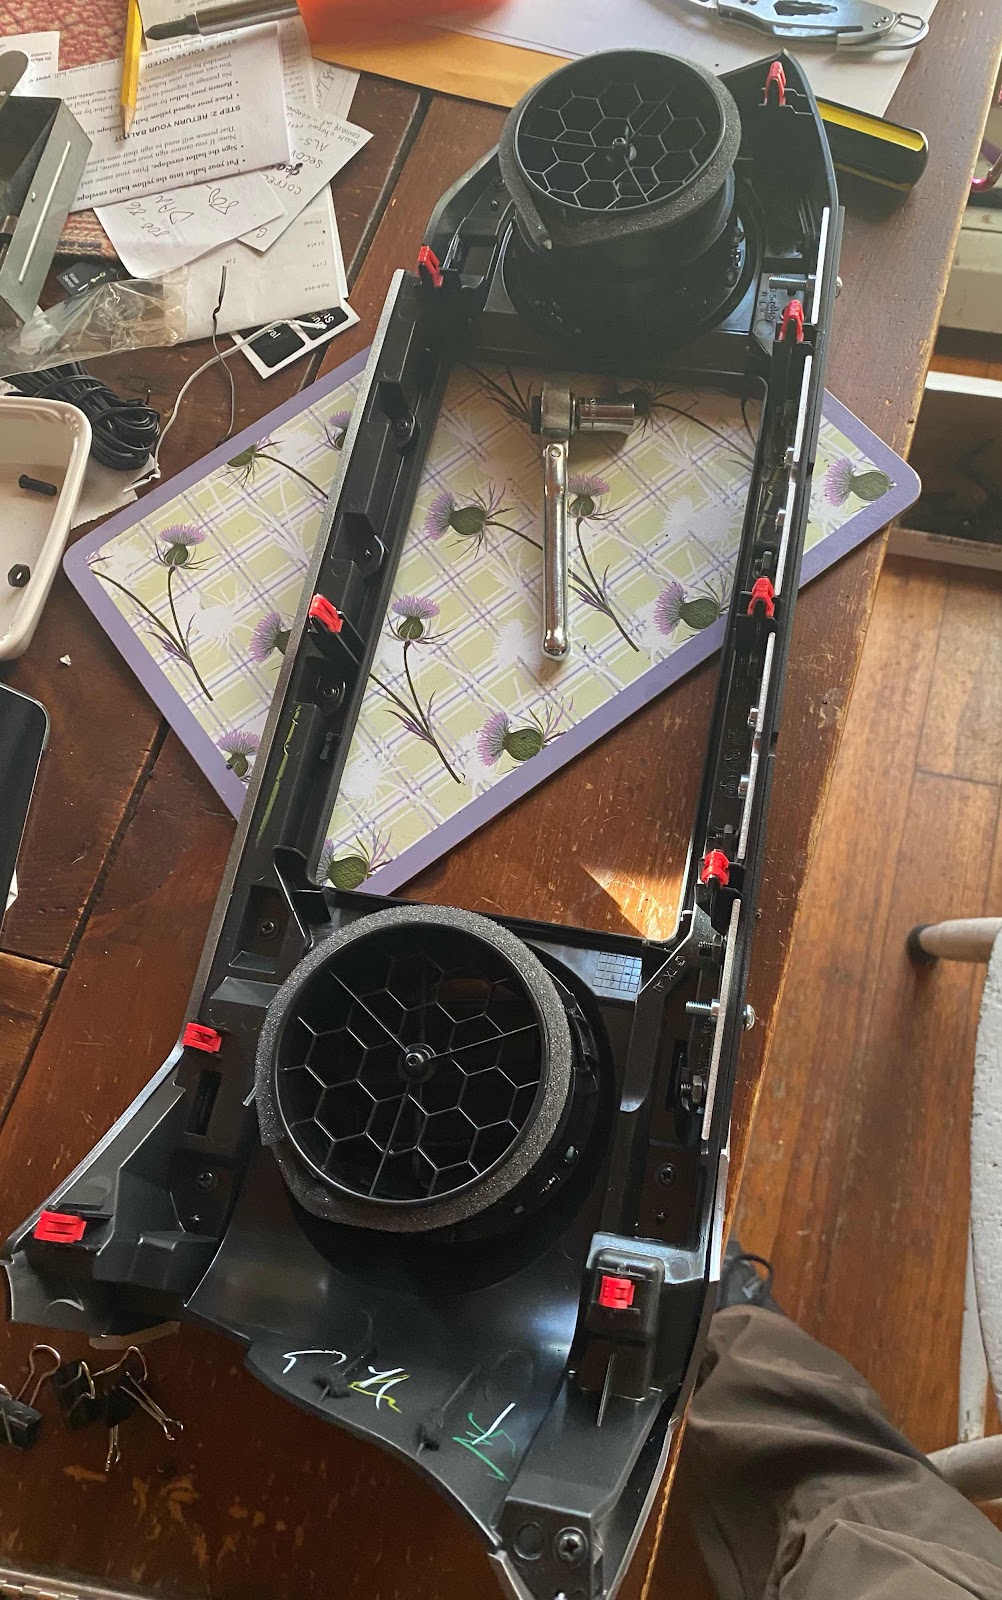
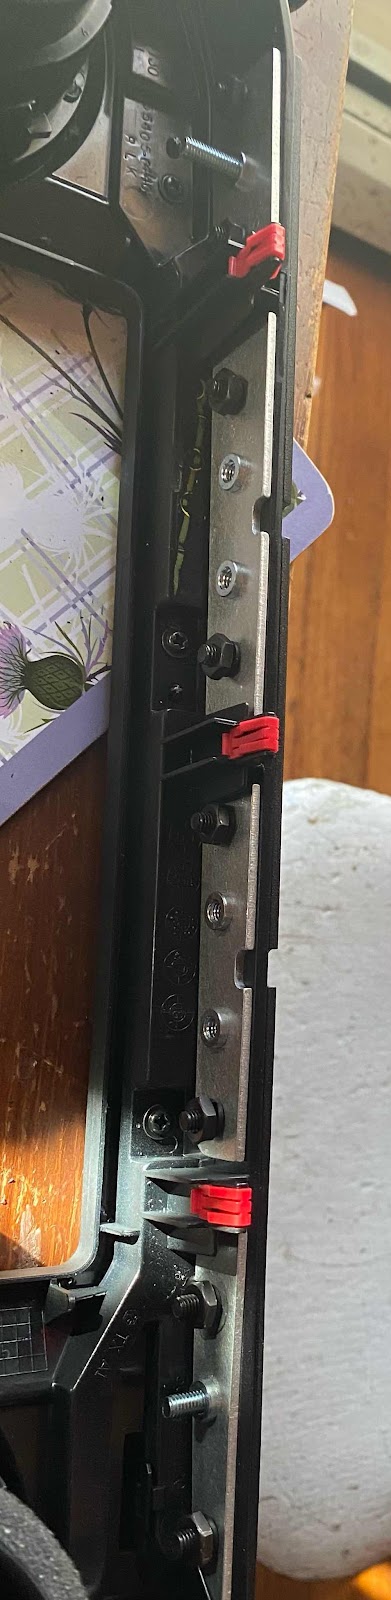
Here is my upper dash fram that I’m installing the modification to.  The red tabs is what holds this plastic frame to the dash.


The modification is basically a top black metal trim and the bar stock under with the mounting nuts.  The plastic is sandwiched between the two.

What I like about this modification is that I can remove all mounts and you don’t see the modification.


Above is the black trim piece of metal that fits perfectly into the gap between the plastic frame and the dash.


My first mount was my phone.  I also bought this mount from Taco Garage and it is secure. 


The phone mount came with one ball mount with center stud.

If you buy the 1” ball mount any 1” ball camps can be purchased from places like Amazon.  

I disliked the phone mount I had in my older Tacoma as it covered the vent.  It also gets my phone up higher when running google maps.

Brent

macaloney@hotmail.com


Wednesday, January 13, 2021

Outside the Tacoma Upgrades

My 2011 Tacoma had these modifications and I looked forward to include them on my new 2021.


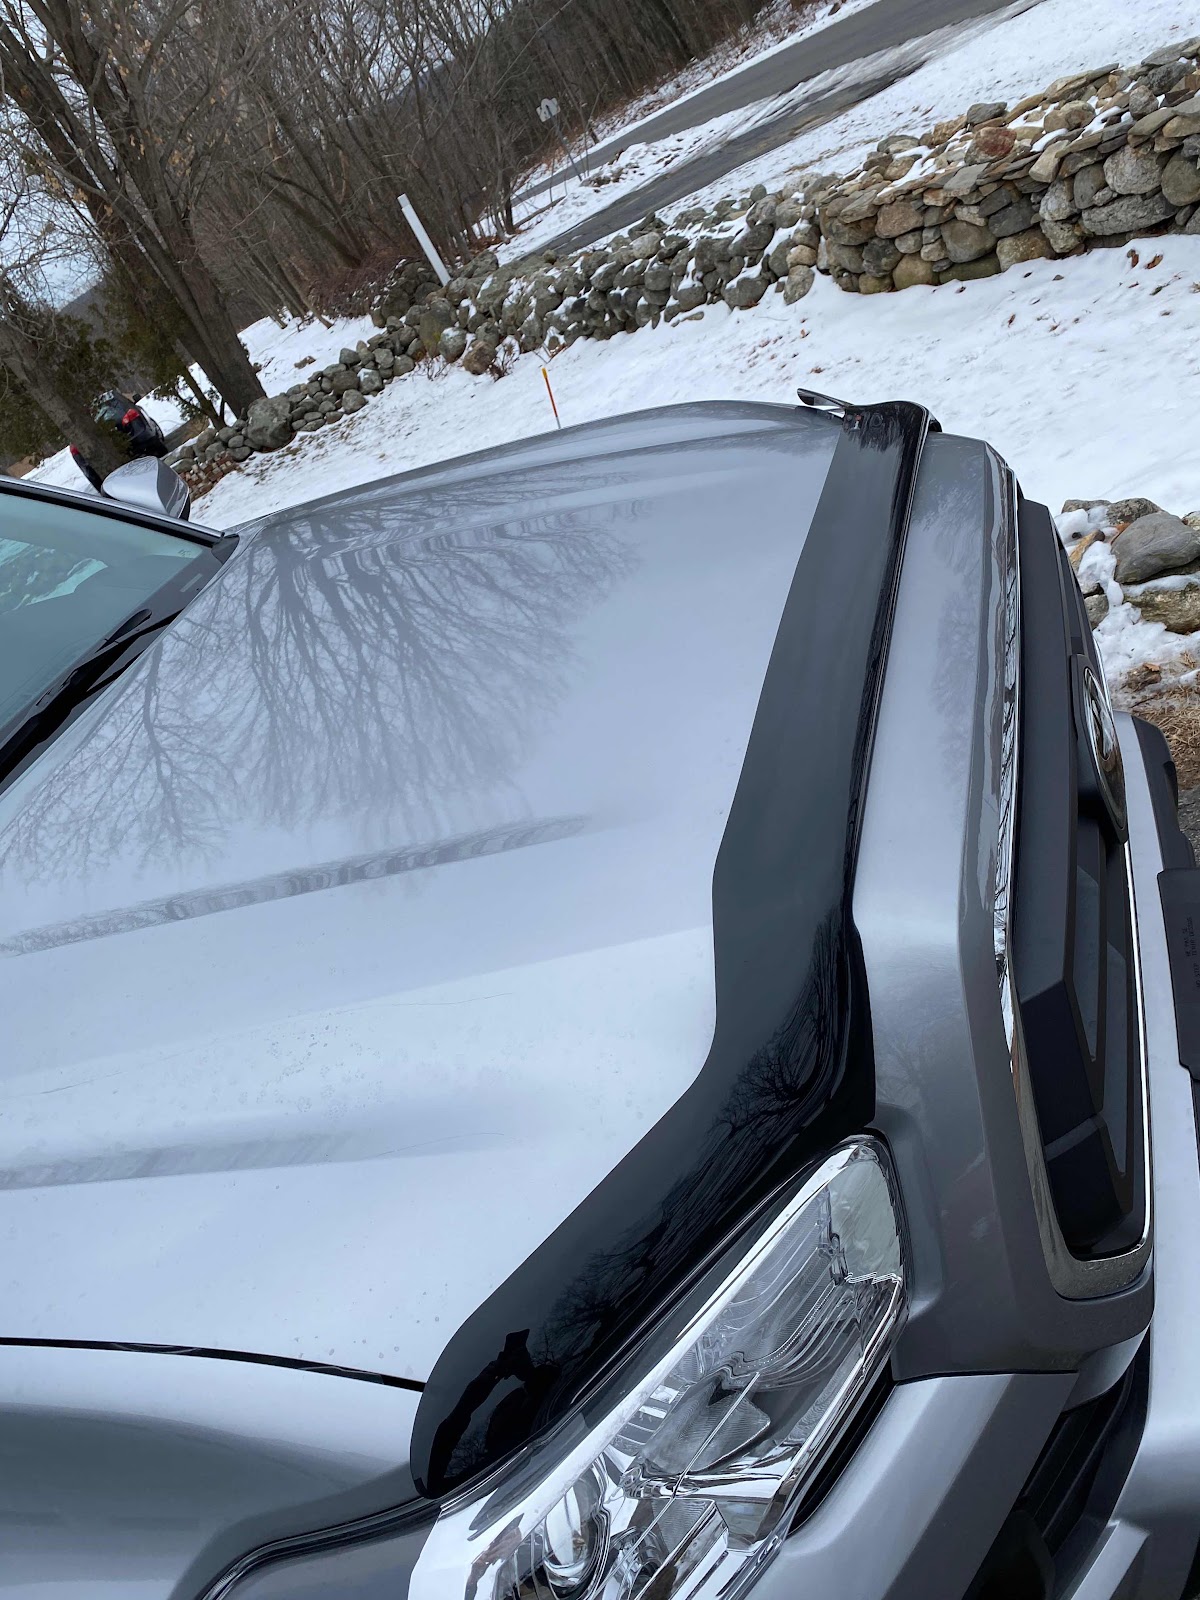
The bug/stone deflector kept the hood and windshield in great condition and well worth adding it to my new Tacoma.


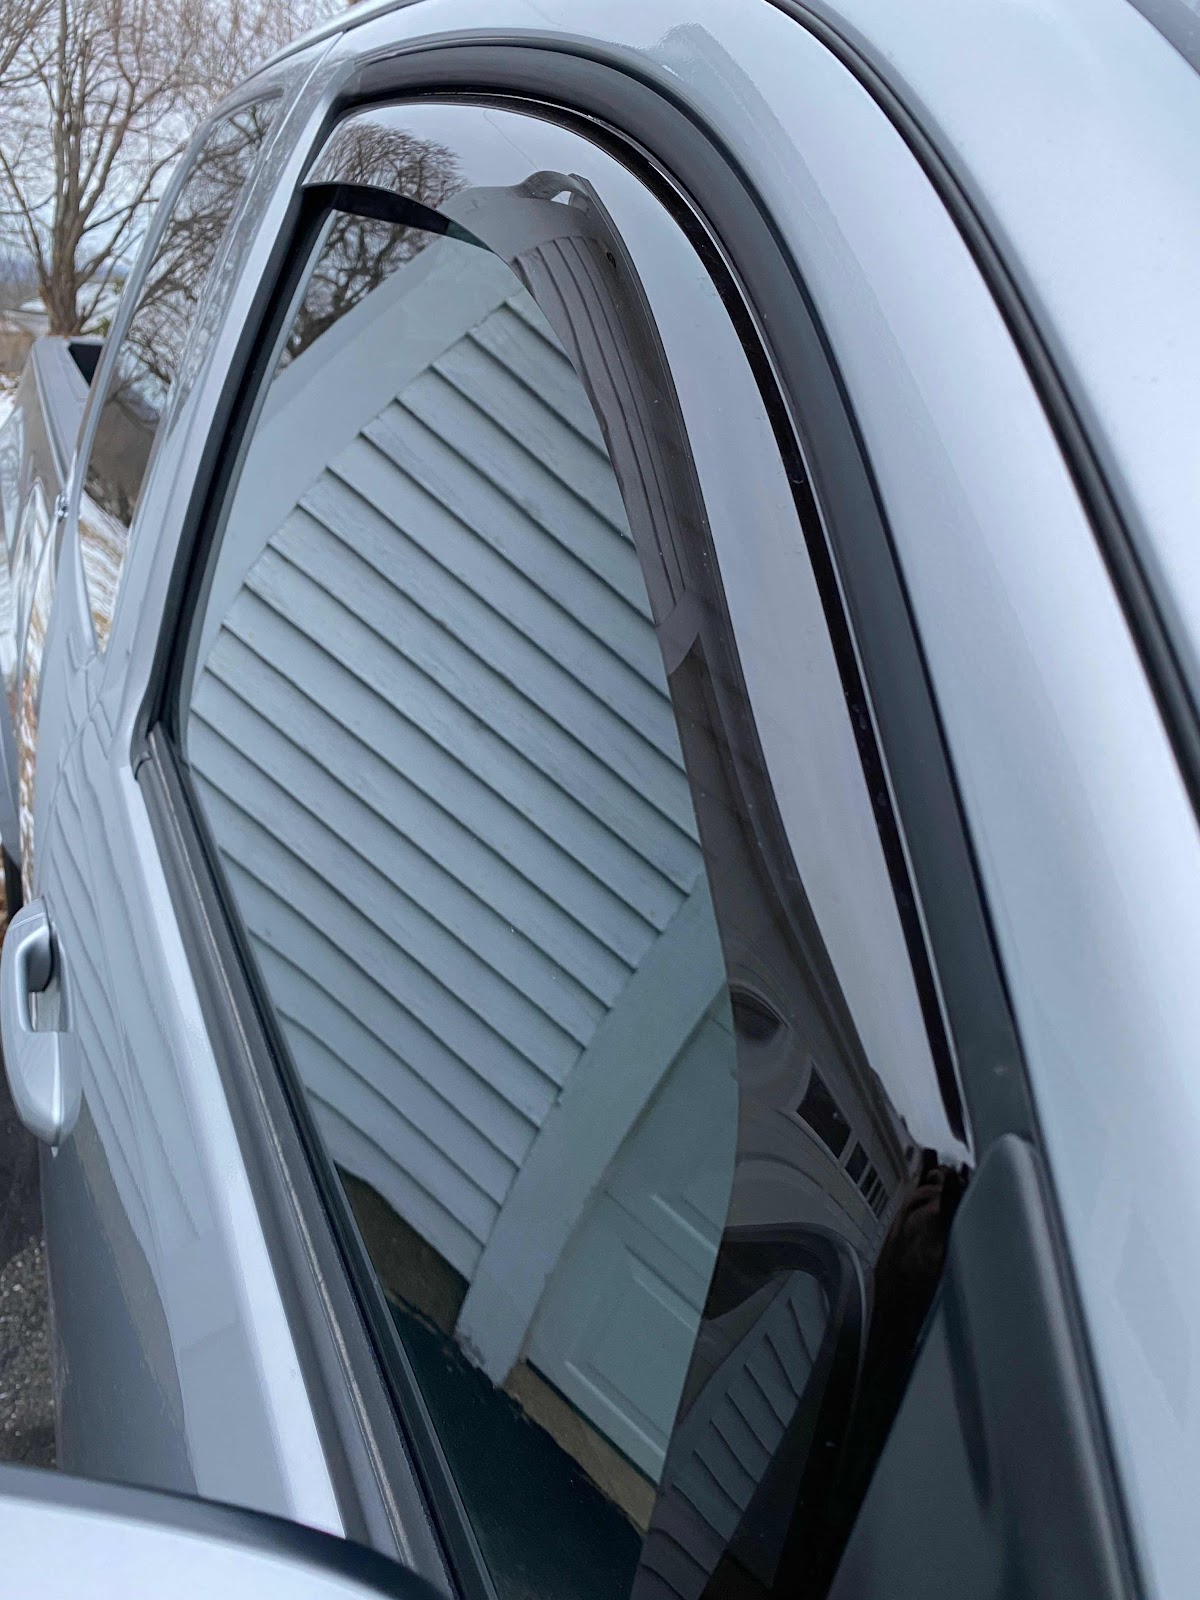
I learned about rain guards and their advantage during my Prius travel years.  The ability to vent heat out of the cab and  when raining.  I enjoy this modification.


A step up from my 2011 Tacoma’s steel rims to alloy is such a nice change that came with my SR5 model.  The steel rims rusted and were replaced once only to have them rust again.  

My modification is the locking lug nut set to reduce the risk of wheel theft.


The SR5 Tacoma comes with blind spot notification in the mirror with a flashing symbol, but I still like seeing what is there so I added conveyed mirrors on both sides.

A handy feature of these is also seeing parking space lines.  The side mirrors loose the parking lines as you back to them.  With the curved mirror you can track the white lines as you back up.

Yes I have a rear backing camera that I can align to but I still enjoy seeing what is along the sides as I back.  It comes from years of backing my vehicles as a firefighter so I could drive out to calls quicker.


Mud flaps are not a nice to have in my eyes and I think they should come with trucks.  So I installed aftermarket front and back.


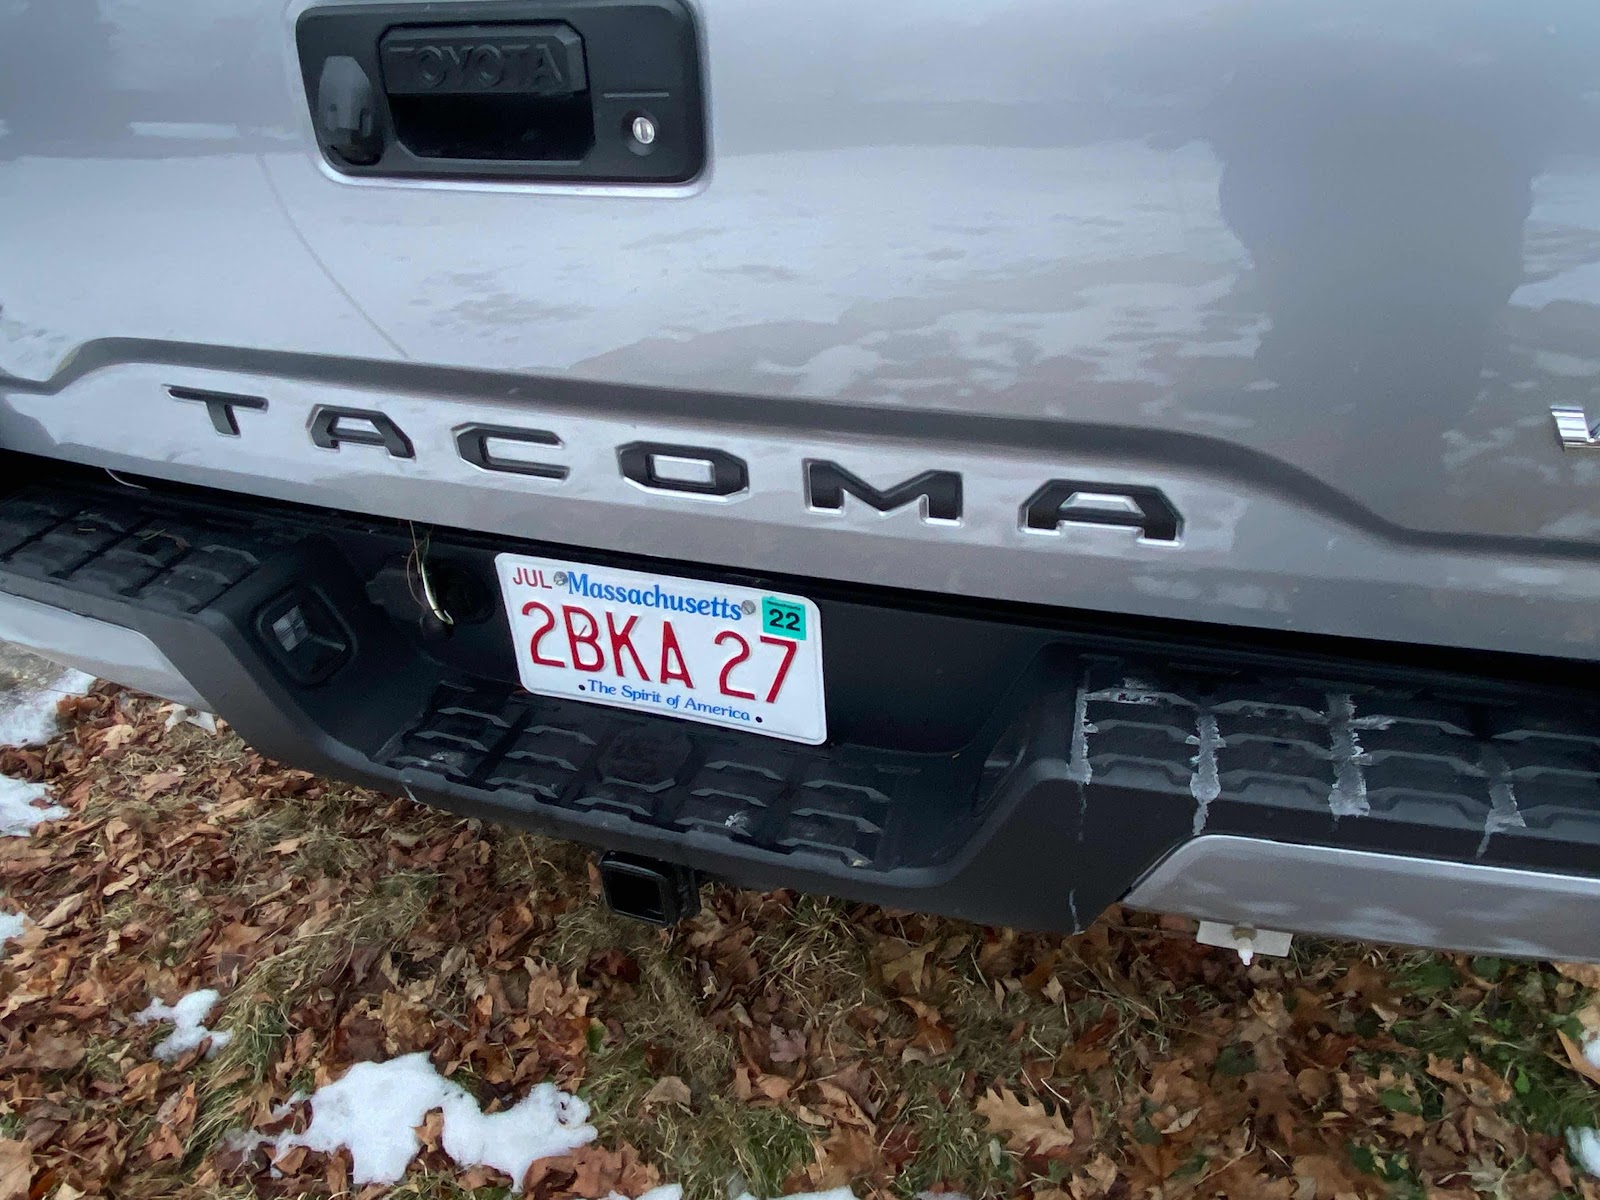
Ok a bit of bling.  It’s not in my personality generally to add such things but I bought these very nice black aluminum TACOMA inlays. 


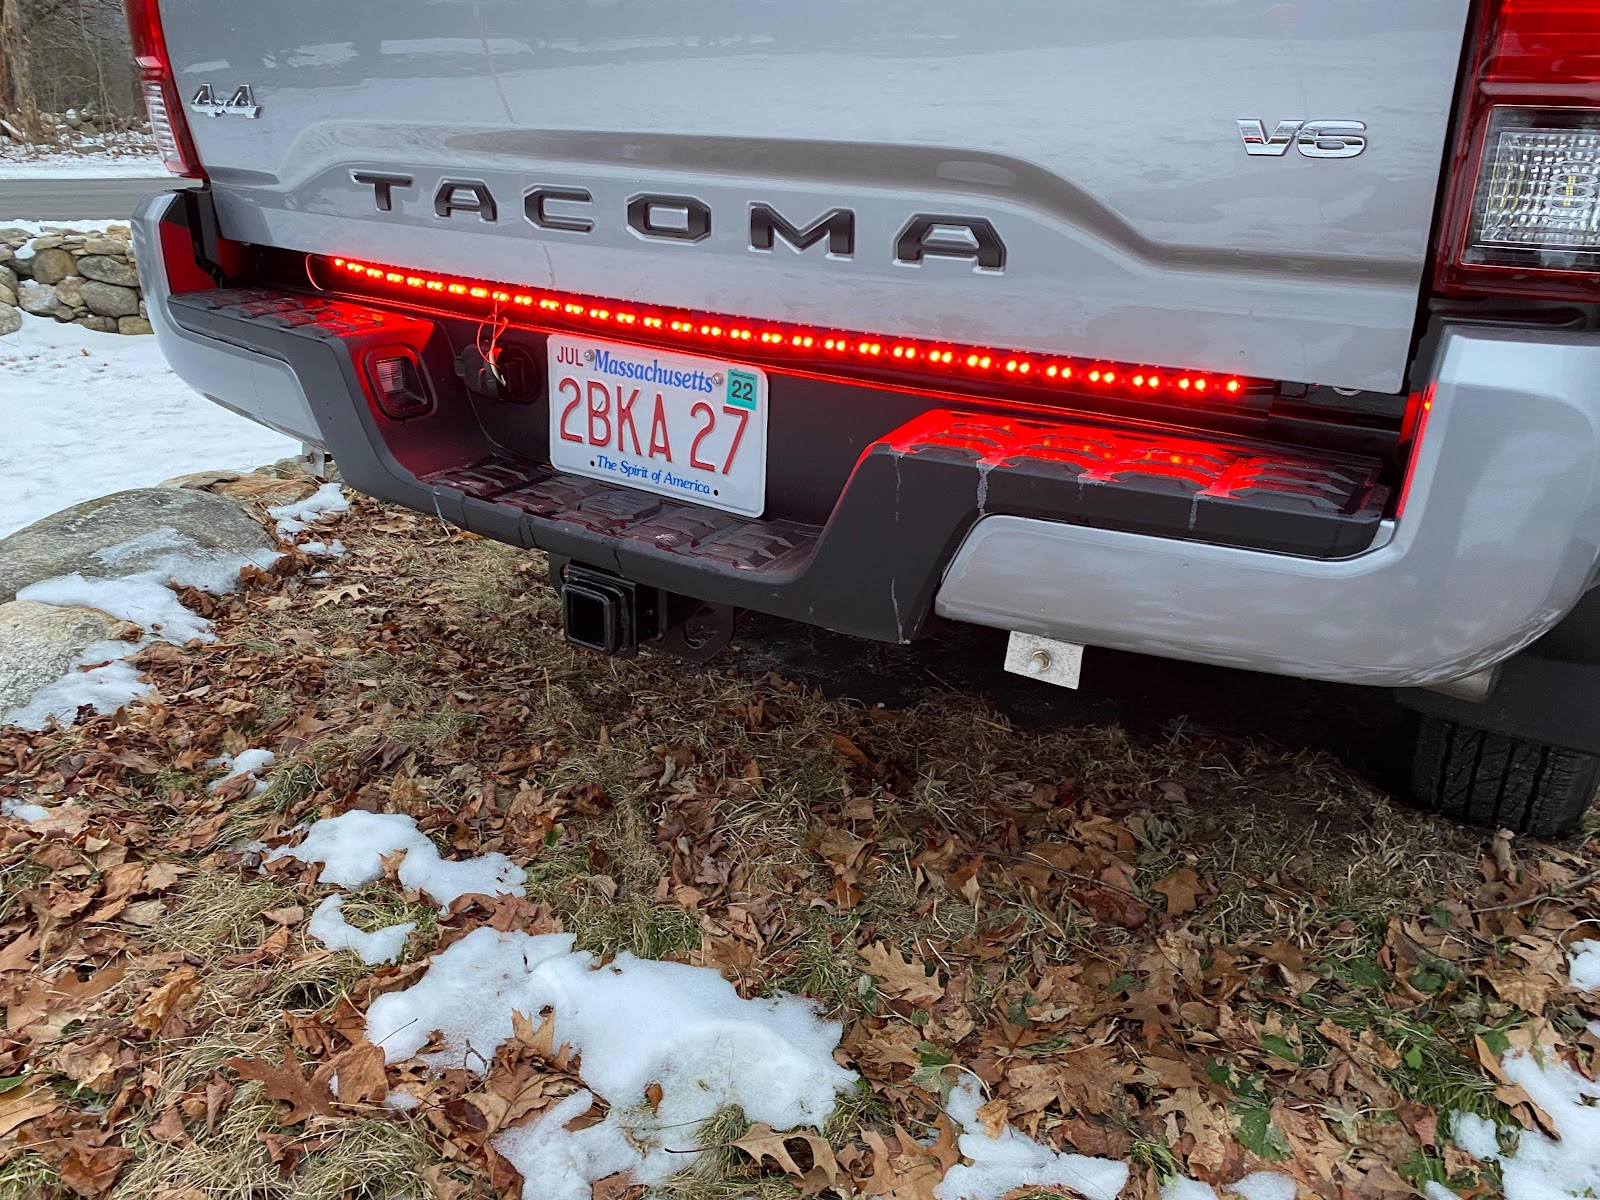
I don’t feel you can have enough braking or turning visibility.  Having almost being rear ended by a tractor trailer truck last year, I added the strip light that gives braking and turn signals.


A deletion modification!

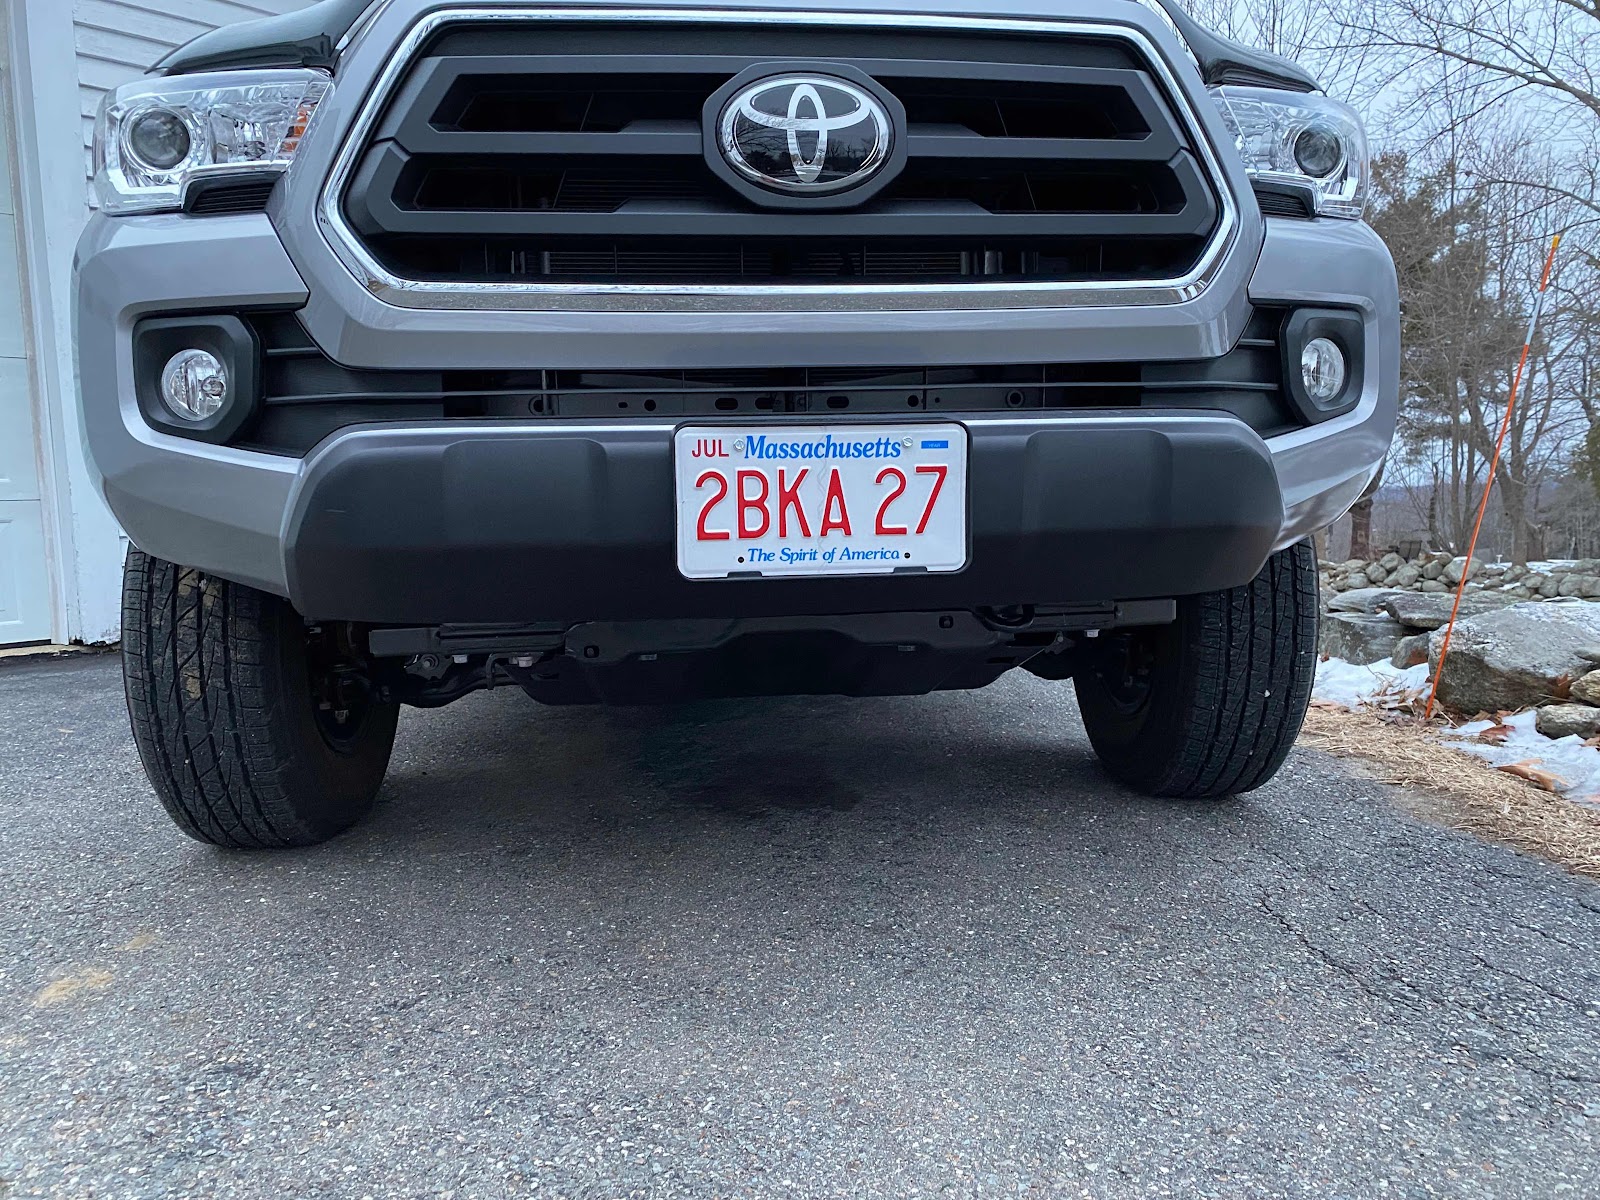
That’s right.  The Tacoma comes mow with a plastic air dam below the bumper.  I see it as useless and it is possible that when there are high curbs that your tires stop on, when you back up the dam can catch and pull, scrape and even dislodge.  I don’t need or want that problem out west catching it on a rock.  

Also if you get stuck in sand it makes it real hard to get the tow strap on the loop hole.  So, it’s removed and boxed away.

I do not notice and difference in MPG

That’s the tour of the changes on the outside for now

Brent

macaloney@hotmail.com


Tuesday, January 12, 2021

Installing Firestone Airbags On New Tacoma


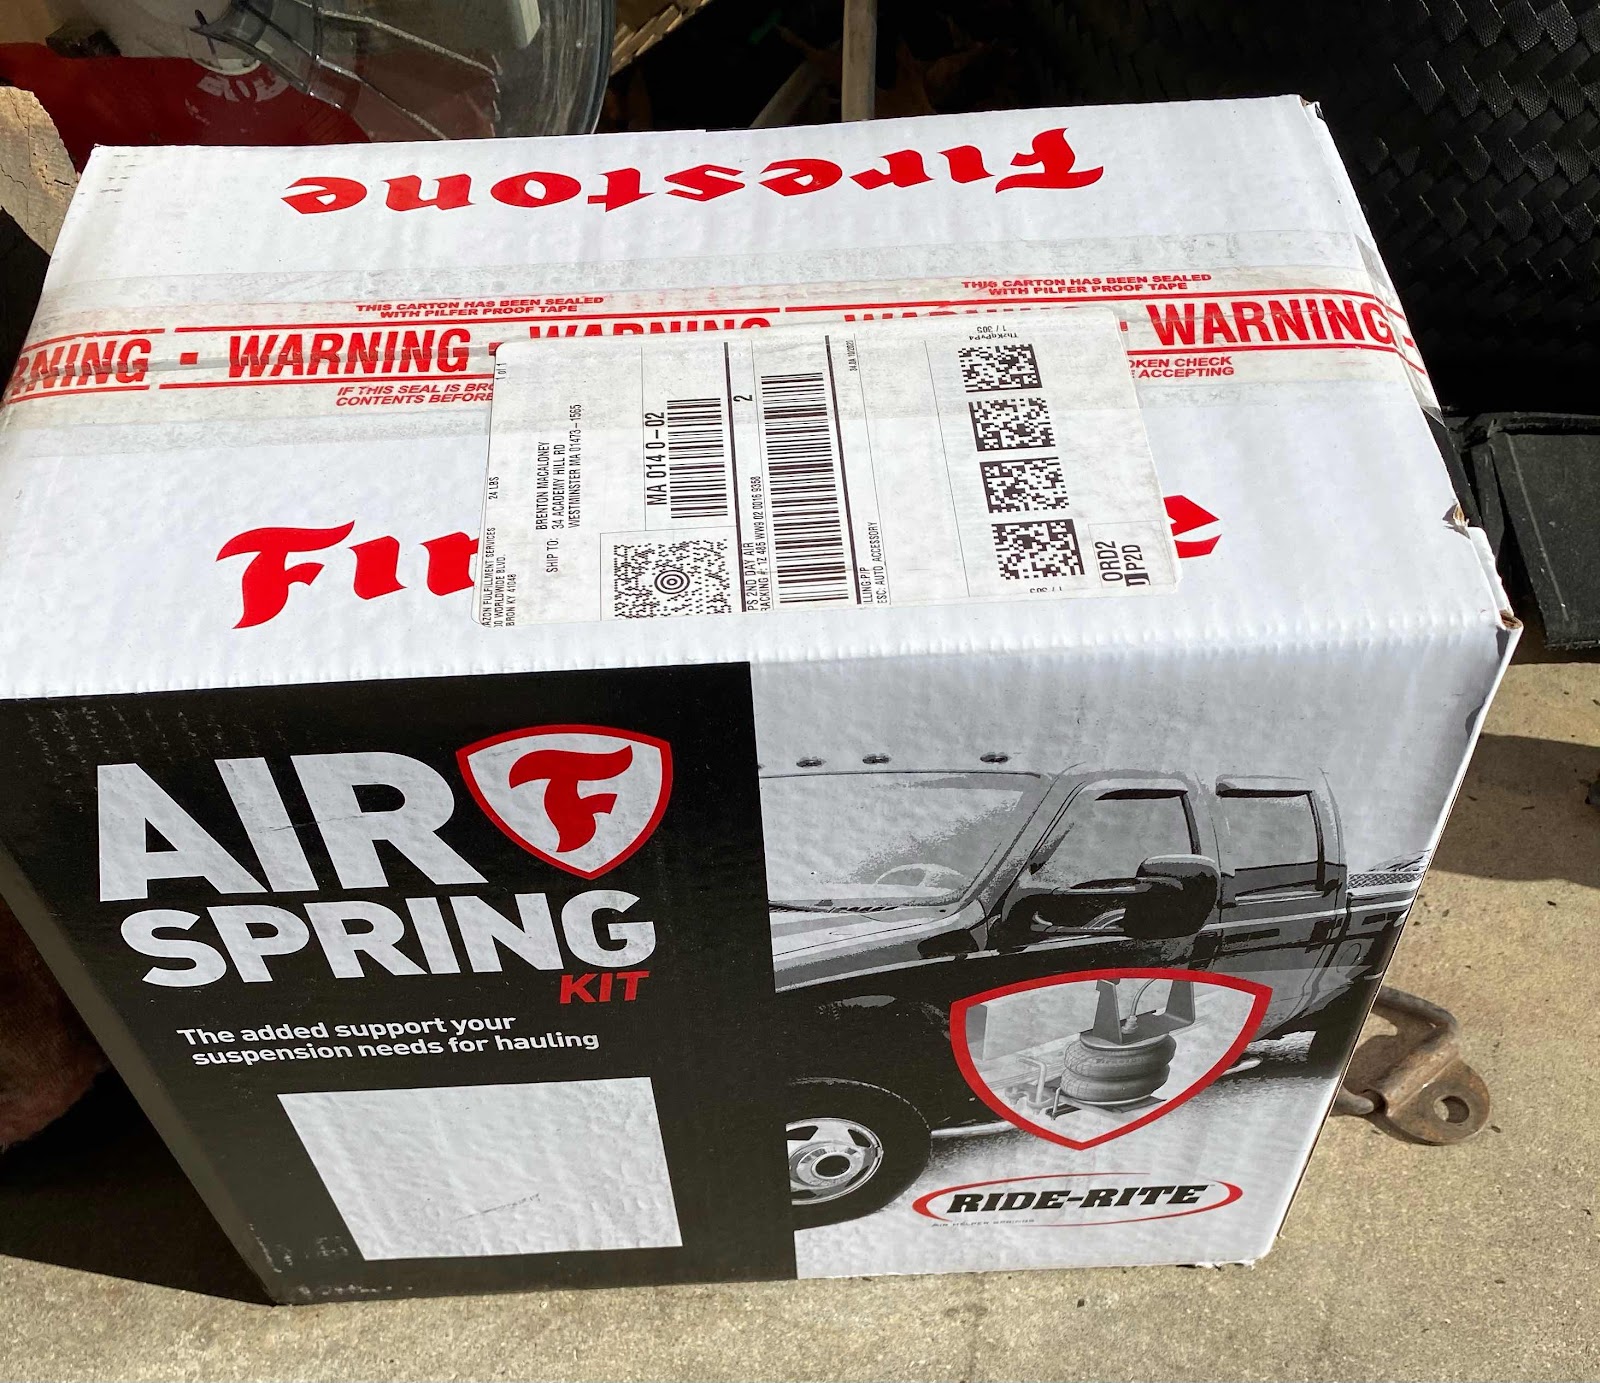
Installing the FWC Camper on the Tacoma, near the weight limit, you should consider heavier springs or airbag system.  I had Firestone airbags I installed on my 2011 Tavoma and liked them so well, that I ordered the same ones for my new Tacoma


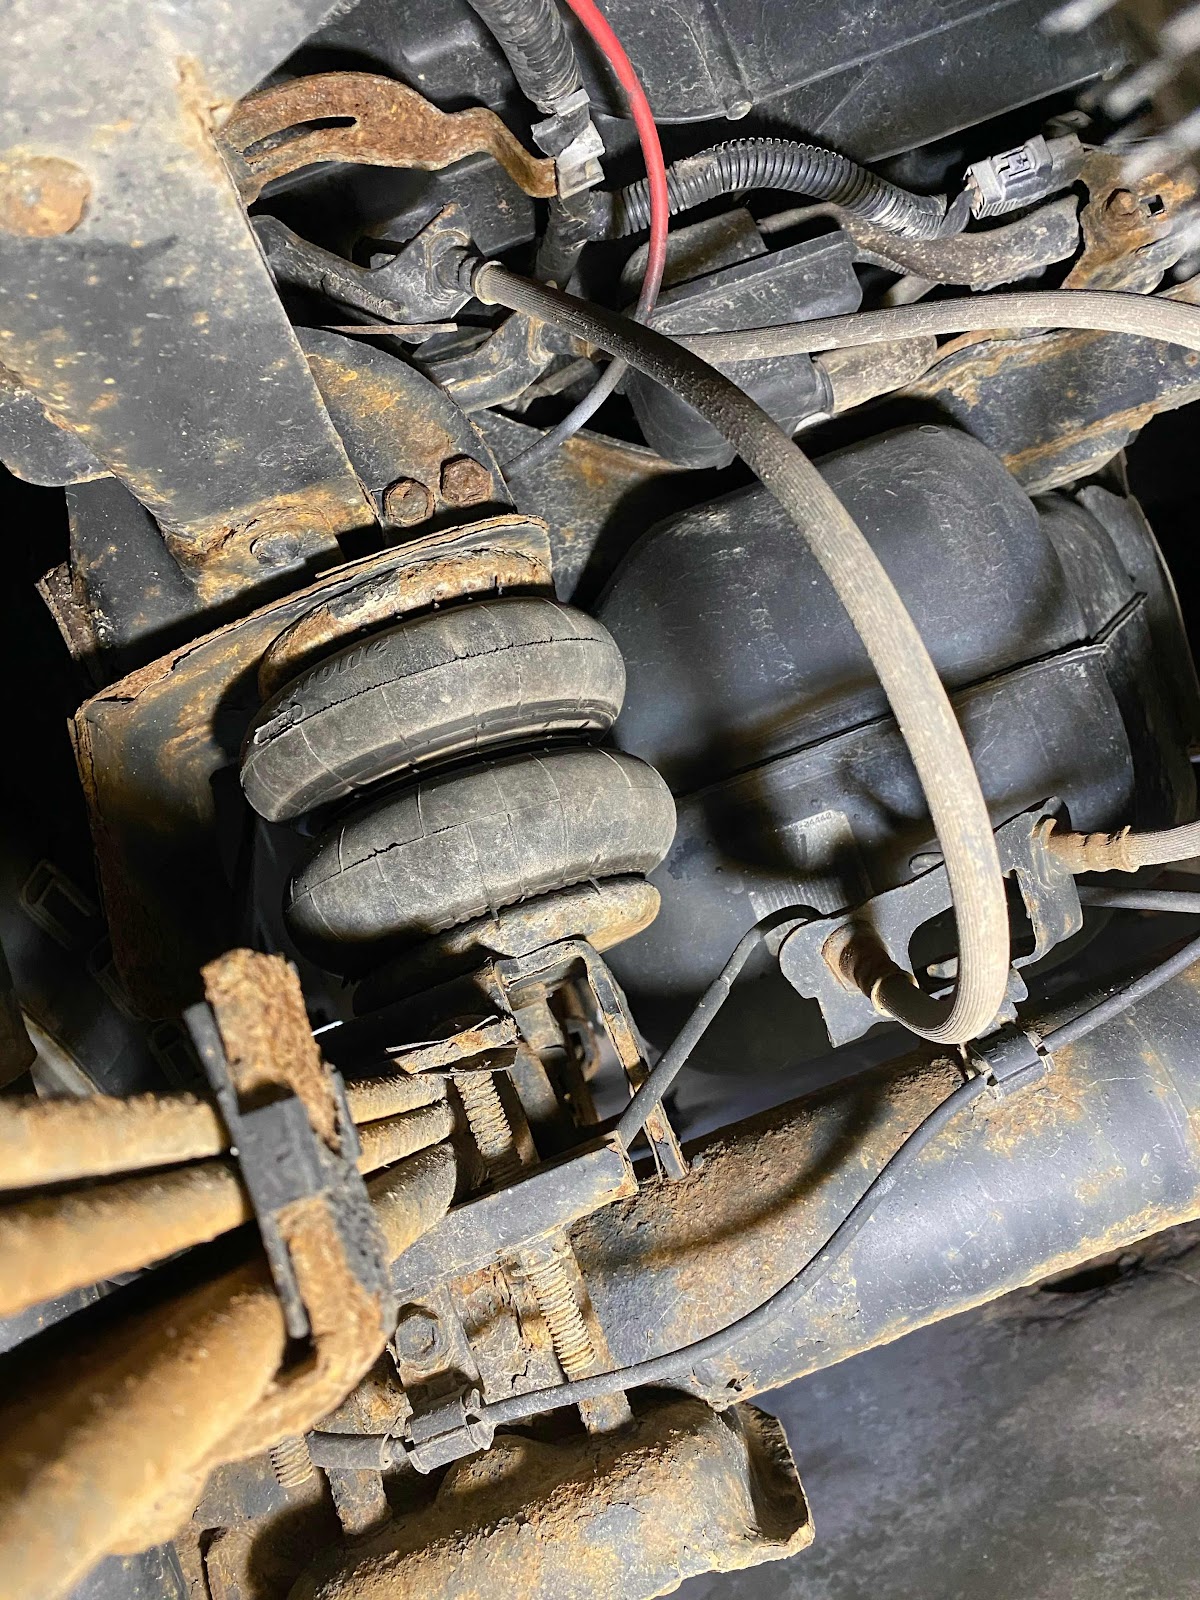
Above is the Firestone airbag on my 2011 Tavoma.  They worked great for my 3 years of FWC Camper travels.

Yes, I do the install myself.  It’s not that bad to do in my garage.  A floor jack and jack stands, revive the wheels and follow the directions.  You will need hand dexterity with the bracket on the inside frame rail.  Also the right size ratchet and sockets and wrenches make the job easier.


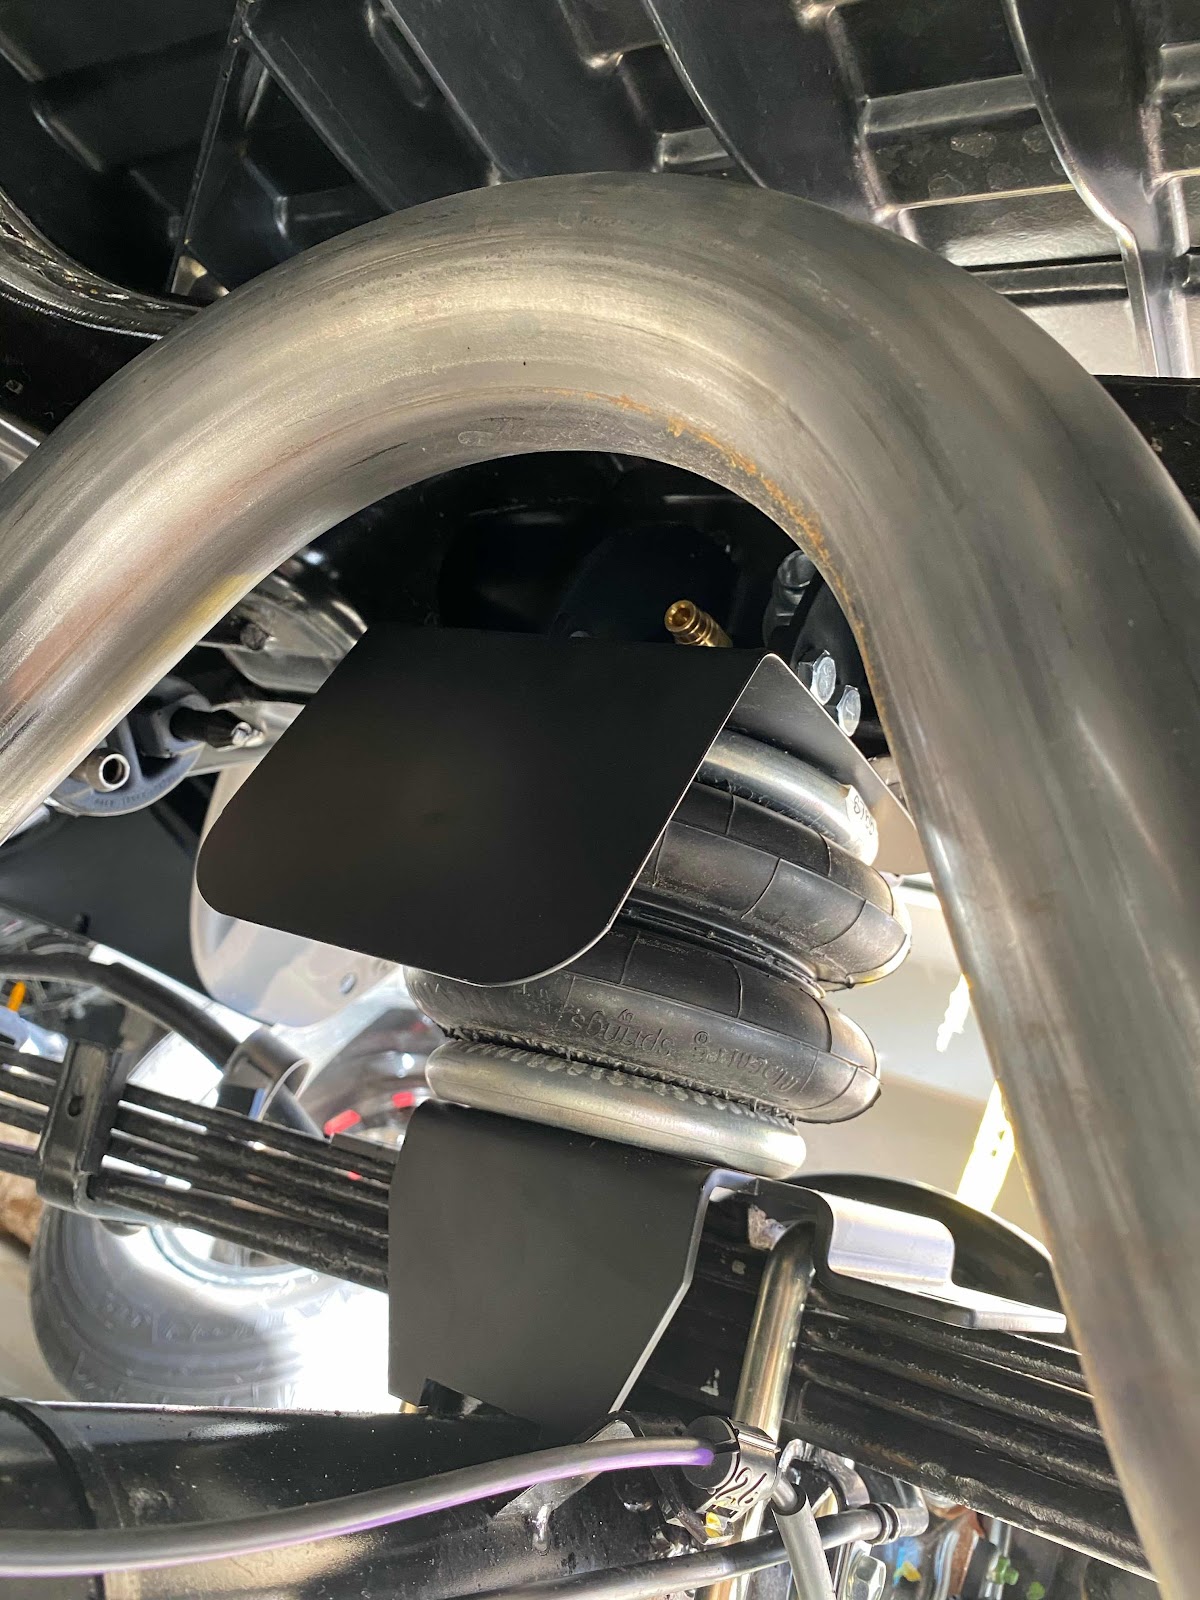
Above is the assembled airbag.  This one has a heat shield so it goes on the side where the exhaust pipe passes.

You need to cut the rubber bumper off as it goes dead center in axle.  


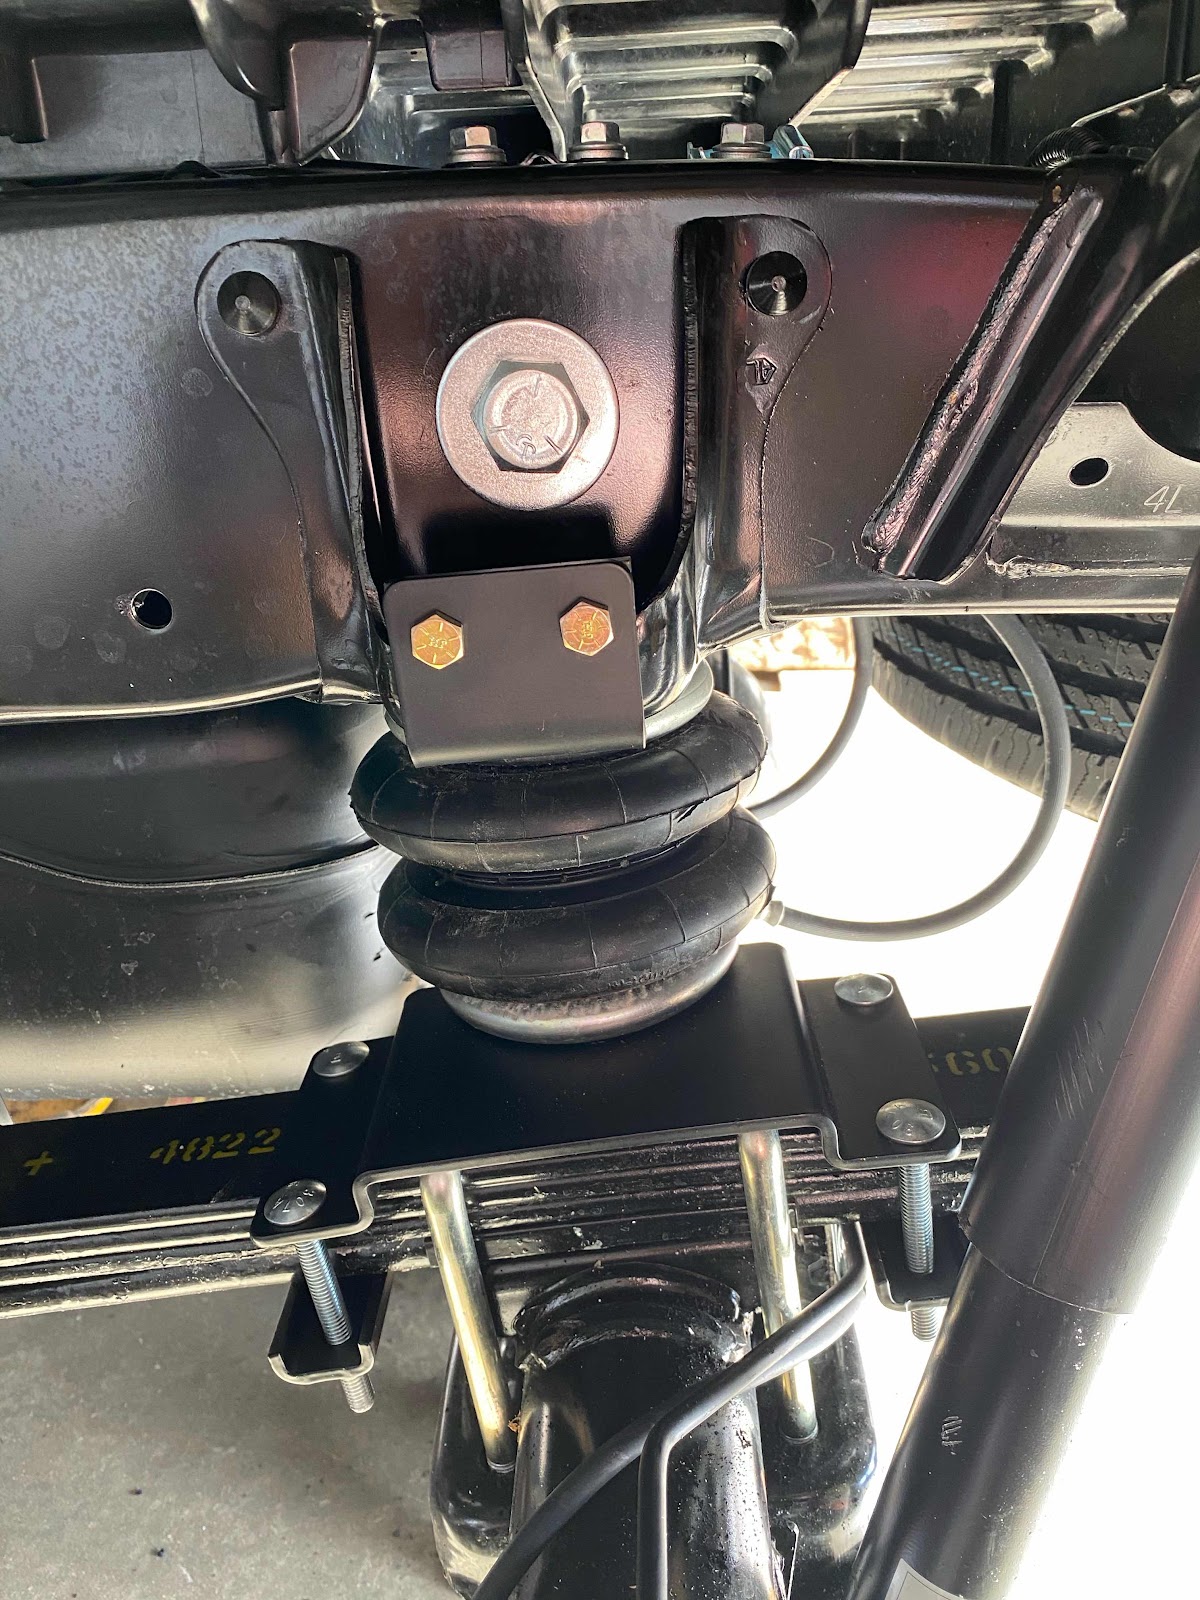
The bottom of the airbag system clamps around the spring pack.  The top mounts to this metal bracket built onto the Tacoma frame.on both sides. The large bolt head in the center of the frame holds the inside bracket with 4 bolts and nuts holding it to the airbag assembly.


There is the airbag mounted next to the exhaust pipe with heat shield facing the pipe.

Drive the truck a few hundred miles and then go back and check the nuts for tightness.


On both sides on the bumper I have an air fill valve. The fill stems are like what you put air in on a tire.  You can see one fill on the lower bumper drivers side.  It is a piece of angle aluminum that I cut and drilled a hole to mount to the bottom of the bumper with a hole in the center for the sir valve.  The Firestone instructions indicate that the valves sound be mounted through the bumper on either side of the license plate.  I don’t like this method as it compromises the bumper and do not want rust to start.

I mounted the air valves this way on my 2011 Tavoma and had no problem.

Red airline tubing is run from each airbag to each valve on the rear.  I was asked about using a wye to have one bag fill for both and equal pressure to both bags.  I don’t recommend both bags tied together as the weight of the camper is not ewlqualized side to side so I can set the bag pressure to match the weight distribution.

You can get an air compressor to mount under the truck and gages to mount in the cab of the truck with a switch to increase pressure to both airbags at the same time, but I just fill the bags from the rear as I have to carry an air compressor to refill tires if I air down in sand.

FYI: It is recommended to keep 5-10 lbs of air in the bags with no weight in the bed of the truck and I often run 50 lbs in the road to equal the ride with the camper on.  One thing I do is measure the height of the truck bed before I started the install so I can measure the height of the bed to level the load with air in the bags with the camper on.

Leveling the load also ensures breaking of the truck is leveled to ensure better weight distribution.  Also, when you hit bumps the springs don’t get stressed.

Brent

macaloney@hotmail.com


Monday, January 11, 2021

Getting Tacoma 12V Power To Camper


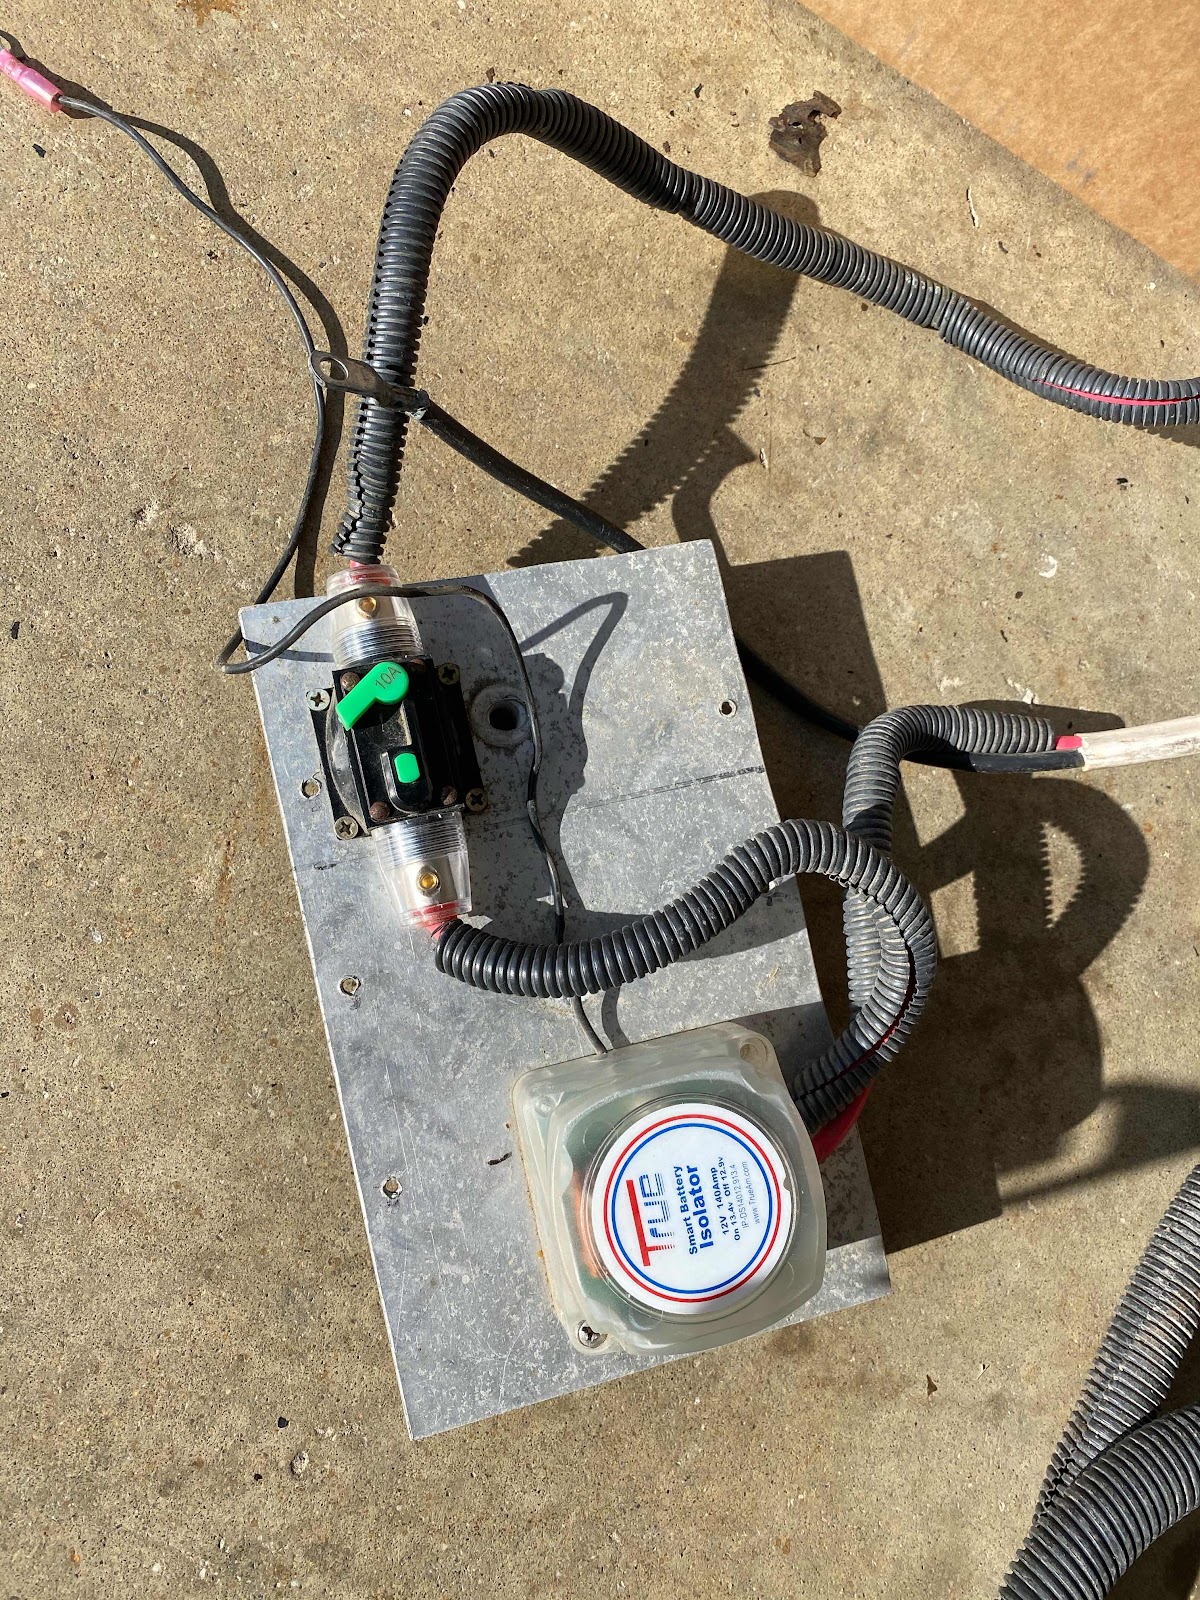
In order to trade in my 2011 Tacoma, I needed to remove the camper wiring from the truck battery to the truck bed and reinstall it in my 2021 Tacoma.  Above are the parts I removed from my 2011.  Note the aluminum plate I had the components tied to.  This plate was mounted to the drivers side fender.  I used two bolt holes in the fender to hold the aluminum plate.


I was happy to find that someone else had figured a way to mount parts in the 2021 engine.  Above photo is a picture of the aluminum bracket that sits horizontally between the fuse box and the brake reservoir.


Photo of brackets new (right) and old (right)


Here is the photo of the new panel mount with a new 40 amp breaker to my isolator (prevents power from battery unless engine is supplying power). It has a nice clean look and uses mounting holes on fender and mounting screws for brake lines.

It’s tight space between the fuse box cover and brake reservoir.


My cable to the truck bed for the camper is in the picture above, showing a trolling motor weather connection.  I have 8 ga. copper wire, both red and black from the engine.  I chose this method to limit loss in chassis ground. 

The tolling motor connector required me to drill a hole in my new truck bed.  The cables are in a plastic loom from the engine down under the chassis to the back.  All secured with tie wraps.

It is a good setup and ready for camper mounting.

Brent

macaloney@hotmail.com