Wednesday, February 12, 2020

Ladders Hike - Mecca, CA Wilderness Area


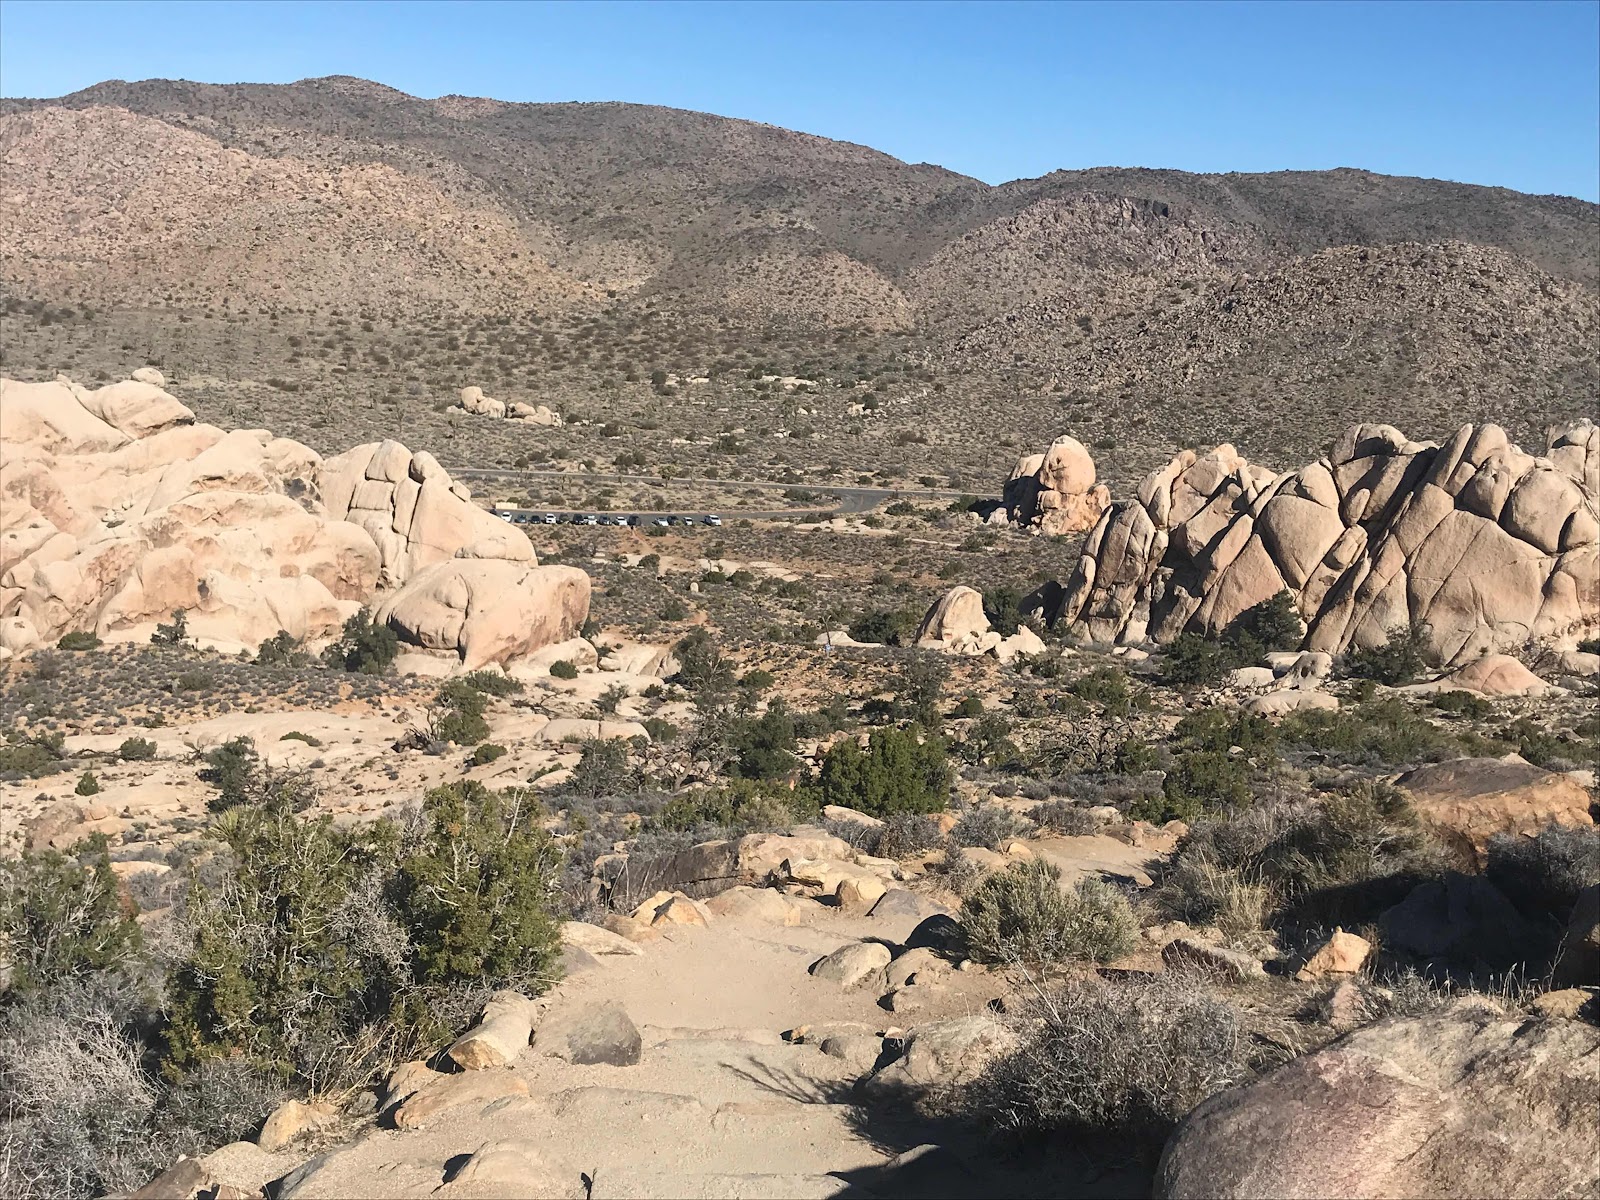
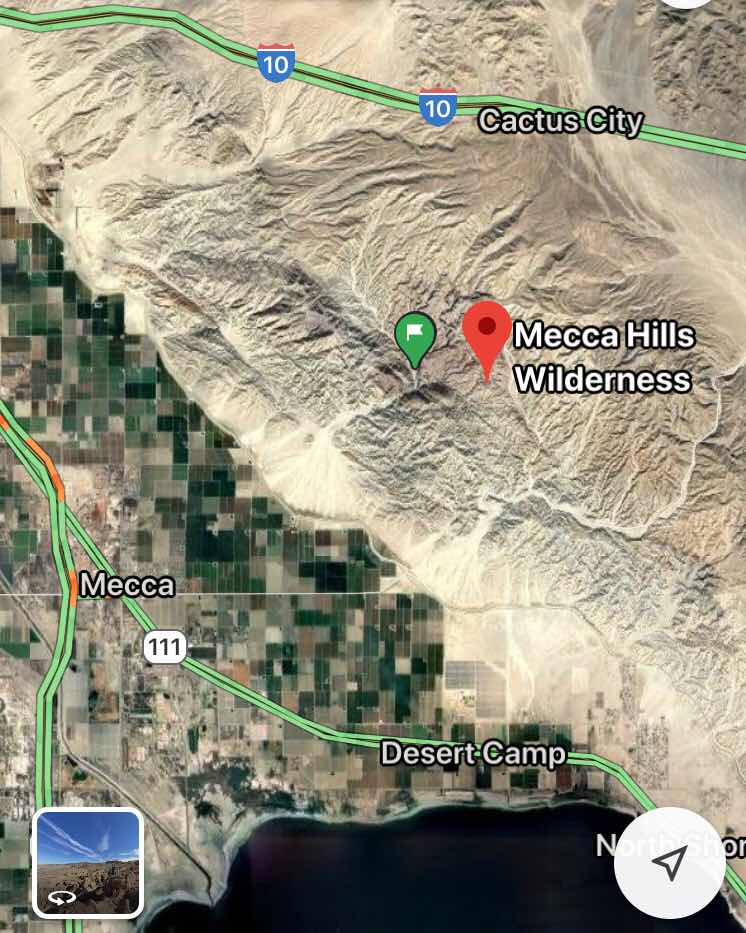
I learn so many new places to hike from my friend Roxy.  Just a hour and a half west from Quartzsite are the Mecca, CA Hills.  They are just south of Joshua Tree NP and east of Palm Springs, and north of Slab City.

It has been fun spending time with Roxy this year helping her with her van’s charging system.  Roxy is on Facebook under A Nomad For Nature at: https://www.facebook.com/ANomadforNature/
Her travels on blog and on YouTube off a great selection of places to hike and see.


(Above: AllTrails screen capture)

It was a good hike as a workout goes at 6.8 miles and over 1000 ft elevation.  


(Above: AllTrails screen capture)

There is more than one hike in these slot canyons with ladders.  Not knowing what ladder hike was the best, I ended up picking the canyon to the left that is least interesting and no ladders.  
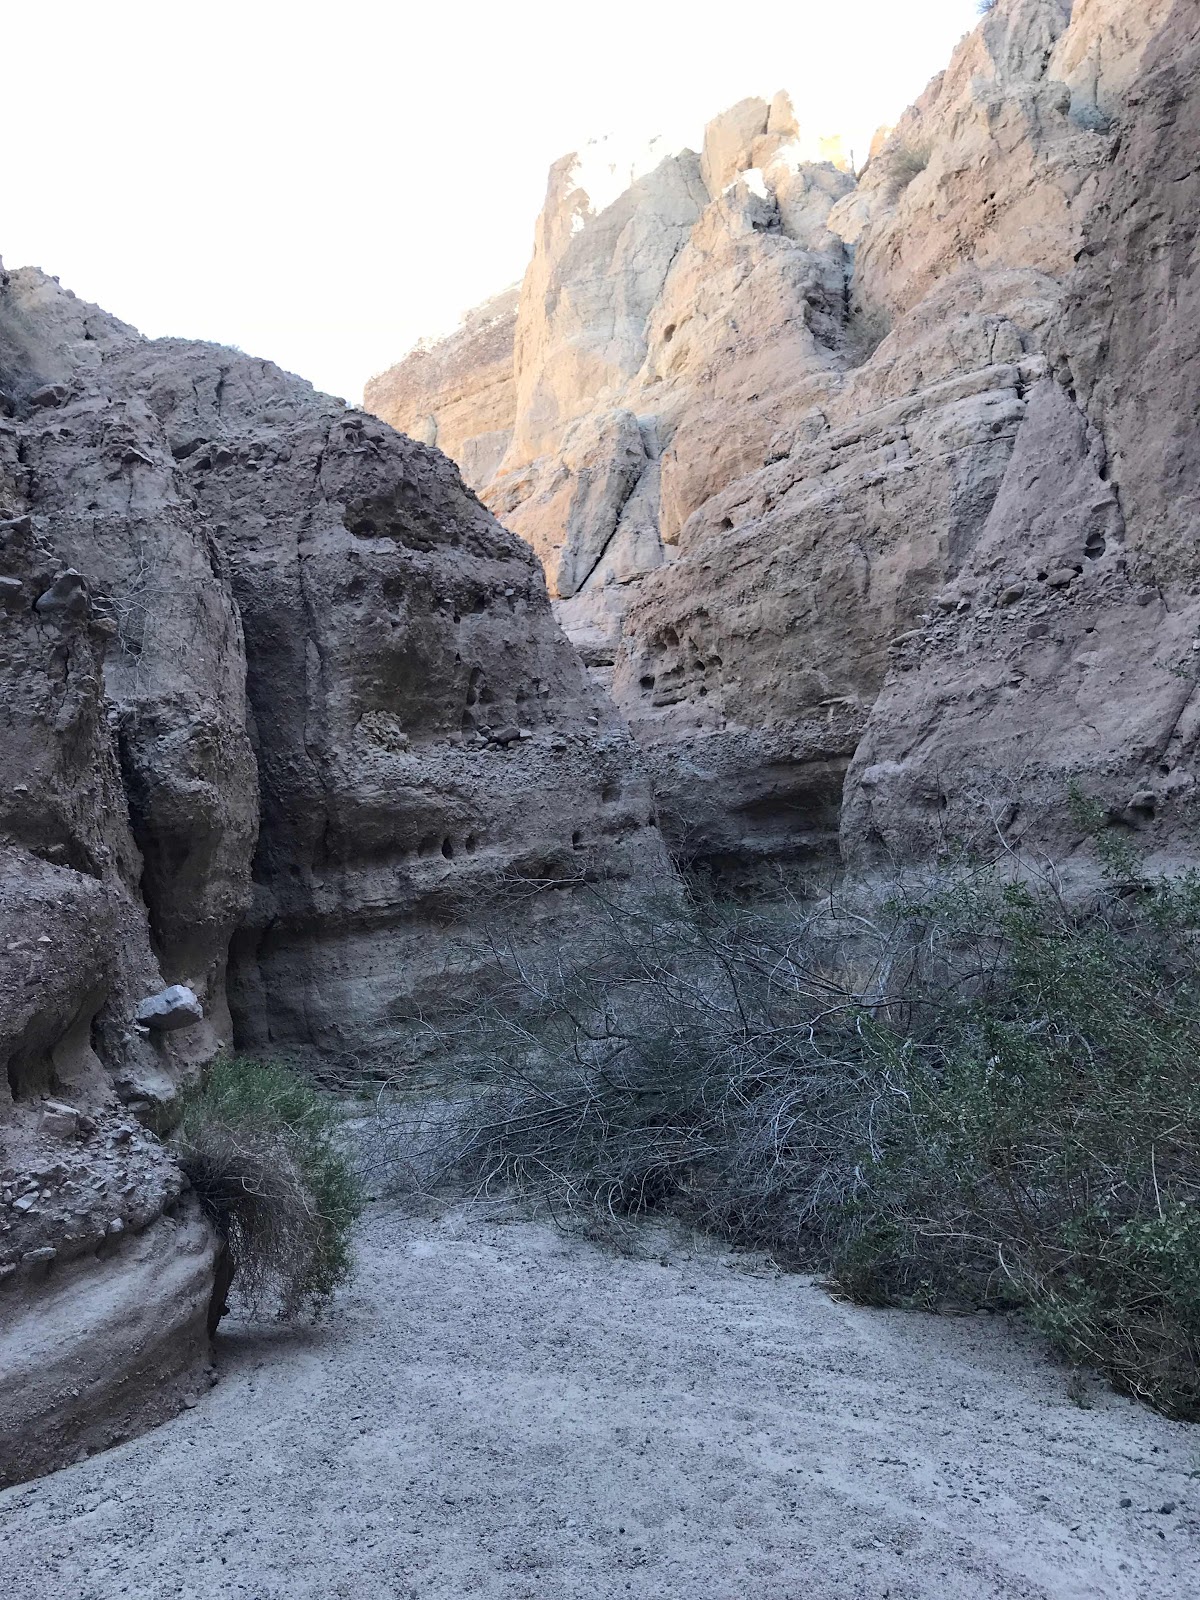


Above is one slot in front that goes around a corner
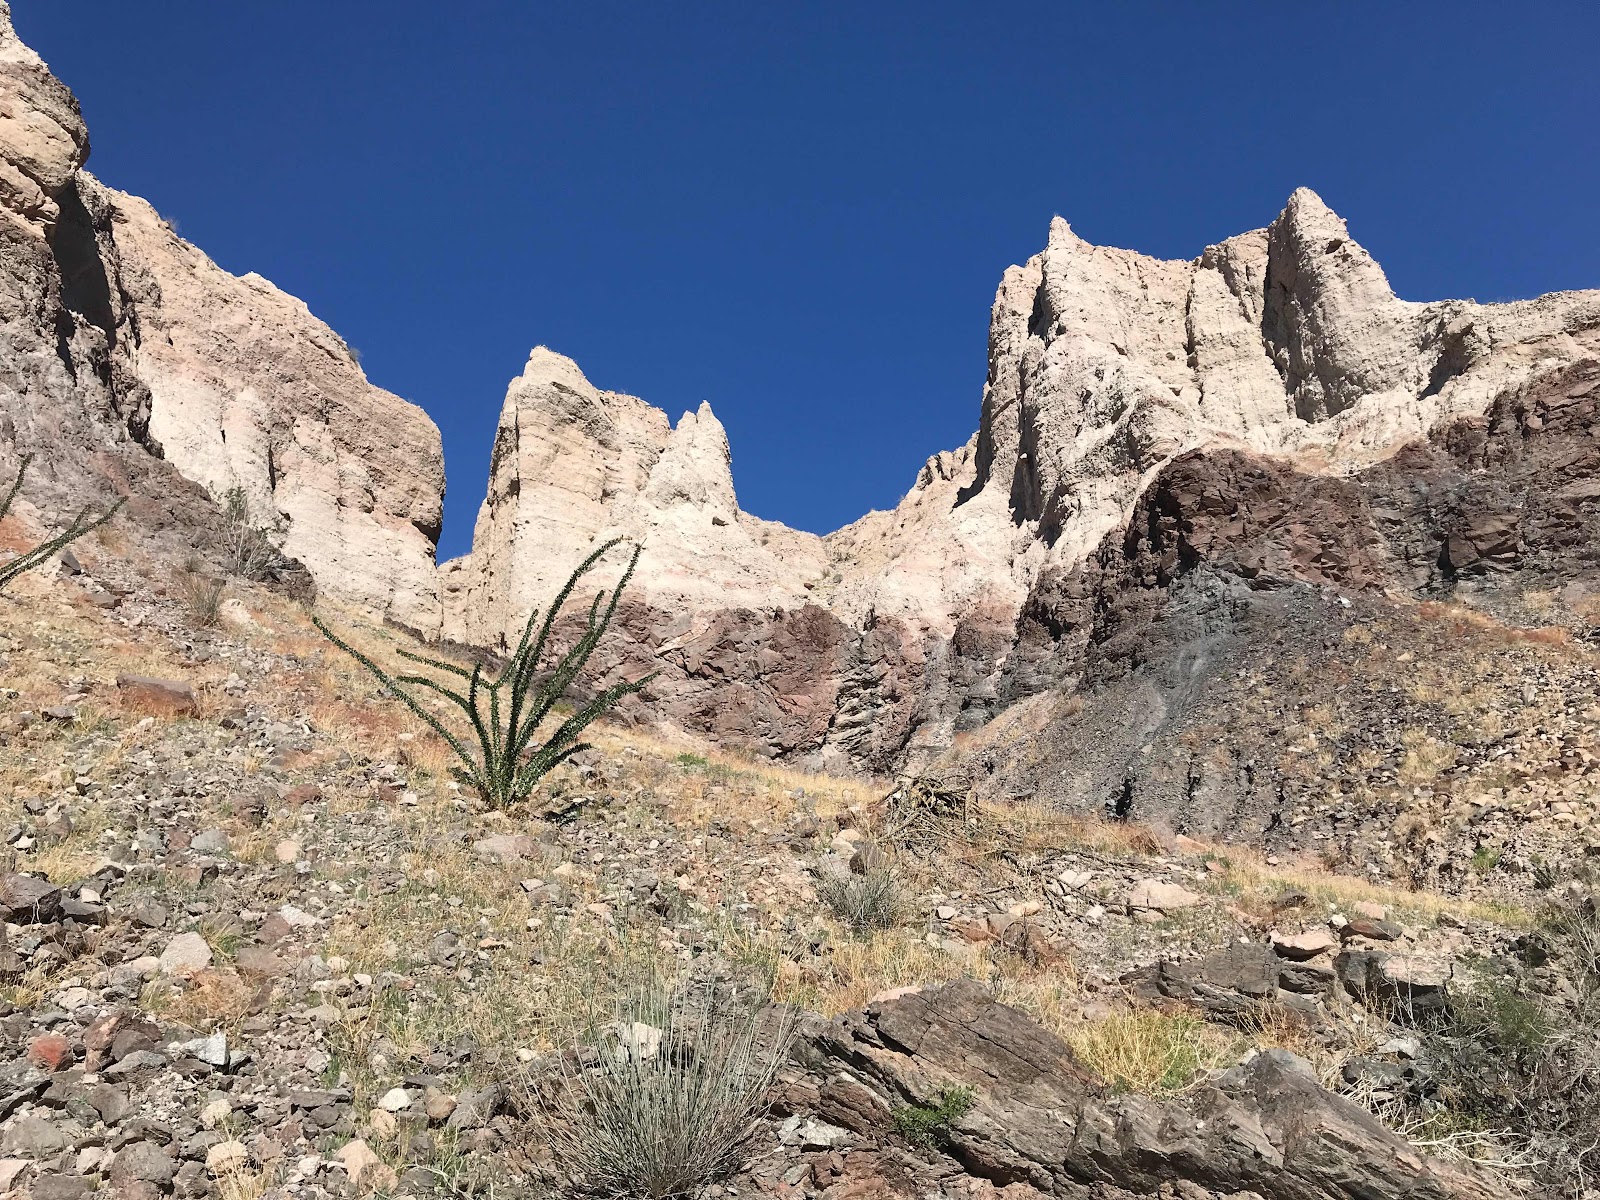


The hike stats off gradually and steepens as it narrows at the end


Then the trail takes you up on top of the hills around the slot canyons


The picture above is from the center ridge between the main canyons that heads up/down the most ladders.  I decided not to go down these ladders as most people come up and as I approached the ridge to go down there were about 15 people in the ridge that came up.  It turns iut it was a wedding party.

Not wanting to cross cross others with ladders I opted to retrace my steps to head down the other canyon to the right in the map.  

Some guys in a group were hiking up and explained how most people hike the ladders.  Good to know for next time. 
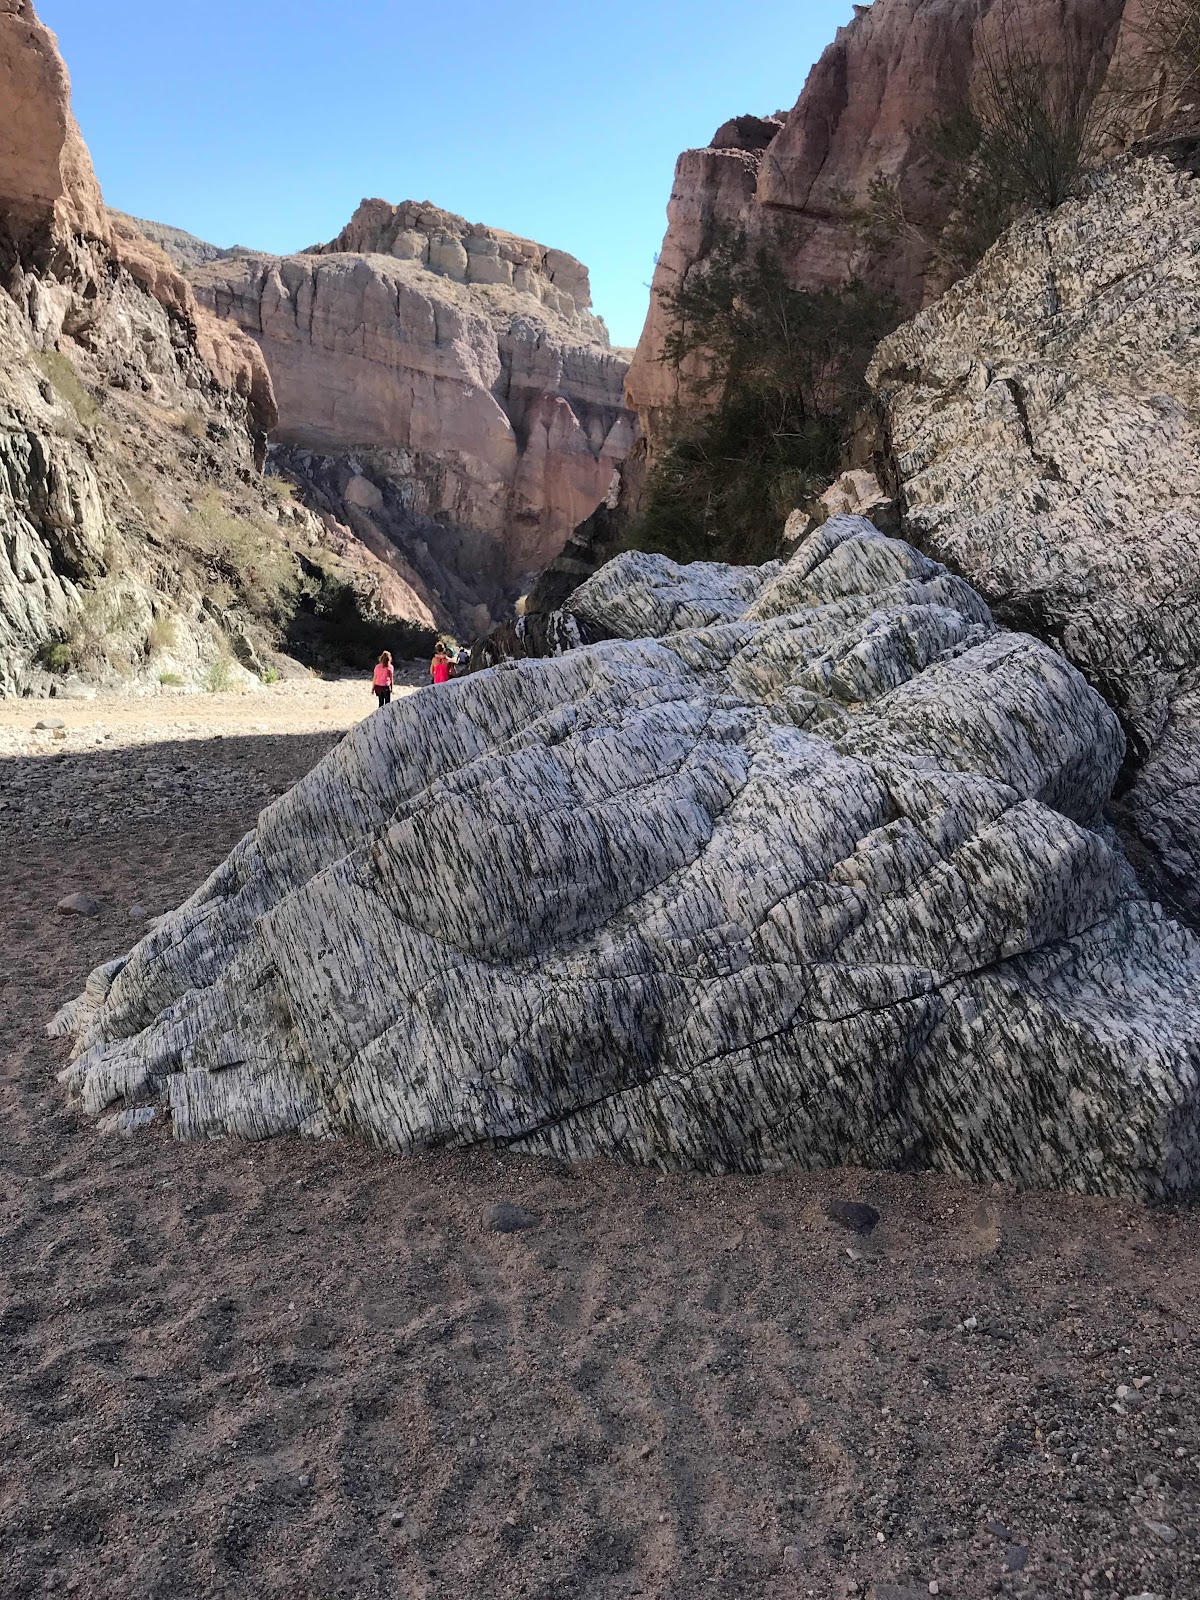


The more beautiful rock lined canyon for the return trip was much more interesting.
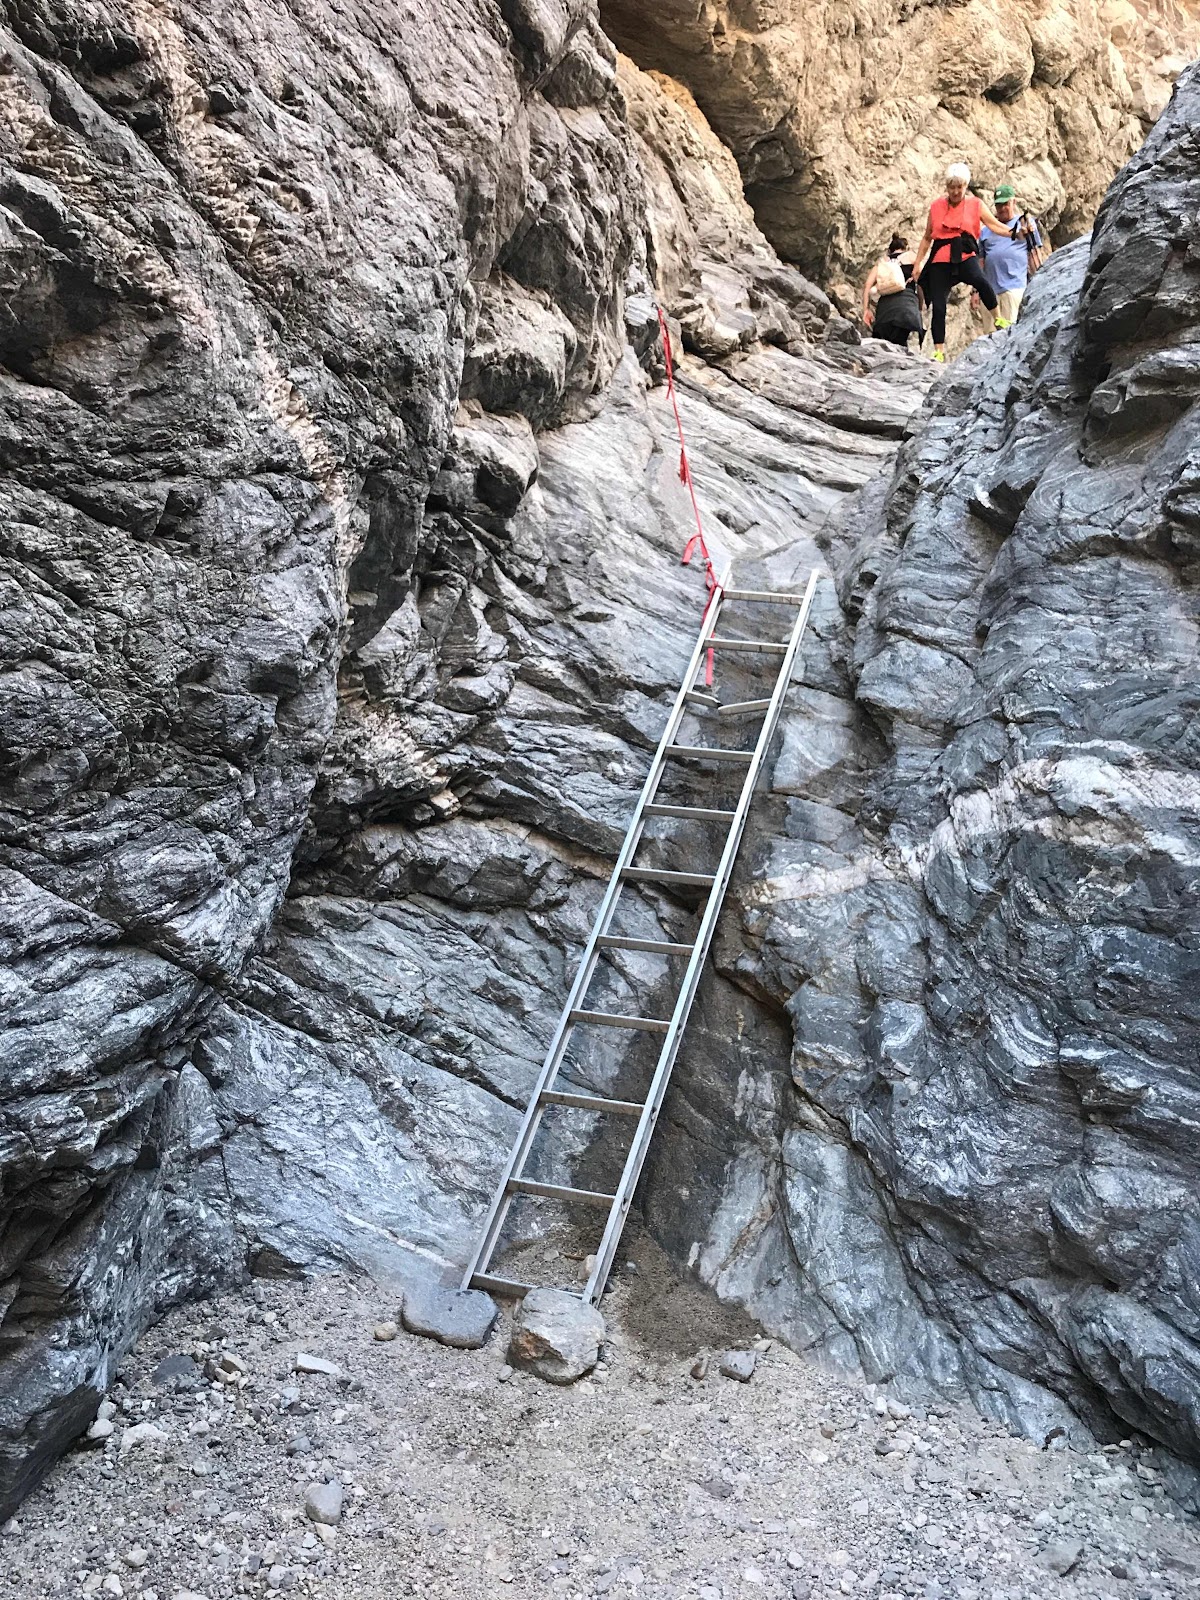


Above is one of two ladders to climb up or down.  Most Hike down these.  Some rungs are broken and the ladders were not fastened or didn’t extend enough not to have to slide in your bottom next to the ladder to then rotate to get on it.  Going up ladders is easier from my perspective.  If you have concern over ladders or you have mobility issues you should pass this ladder hike.  Children seem to enjoy the fun of the ladders.

When I arrived at the parking lot for the hike early in the morning there was only one other car.  When I got back there were about 20 cars.  This is a very popular area for hiking even for a Friday.

If ladders don’t bother you then head into the main canyon (one to right) hike in until you see an arrow on the ground made of washed stone.  It points to a narrow slot canyon into the center of the main right and left canyon and this will have the most ladders and will bring you up on the ridge.  Then return to the right canyon for two more ladders.

This is not what I did, but I wasn’t disappointed as it was a great hike and I did catch a couple of ladders.

Happy Trails and Thanks Roxy,

Brent

macaloney@hotmail.com


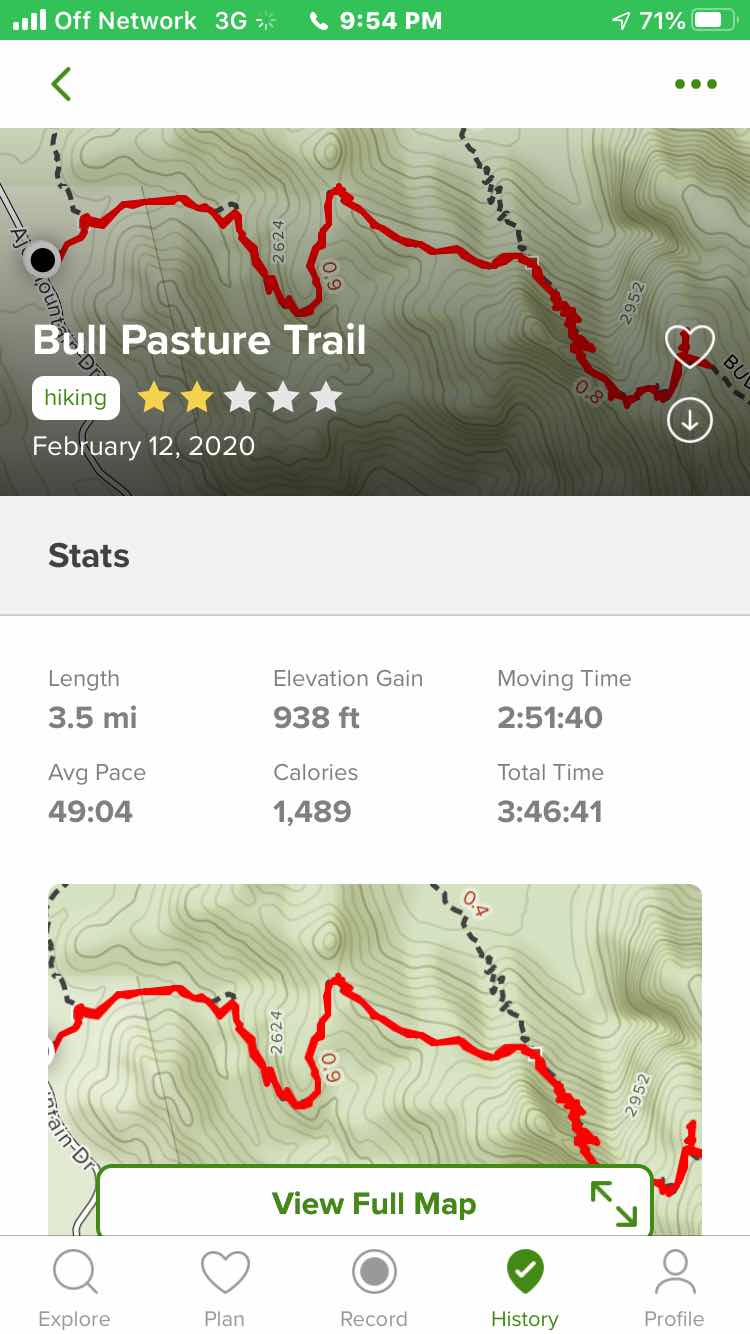
Bull Pasture Hike - Organ Pipe Cactus NP


(Above is a screen capture from AllTrails)

I’ve been to Organ Pipe Cactus National Park a number of times and wanted to to hike The Bull Pasture Hike, but I had never hiked it.  This was the year to hike it.


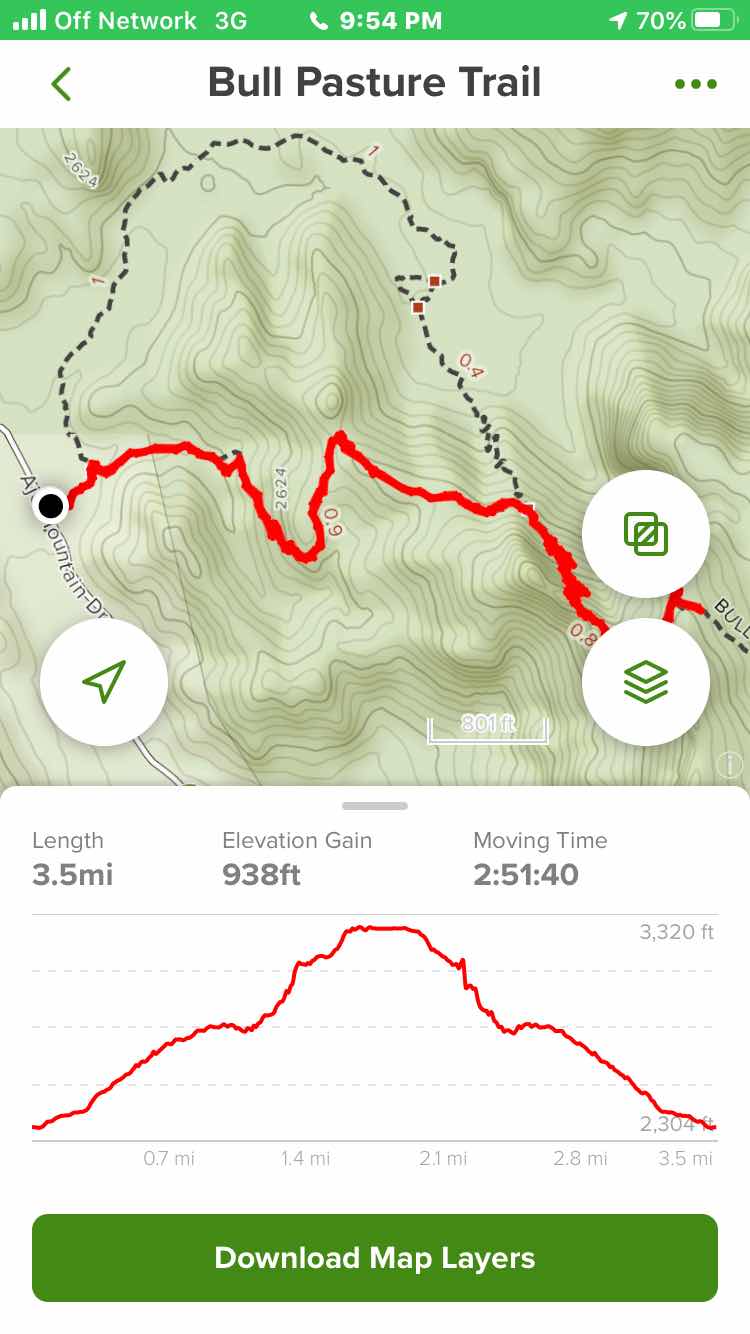
(Above is a screen capture from AllTrails)

From the picture of the hike above you will see I did not hike the loop trail.  My friend Joanne has done this hike before and she had mentioned that the right loop side was more picturesque.  She was right as the left loop side is in a canyon and lacks the views. I opted for the views up and down,


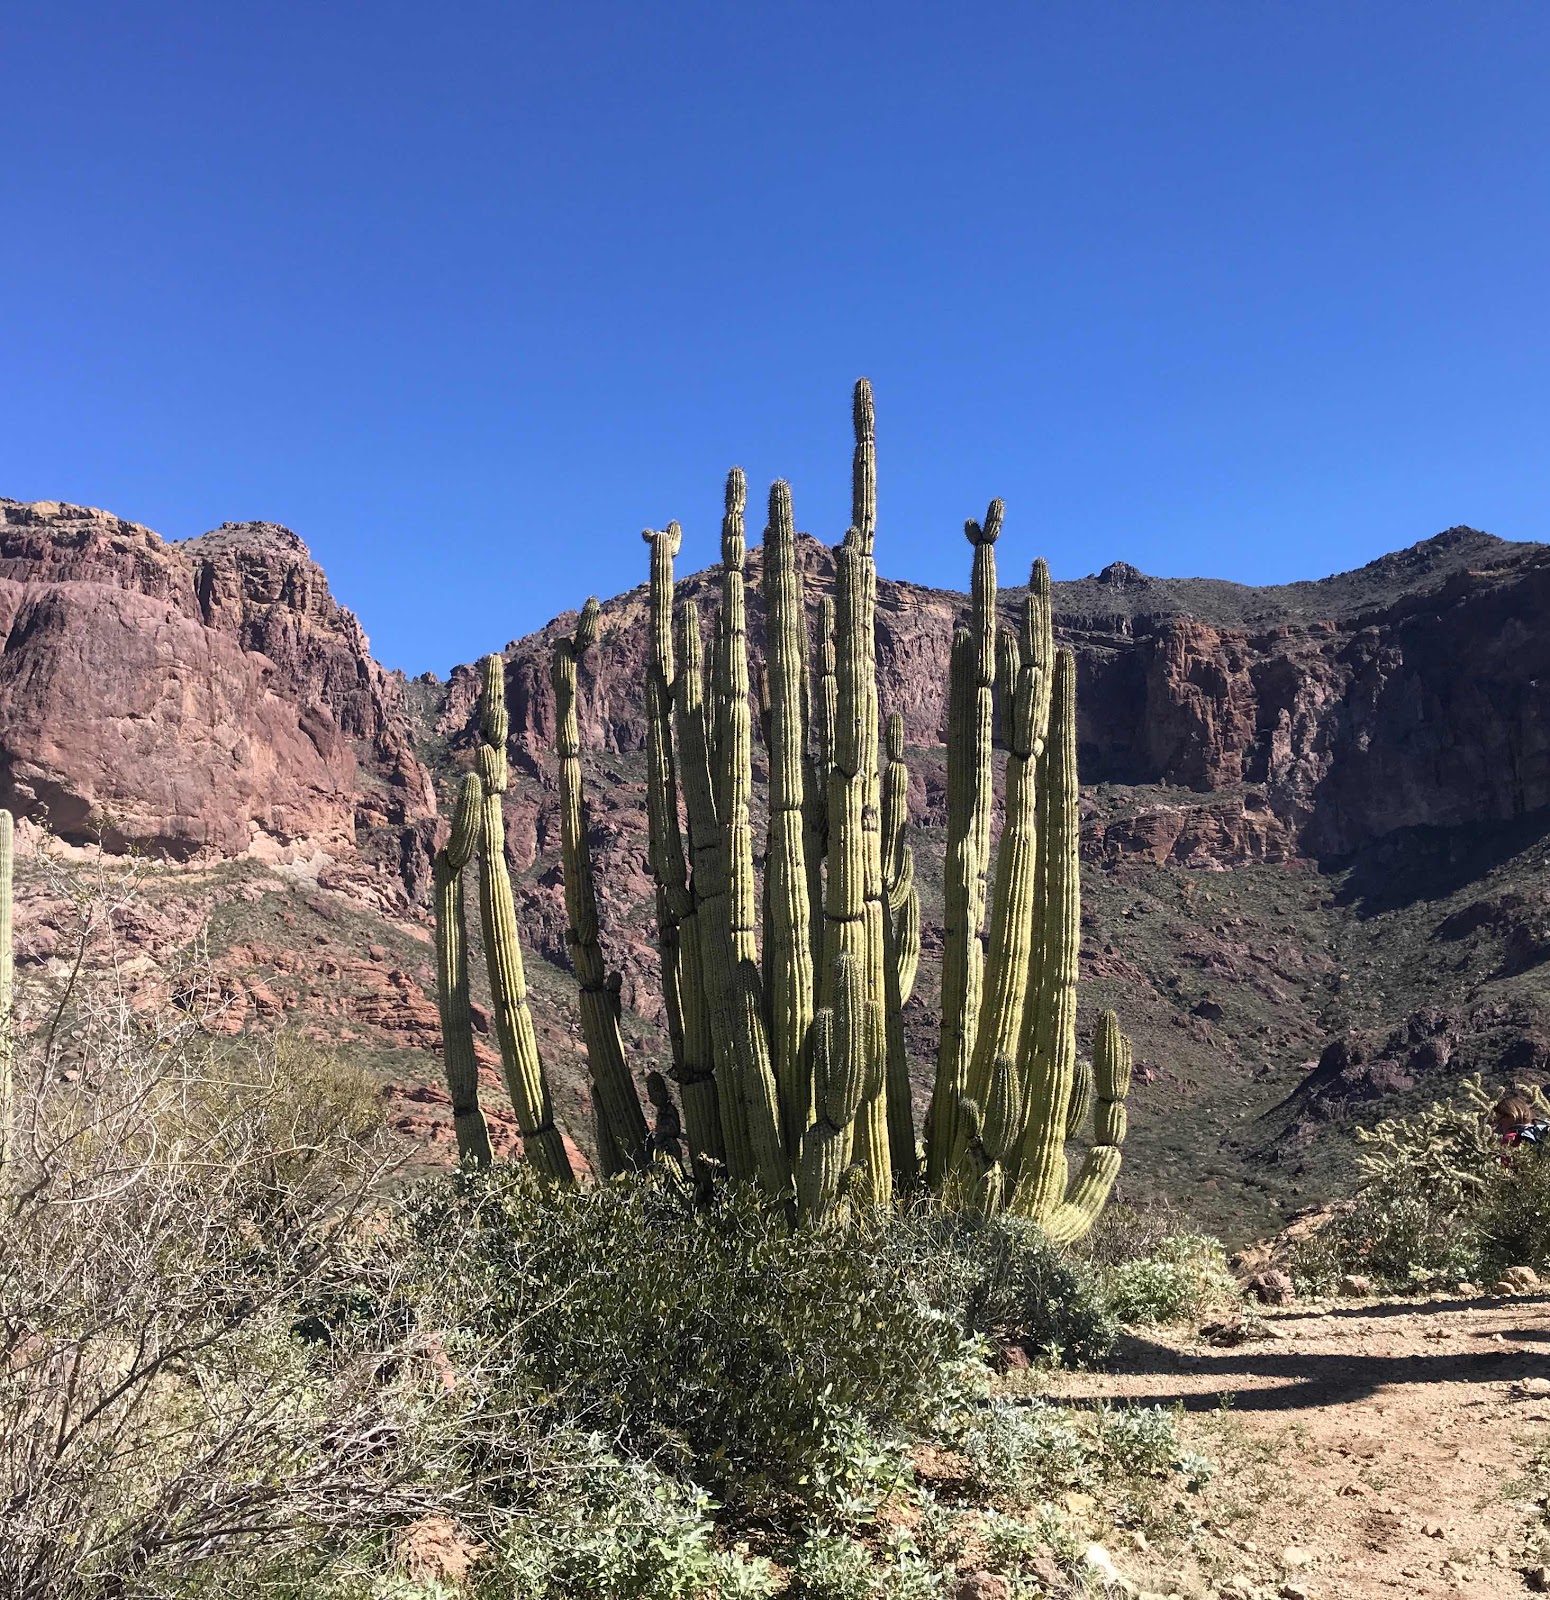
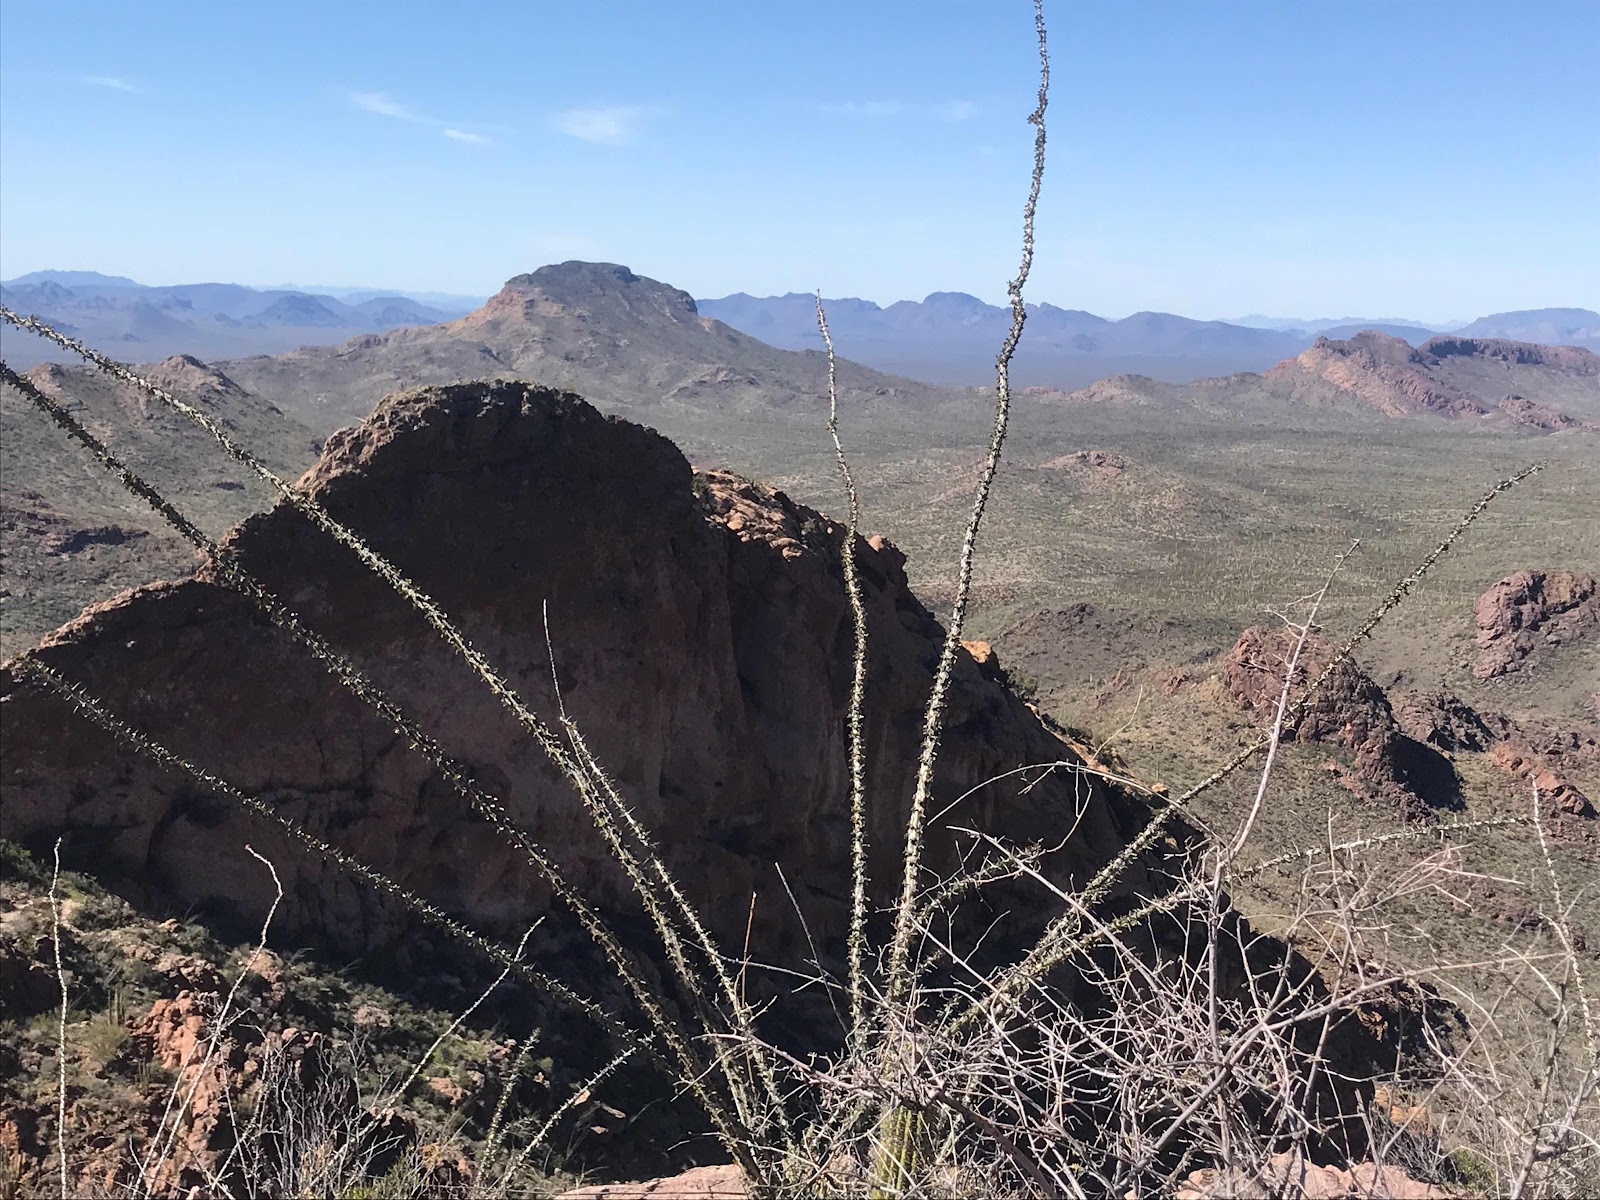
The Organ Pipe Cactus above is an excellent example of what the national park is named after.


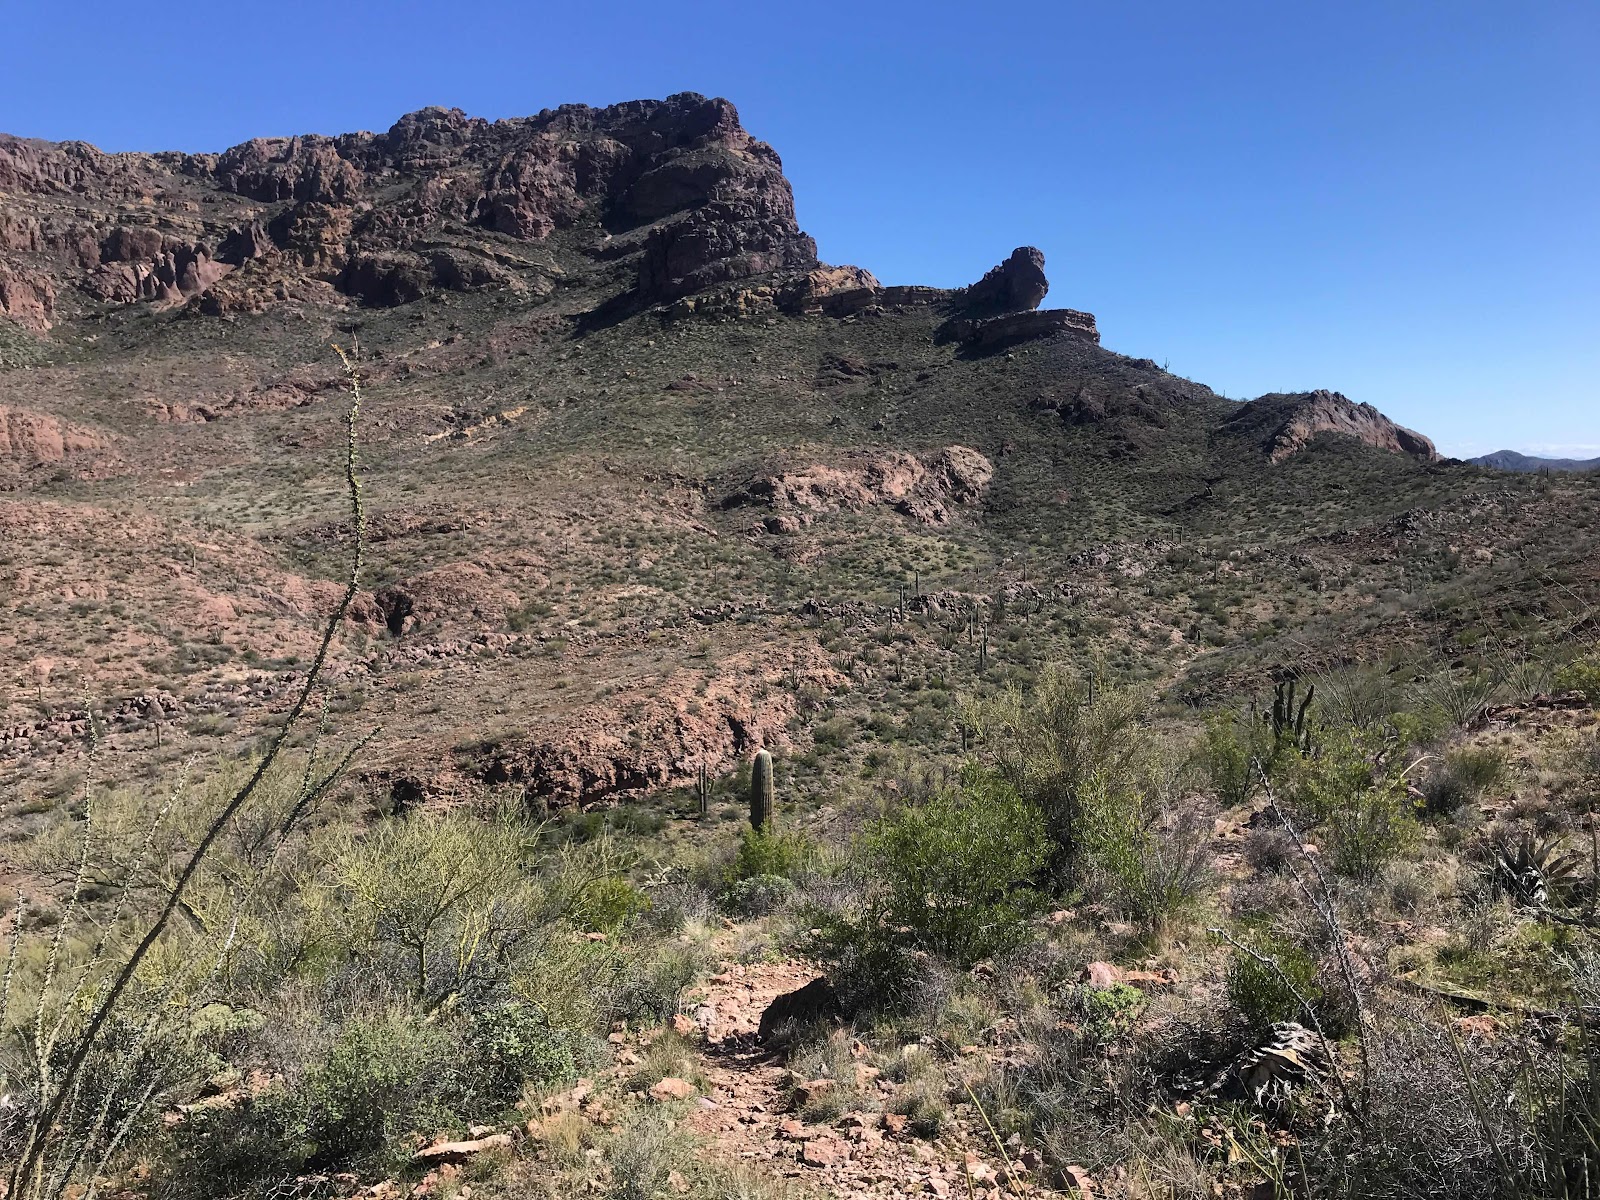
The hike involves hiking to about the level of that rim.


The hike being 1.5 miles up and 1000 ft elevation change makes for generally a gradual incline.  A solid workout with a well maintained trail.


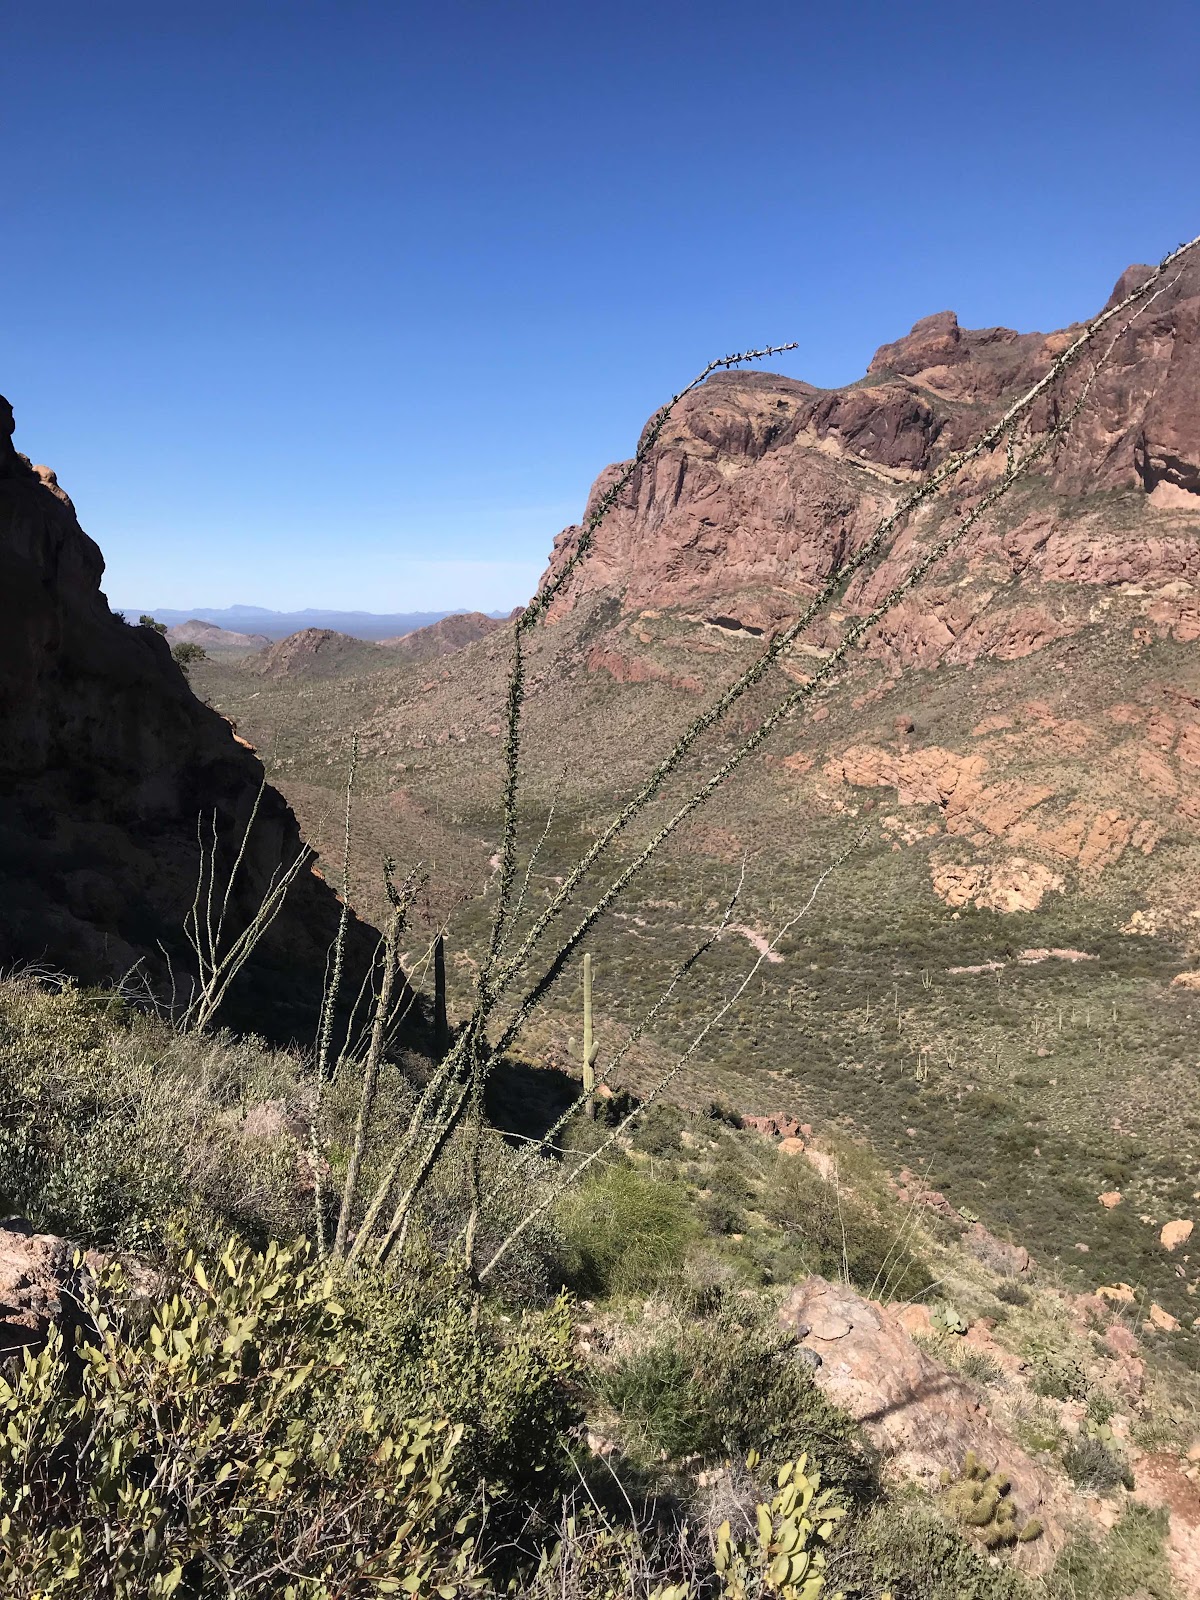
Up on top of the first rise the views are stunning with Mexico in the distance.  The National Park abuts the border.


That’s the hike up to the next rim.

The land in between is Bull Pasture


Here is the view from the Bull Pasture rim.  Excellent!

This hike is offered also with a continuing hike to MT Ajo that will get you over 2,000 ft elevation gain and 7 miles round trip.

I was happy with just the Bull Pasture hike.  There are more things to see and do.

If you plan to hike here note that it’s popular.  Try to get to the trailhead by 10 am as parking is limited and fills quickly.

Happy hiking.

Brent

macaloney@hotmail.com


Tuesday, February 11, 2020

Managing Your House Battery - Vandweller Primer

Regardless of your type of battery, how big and bad it is, or how much you pay, they all require charging management of some kind.

I bring this post forward as most of the questions I get from fellow vandwellers are associated to how to charge, what can you run on them, and why I keep killing my battery.  This is not a design and build tutorial.

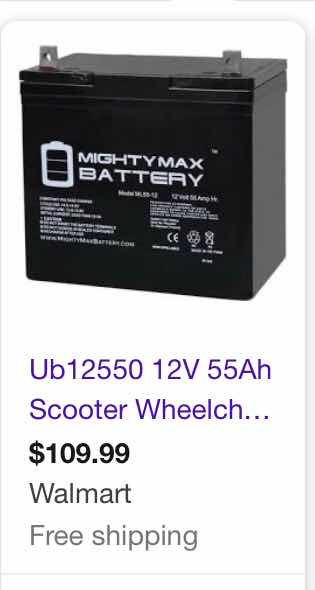
One of my friends has the following AGM battery from Walmart as seen below.

(Above is a screen capture of a google search)

The above 55Ah battery is a special lead acid battery design that doesn’t off-gas like wet cell lead acid batteries.  Like all lead acid batteries the rule of thumb is that the actual available Ah is half the rating, or in this case 27.5Ah.

This is a modest size battery for Vandwelling.  A 100 watt solar panel and lead acid solar charge controller is what you need, unless you run into days of little to no sun in the winter when sun is at the lowest angle.  In the case of my friend 100 watts of solar wasn’t enough with her usage and sometimes cloudy weather.  

This brings up the need to charge another way.  There are 2 ways to charge off your engine.

1. Using a isolator or combiner.
     a. The isolator allows the engine to charge the house battery when you run the engine and your car battery is fully charged.
     b. The combiner does the same as the isolator for charging from the engine, but will also share solar charging to the engine battery when house battery is fully charged.

2. Using an inverter off the vehicle engine and plug in a 120 v battery charger to charge the house battery when engine is running and you set up this charging items.  This method also allows you to run a shore cord to a friend’s house to charge your house battery without solar or using the engine.  

Lastly, the combiner can be set up to combine both the engine battery and house battery when switched on.  This would help start your vehicle from your house battery.  I don’t recommend this in most cases as you should always make sure your engine battery is properly maintained, and wires typically used with a combiner is #10 wire and it isn’t able to send enough current to start the engine.

—————————-
In addition to lead acid batteries there are LiFePo4 batteries, like the one below that I used for my house battery when I was traveling in my Prius.


(Above is a screen capture of a google search)


The LiFePo4 battery can be charged the same three ways, as I mentioned above for lead acid batteries, but not necessarily with the same parts as the lead acid since the chemistry of the LiFePo4 battery is different.

It is different because it’s rating of 30 Ah is the truest available current.  Yes this means the lithium battery at 30 Ah has more available power than the 55 Ah lead acid battery above.

The LiFePo4 battery is also less weight and size. Many LiFePo4 batteries like this Bioenno battery, above come with internal battery management systems (BMS).  It’s internal BMS controls current in and out and shuts off automatically if it gets too warm and shuts off when it runs out of power and won’t damage the battery. these are only some of the things that BMS does.

These are all good things, but one caution with this and other LiFePo4 is that they have low temperature conditions where you can’t charge or use at some point below freezing conditions.  Here you need to get the exact information from the manufacturer.

My recommendations

1. Look up and find a copy of the specifications for your particular battery and follow them

2. No matter what battery you use you must get the proper solar charge controller for that chemistry.  Some solar charge controllers can be programmed or set up for different battery chemistries.

3. The solar panel you select has no impact on the battery, only the charge controller.  check that the solar panel and charge controller are compatible.

4. The charge controller must be equal to the solar panel amps that come from the panel/s  or higher.  If running 100 watts I would recommend putting in a 20 amp charge controller so you can add to the solar later without replacing the charge controller.

5. Put a volt meter on your battery so you know if it’s charging or not.  This is especially important for lead acid batteries as you should stop using and charge at about 12.1 volts without drawing any current.

6. If you are in an area with prolonged cloudiness is often possible consider charging off your engine.  For LiFePo4 batteries check that you can charge from engine and what voltage is acceptable.  Remember to run a red and black power corded from engine battery to house battery -  the size of wire affects the rate of charge.

9.  Study everything or find someone with the skills to do the work.  One of my Vandwelling friends has a 100 Ah LiFePo4 battery and has an inverter that was installed without a fuse.  You need all power from engine or from battery fused to match the components.

If you don’t know what you are doing STOP!!!

Go get help or find someone to do the work.

My recommendations are just that, recommendations.  There are times when alternate ways can address needs.  You must possess the skills and knowledge to address any of these recommendations correctly.  This includes having the correct tools and knowledge in what parts are designed for the work you wish to perform.

Note: I have no affiliation with any battery supplier except as a consumer.  

Brent

macaloney@hotmail.com.


Sunday, February 9, 2020

Two Reasons To Go To Oatman, AZ

had two reasons to go to the very small town of Oatman, AZ this year.


I had arrived in Parker, AZ from 29 Palms, CA the evening before, having driven 129 miles.  Today would be about a 2 hour drive to Oatman, stopping to get gas in Parker before heading north.  

It was a cold blustery day, with a cold front pushing the 77 degree temps the day before out of the area for awhile.

The reason for the trip was twofold as I had a Vandweller friend Nancy, who was south of Bullhead City, AZ with friends and I had some curtain parts I offered to give her.  She asked if I was interested in going to see the donkeys in Oatman and meet there.  I hadn’t been to Oatman, therefore it was on my list of places to go.  

Another vandweller friend Susan happened to be in Lake Havasu City, and I was going right through there on my way to Oatman, so we arranged to meet and she came along to see Oatman again a Nancy is also her friend.


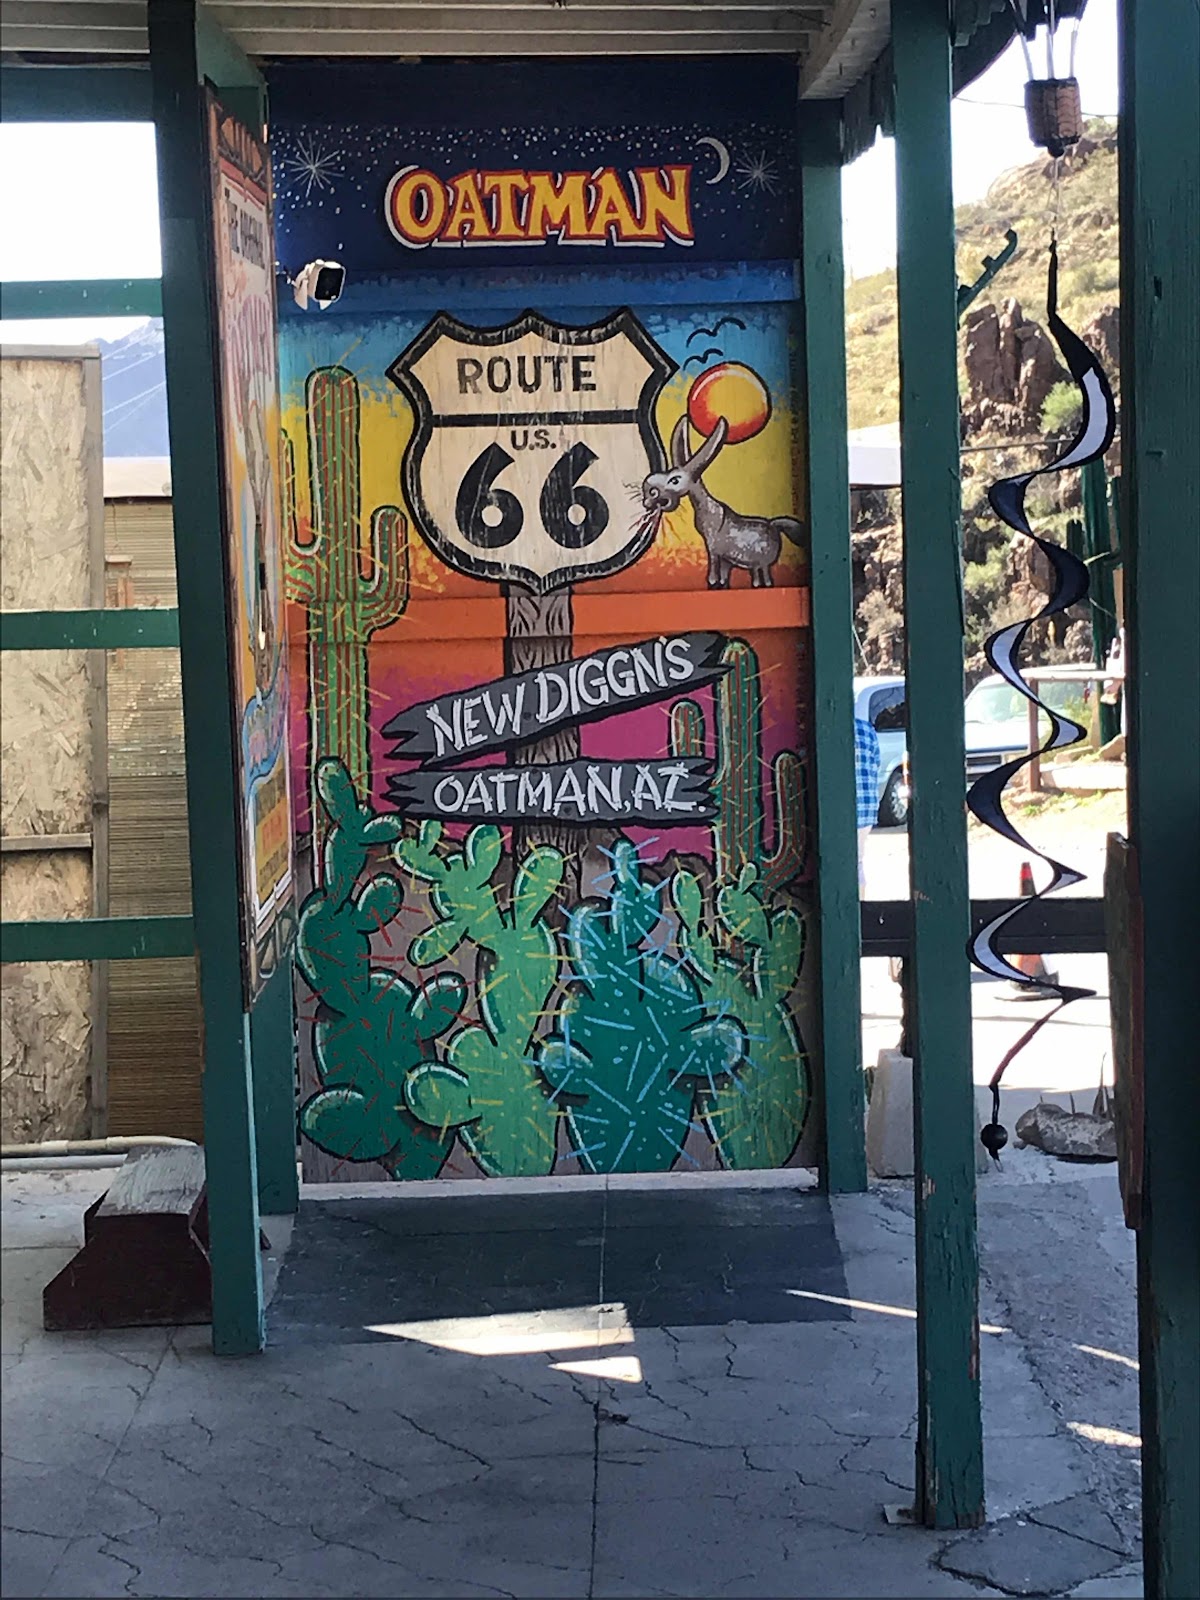
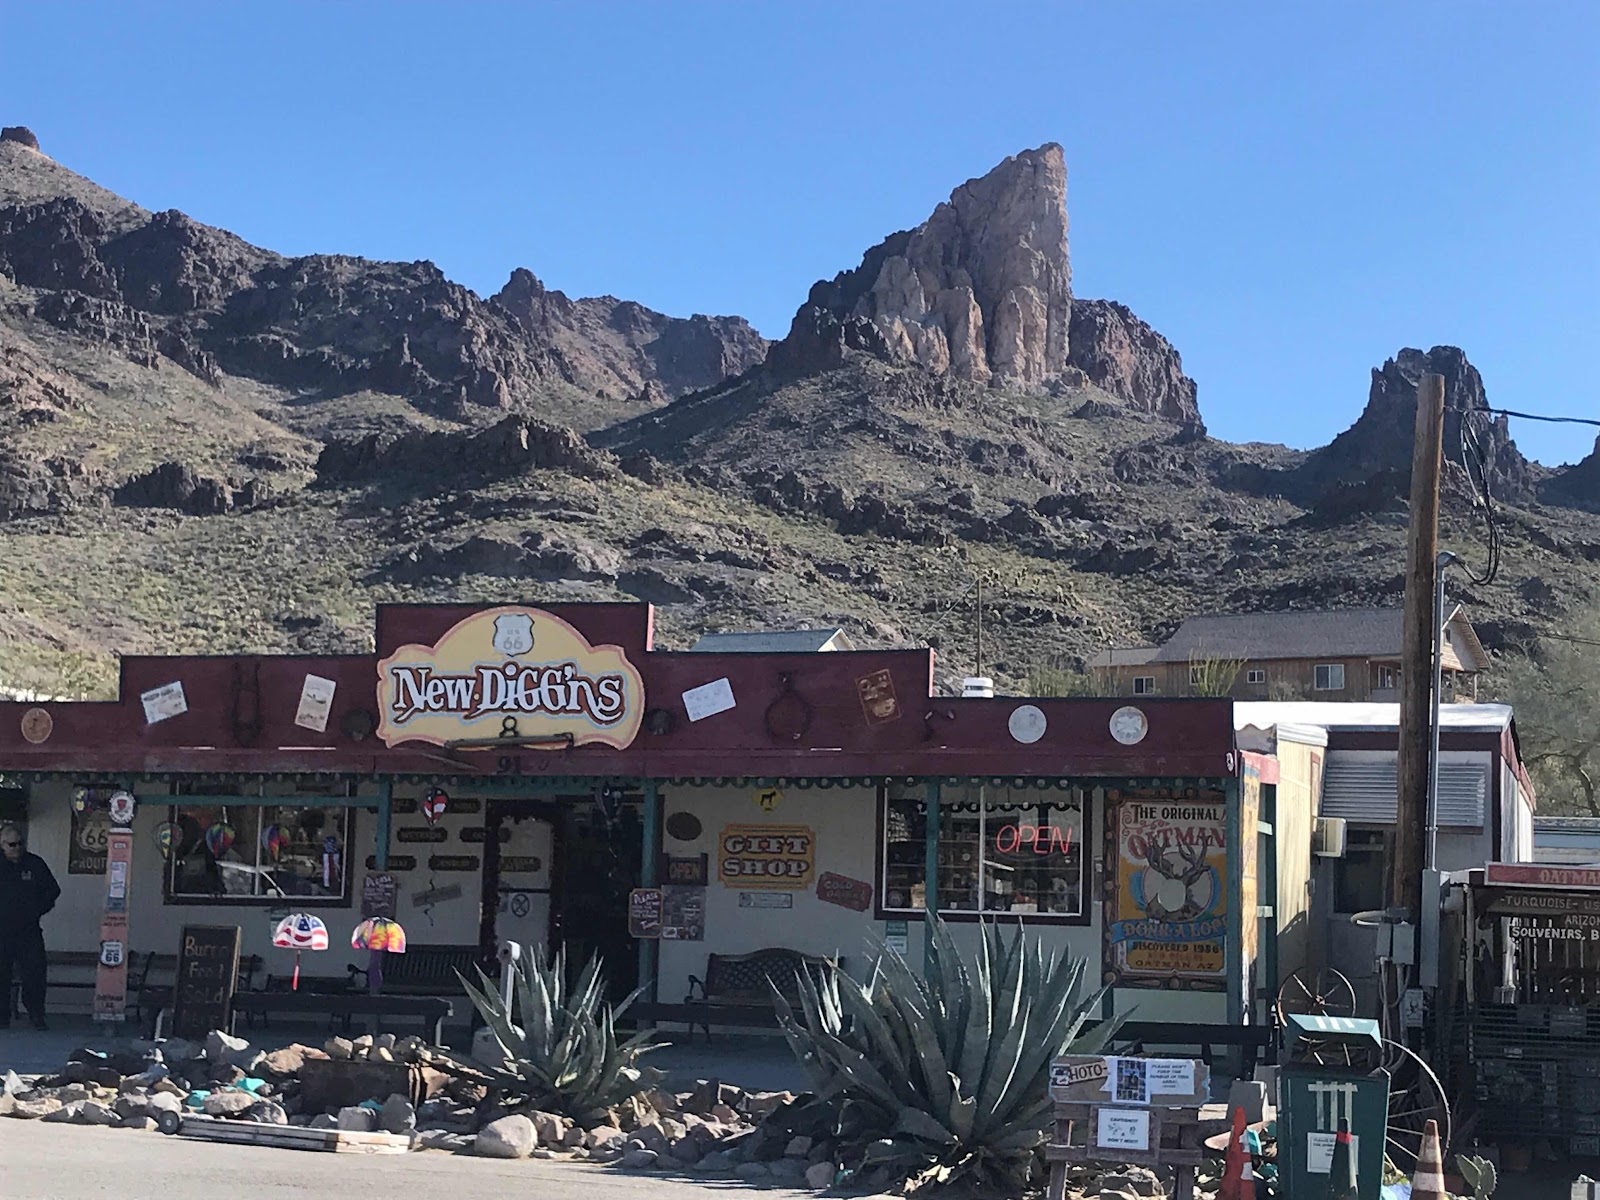
Oatman is on a hillside on Historic RT 66.  The road to town is one of the old two lane roads that twists through the desert up into the mountains.  Above shows the motif of the town as one of an old time western town 


The town is touristy but well with the visit


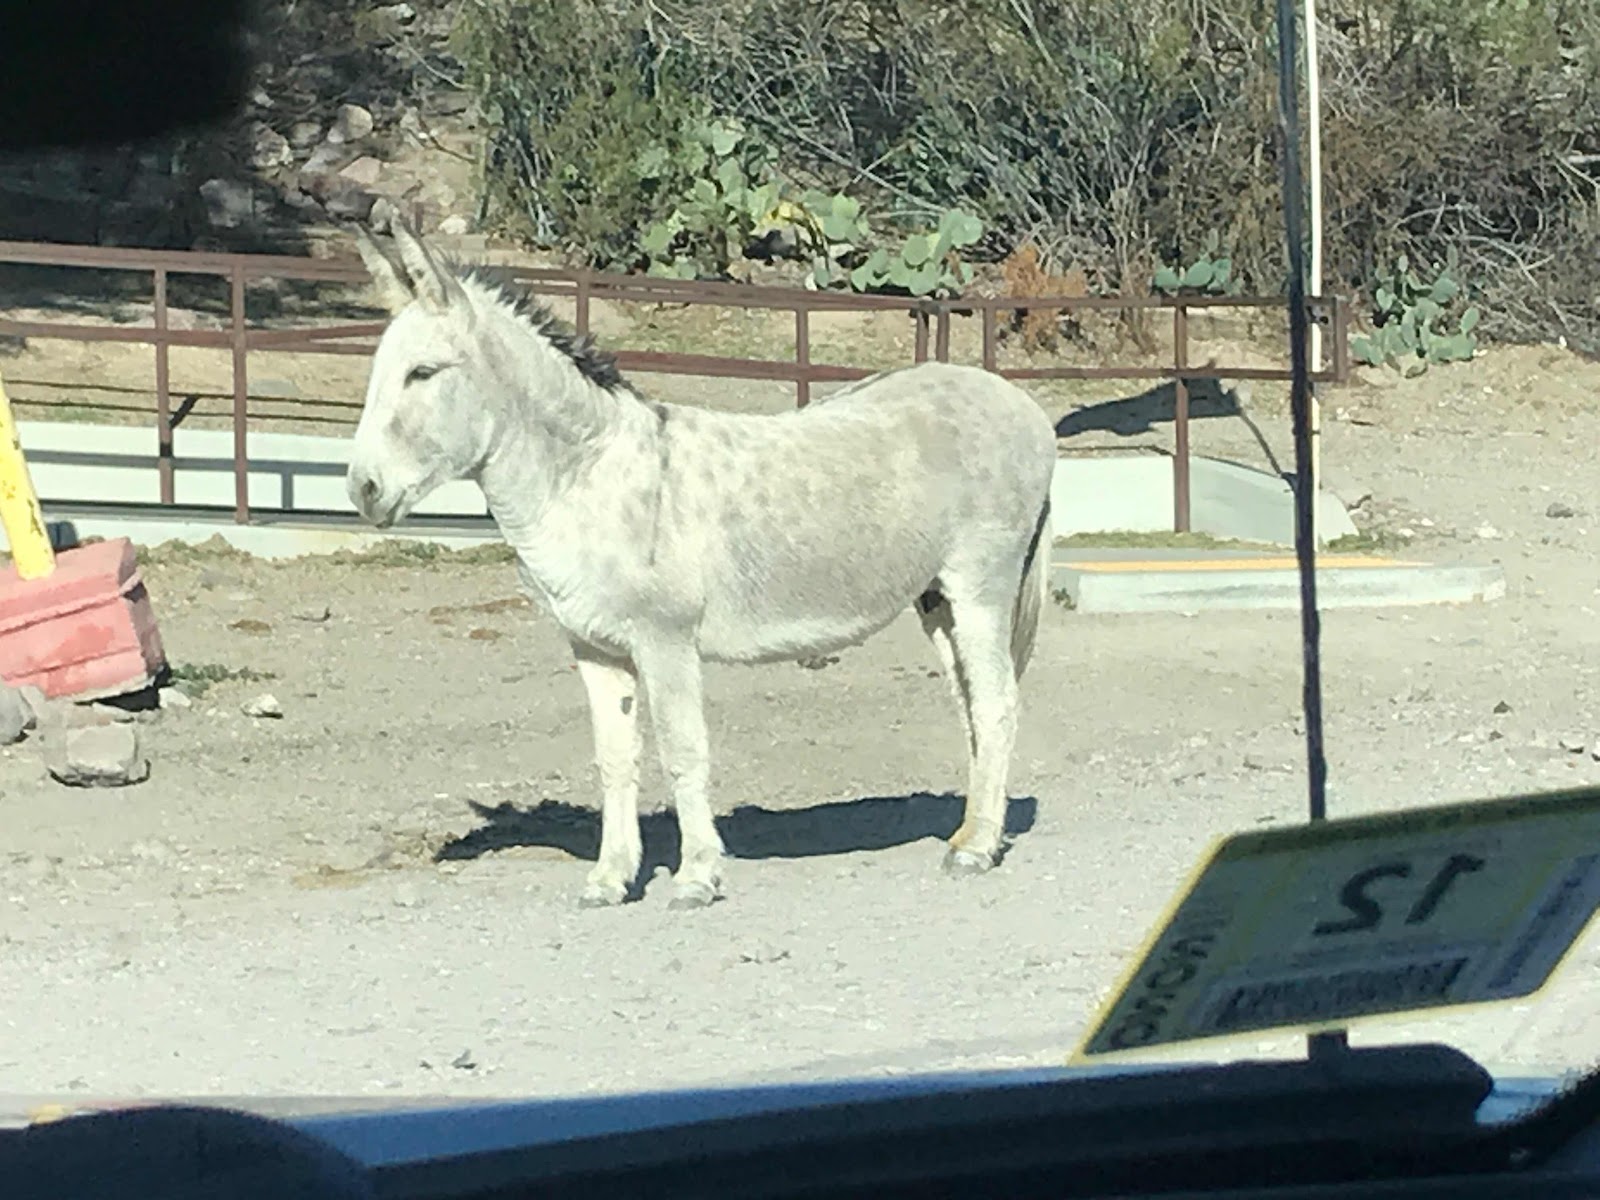
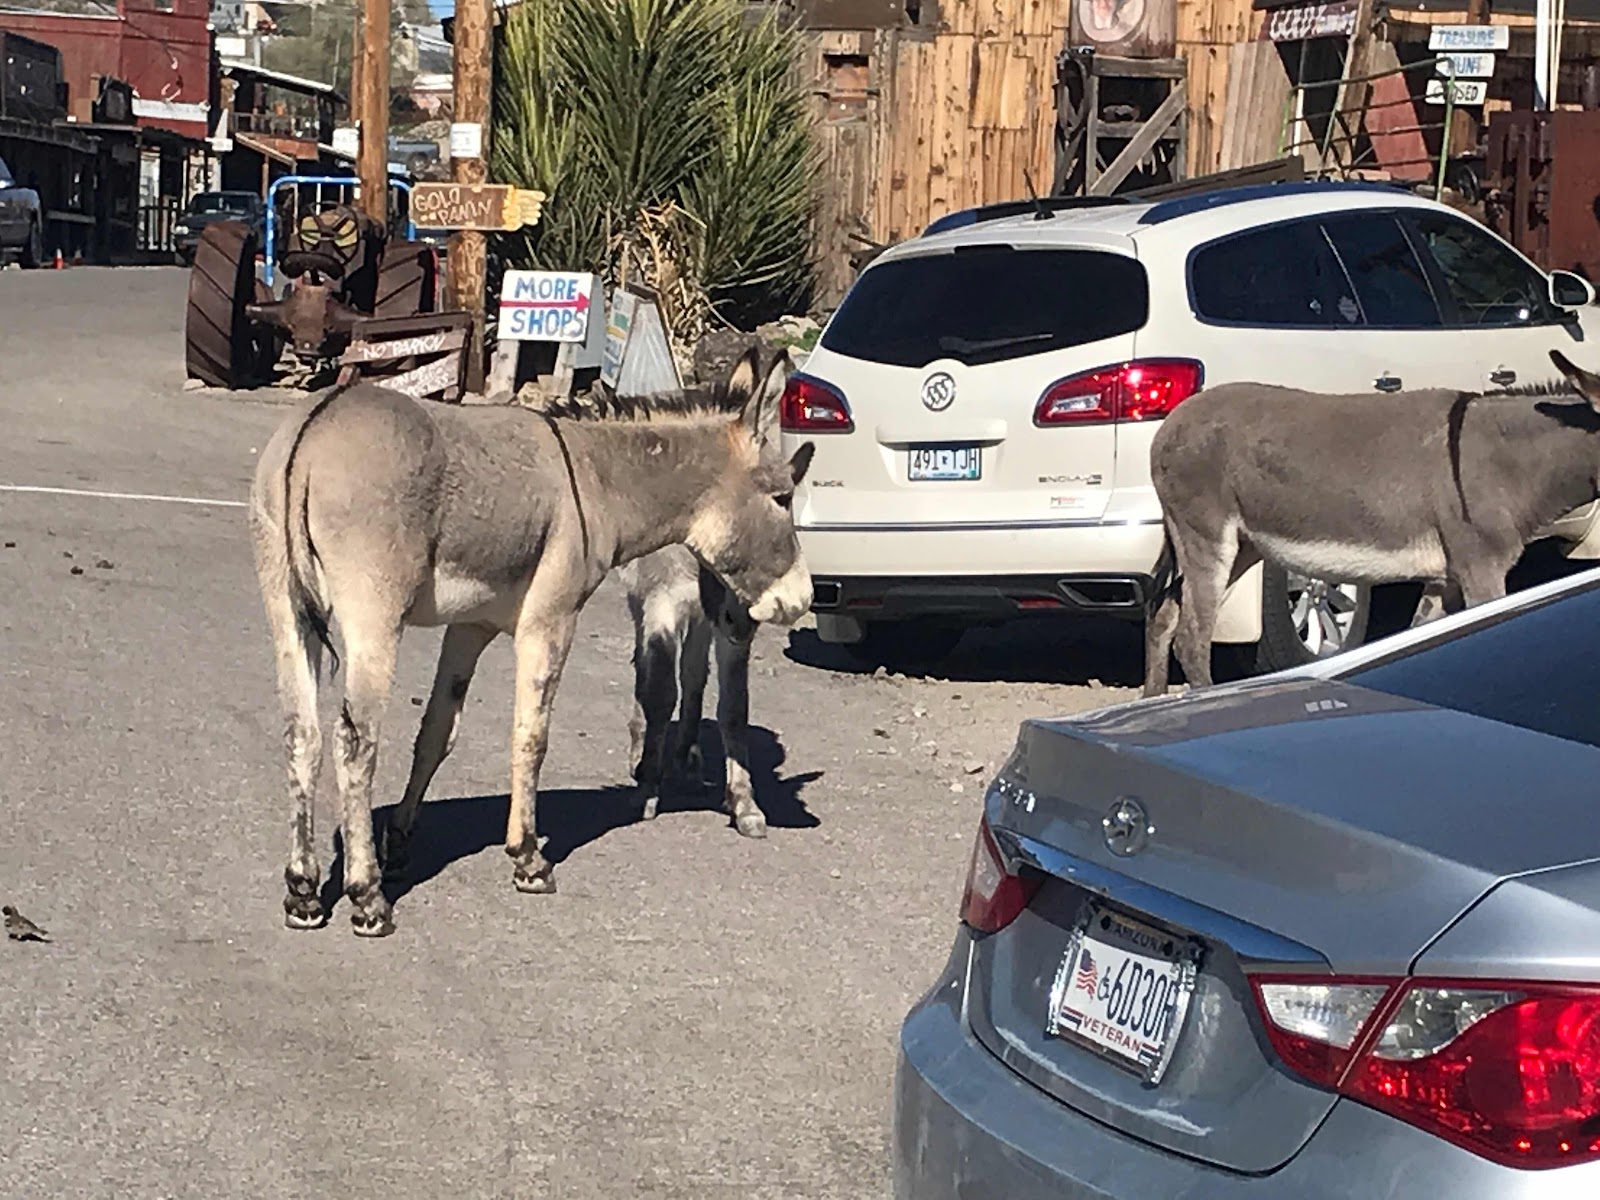
Donkeys are everywhere in town so caution is needed especially with children.  Leave dogs in your car or stay away from donkeys as they will kick dogs.


The parking lot donkey greeted us - he was very noisy with his hehaw.


These two were a bit rambunctious between parked cars.


The local Kiwanis group hold gunfights on main street at noon, each day shutting down traffic for a few minutes.  They ask for donations for their children’s charity.  Not all shows are the same so if you go more than once you should see different shows.  Gunfire is loud!


Here comes the Sheriff.  He tricked the bank robbers and settled the score.

What a fun day, although a bit cold and windy.  It was ok standing in the storefront boardwalk in the sun to stay warm for the show.

I now have another place to take off my list of things to see and I got to see Nancy again as our paths cross in the southwest.

Brent

macaloney@hotmail.com

Friday, February 7, 2020

Does Car Seat Warmer = Vandweller Bed Heater?


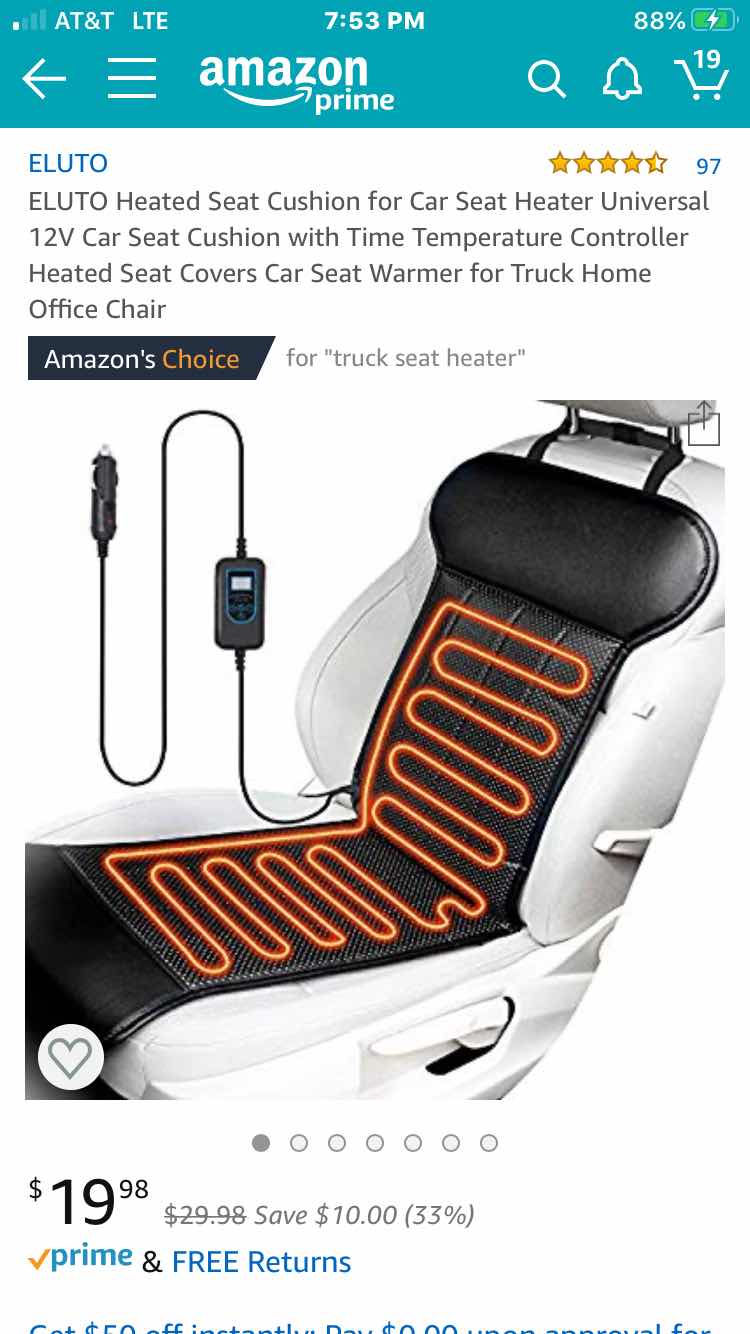
(Amazon screen capture)

My friends know I like to engineer solutions to problems.  I’m not always designing solutions as much as finding them.  This post is about testing a car seat heater for use as Vandwelling bed heat mat.

In March I head up into Utah with friends when at night it is in the 20’s at night and 50’s during the day.  If not colder at times.

I like being warm but will not run an open flame heater when I’m sleeping.  Since I often entertain friends in my FWC camper in the evening, I’ll have the heat on so it’s warm when I go to bed.  Along about 3:00 am I’ll otter wake to the need of putting a fleece blanket on top of my sleeping bag to stay warm until I get up and turn on the heater.

I have looked and looked over they years for a 12v electric solution to the creeping cold.  Most 12v electric blankets are too large for my bed.

Then I saw this $20 solution, above,  to try out.


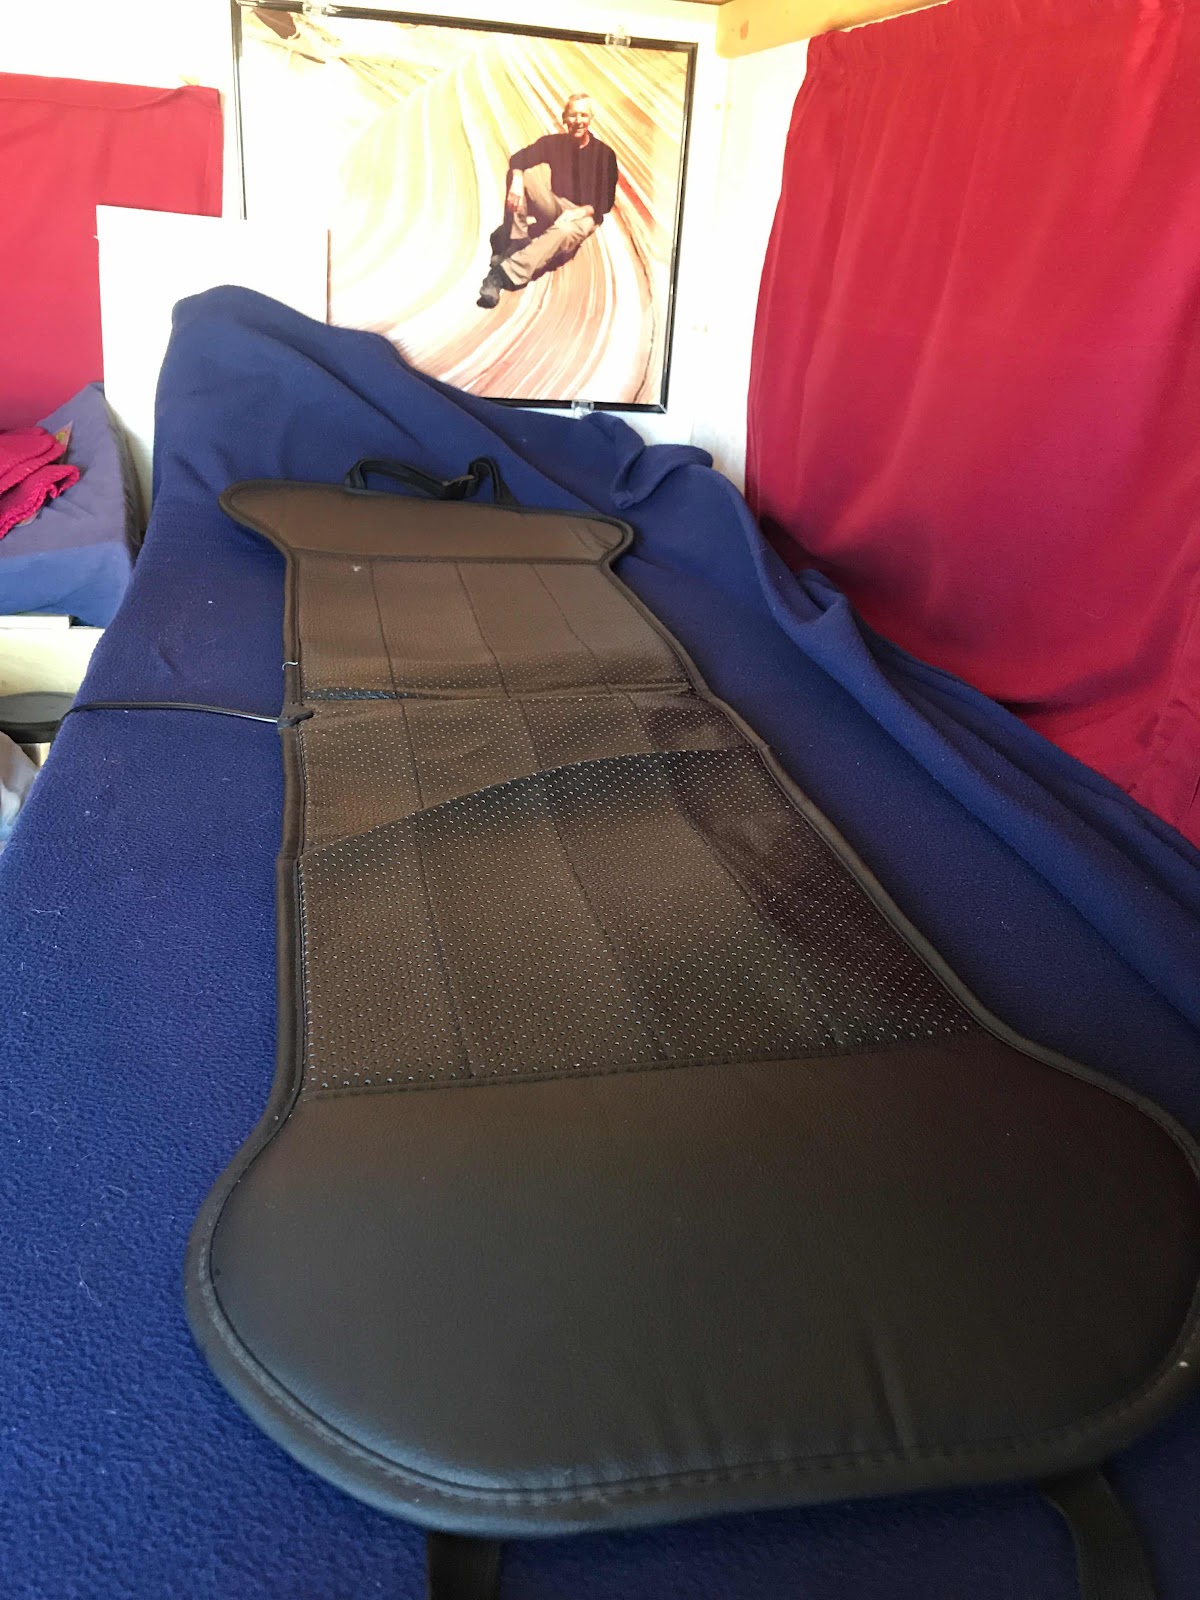
(My bench bed in my FWC)

 My FWC Camper lower bed is 24” wide.  In fact, it’s  the same width of my Prius 60% rear side bed.

I also wanted to use the least amount of electricityfor all electrical appliances. This car seat warmerlooks like a good choice as it is narrow, so there is no heating elements overhanging the bed that looses heat to the compartment air.


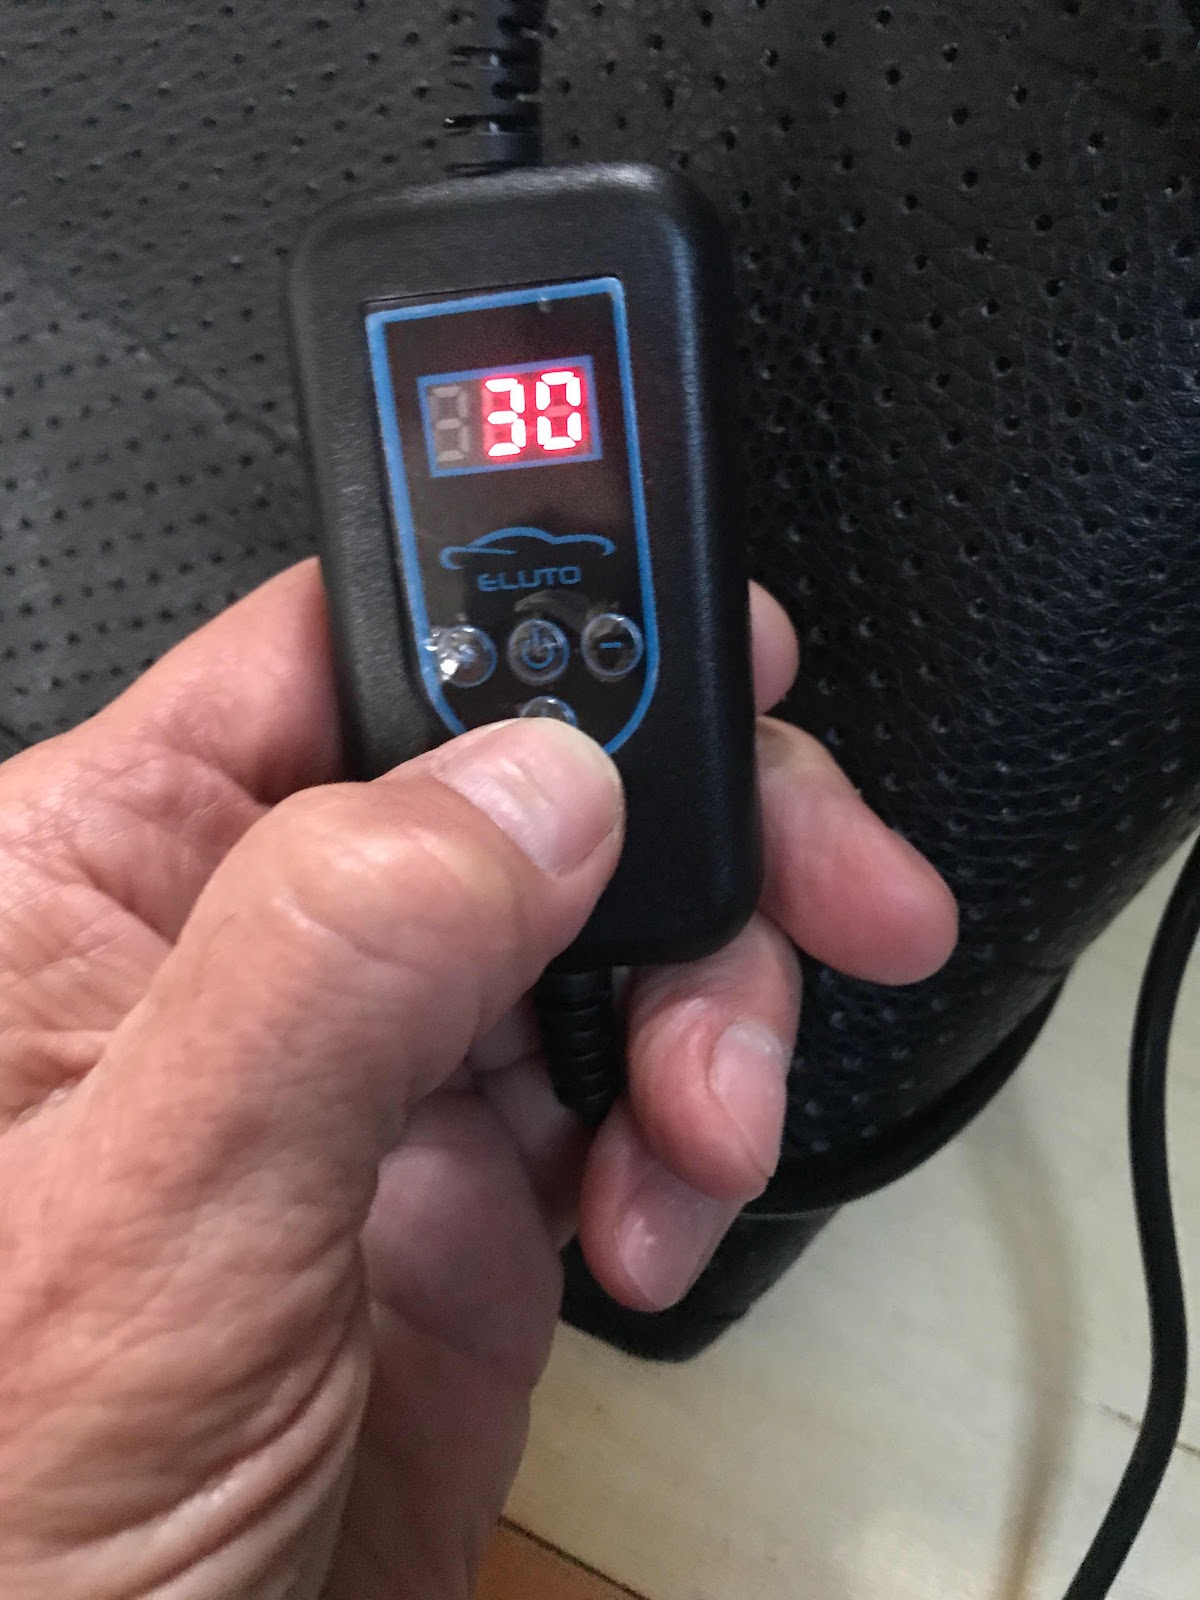
(Ambient temperature is shown when you push the center power button)

My desires of a 12v electric blanket didn’t end there, as I wanted controls for the blanket that would set the exact temperature and automatically shut off..

This Eluto Heated seat cushion had it all.  I in addition to being narrow, It has auto shutoff (30, 60, and 90 minutes).  I can Also set the exact temperature I want.  I’m liking 100 deg F right now during my testing,

Unlike other 12v electric blankets that stay on the high, medium, or low setting, I get the exact temperature I want.  It is designed to be sat on so it’s durable to be placed under you so the heat isn’t lost to the air above you.  It warms you while in your bed. 


(Pushing the bottom button allows you to step through the 3 timer settings)

The timer is great to.  So far 30 minutes has been fine, since your body warms, after it shuts off by timer you stay warm for awhile.  I’ve found that although it is not full length, of my body it doesn’t matter as if my core is warm my arms and legs also warm.


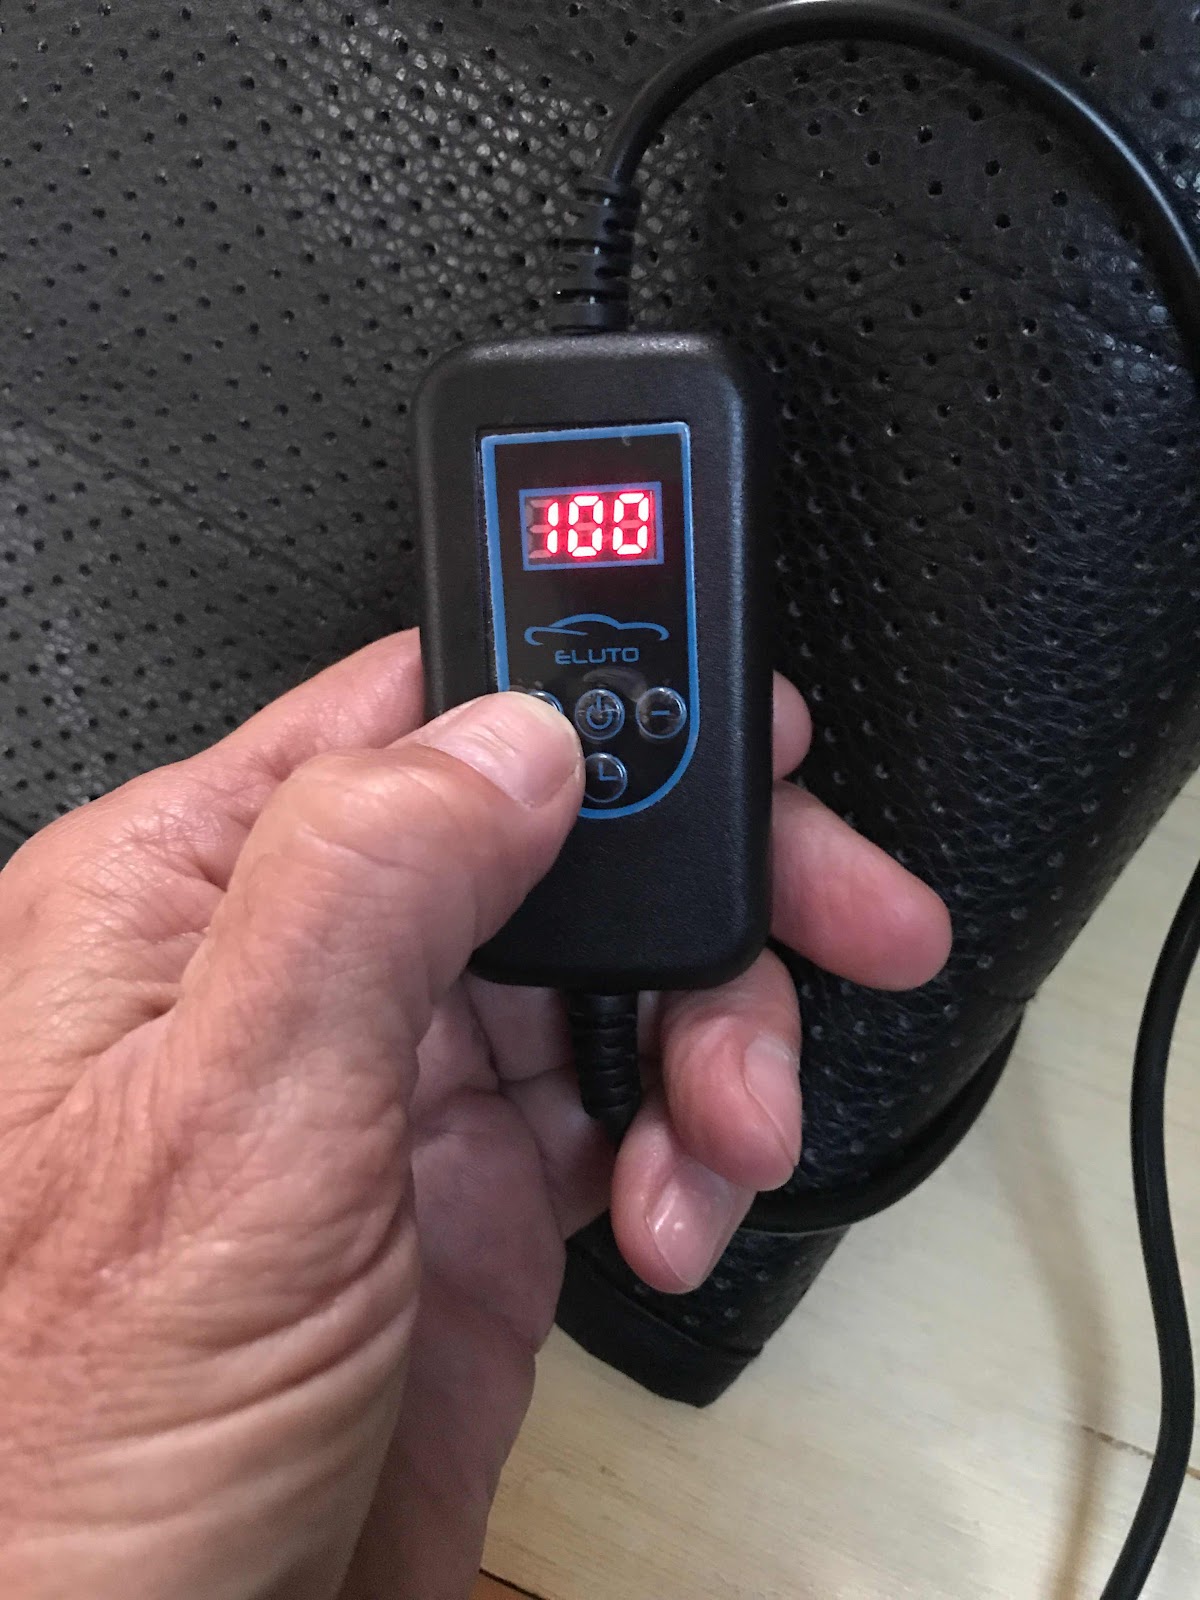
(Showing it is set for 100 degrees - pushing the left button the temperature setting goes up / push the right button the temperature goes down)

Lastly, the thermostat knows when it has reached the set temperature and auto shuts off saving your 12 volt house battery from bein overdrawn.

So here is what it draws for amps.


There it is below 3,5 amps draw.  But wait, the thermostat turns off the heater current when the set temperature is reached.  The meter then switches to zero.

How much it’s on under you in bed will depend on what is below the heater.  I sleep on 2” of foam so there is not much heat loss below.  Most heat rises and if your body is in the bed you will absorb it.

I have not measured this variable as it will be different for everyone.

Worse case it will draw 3.5 amps per hour, but wait you may only use it to get warm so you set it at 30 minutes.  I figure I’m using about 1 amp an hour on average during my test in Quartzsite, AZ in early February.

I did test it at home in my easy chair under me watching TV while it was plugged into a 110v ton12v adapter and it was good there too.

My testing will go on through my travels in Utah, so I’ll have more to add later but my initial impression is positive.

Note: I have no affiliation with the company or distributor of the car seat heater, or Amazon.  I’m a consumer who often buys things and like to test them to share with others.

You must assess if you have sufficient 12v battery storage to use this car seat heater without depleting your house battery.  Overdrawing your house battery may damage it.  It is good to first understand if your battery can be fully charged the next day too.

Happy travels

Brent

macaloney@hotmail.com

Thursday, February 6, 2020

The Best Deal In San Diego - Updated


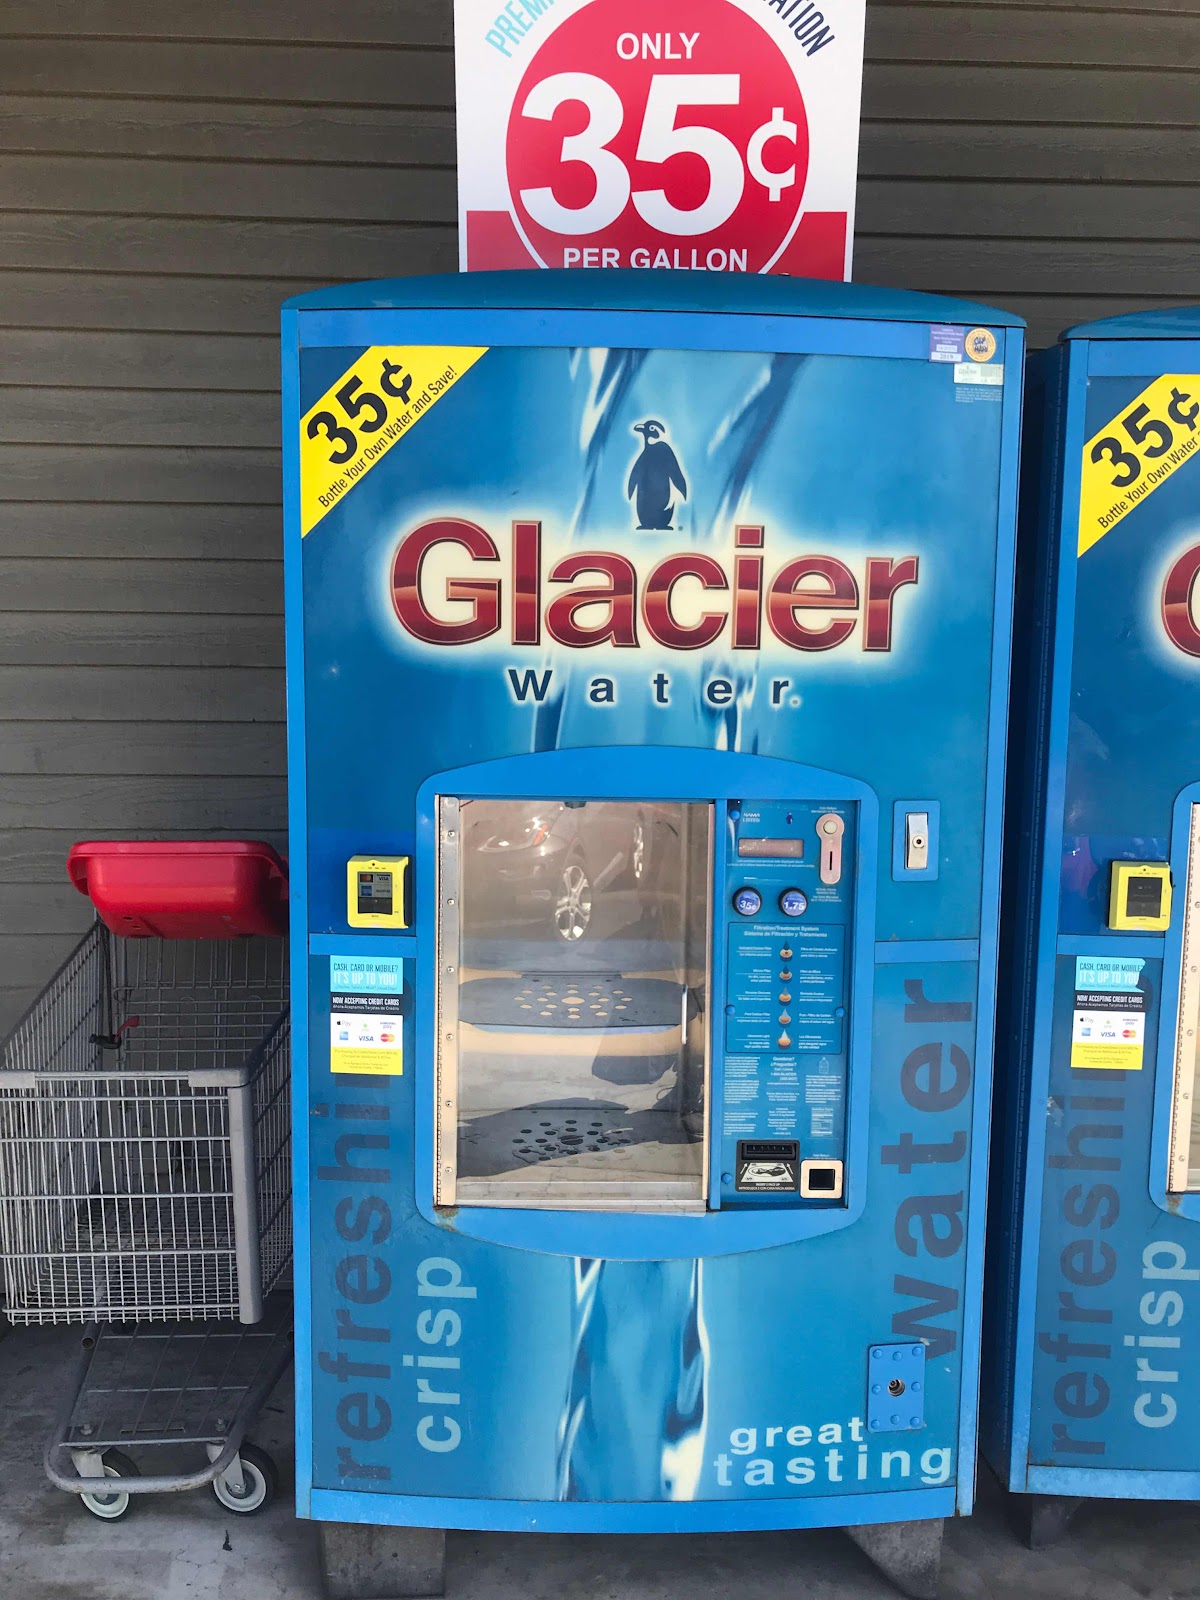
I travel to San Diego to visit family during my travels. It’s not cost effective for vandwellers on tight budgets. I get gas in Yuma and can get to San Diego but then I must pay the $3.78 a gallon for gasoline.  This adds up quickly as I drive all over.

While getting ready to head to 29 Palms on the way back to AZ,  I stopped in a Sprouts Market and saw water was more here in San Diego by $.05 than Quartzsite.

So this was not the best deal in town.


I went to Costco and stopped in for the best deal in town on their menu.  


Yes. The best deal in town is the 1/4 lb hotdog with fountain drink for $1.50.  

There are not many Costco’s in the New England area, and the ones that do have their fast food counter inside.

Here in San Diego the two Costco’s I know have their food offerings outside for anyone to stop by and enjoy.

Kind of made up for the high price of gasoline there.

Happy travels,

Brent

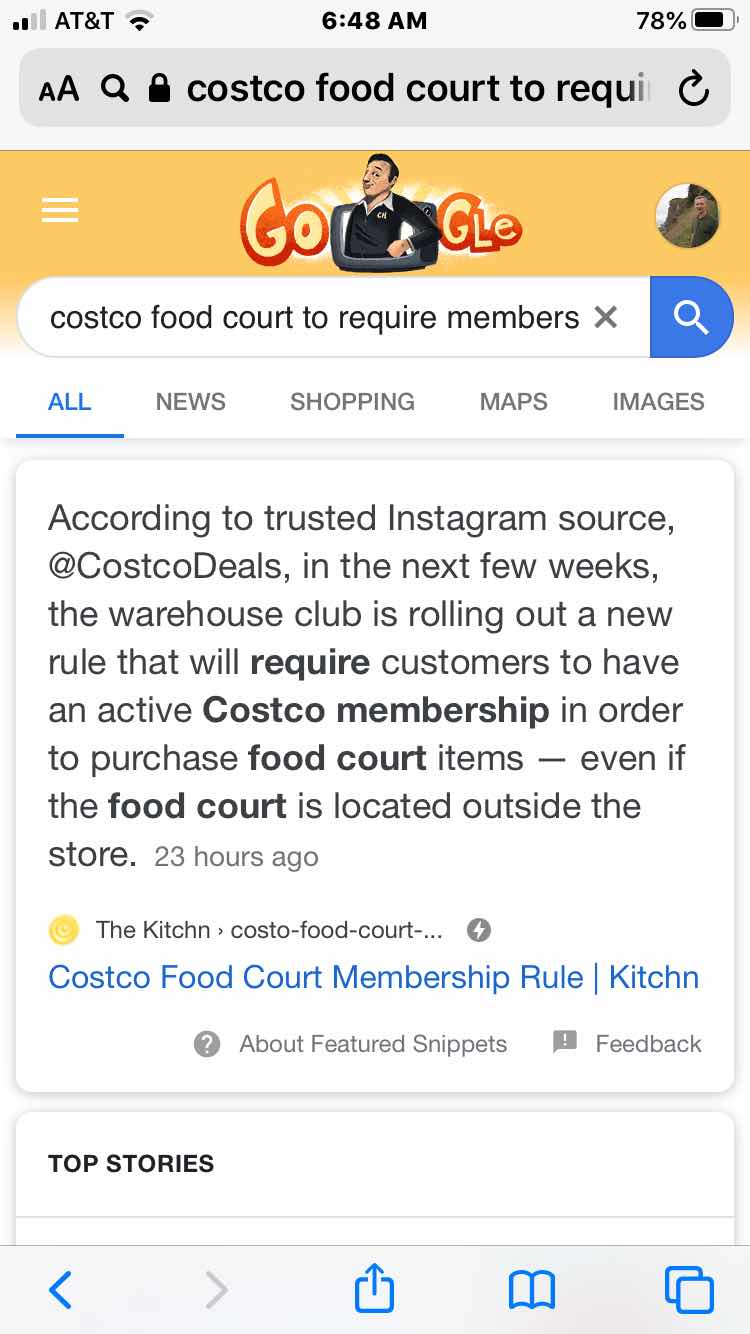
PS - Costco announces that membership will be required to eat at outdoor food courts in near future.


Above is a screen capture of a Google search

Mt. Ryan Hike - Joshua Tree NP


(AllTrails screen capture.)

My CA son invited me to 29 Palms where he works at the Marine base.

The rest of the family came up from San Diego for the weekend too. So, daughter-in-law, and 2 granddaughters, son and I went for a hike Sunday morning in Joshua Tree National Park.

Above is my hike stats.  3 miles and over 1000 ft elevation is in the realm of a predict exercise hike for me.  That includes the amount of time to hike, calories burned, and cardiovascular exercise.


(AllTrails screen capture.)

I’ve been to Joshua Tree a number of times but have never hiked Ryan Mountain.  Mostly because the parking lot fills early.  The sign as you enter the National Park says that parking lots fill by 10:00 am.

If you want to hike in Joshua Tree plan to arrive early.


The hike up Ryan Mountain is generally gradual with just a few spots with steeper spots but overall an easy trail on a well maintained trail, as seen above.


When you get to the top of the mountain the views are wonderful to see the park in a 360 degree view.


Here is my artistic picture from the hike.  I like it when I can frame the photo with plants like these, and get foreground, mid ground, and distance in one photo.

It was worth the hike to just get this photo.

This was my first hike I carried my backpack and I had no problem with pain in my shoulder.  It still feels sore at times but the hike didn’t aggravate it.

Happy hiking,

Brent

macaloney@hotmail.com